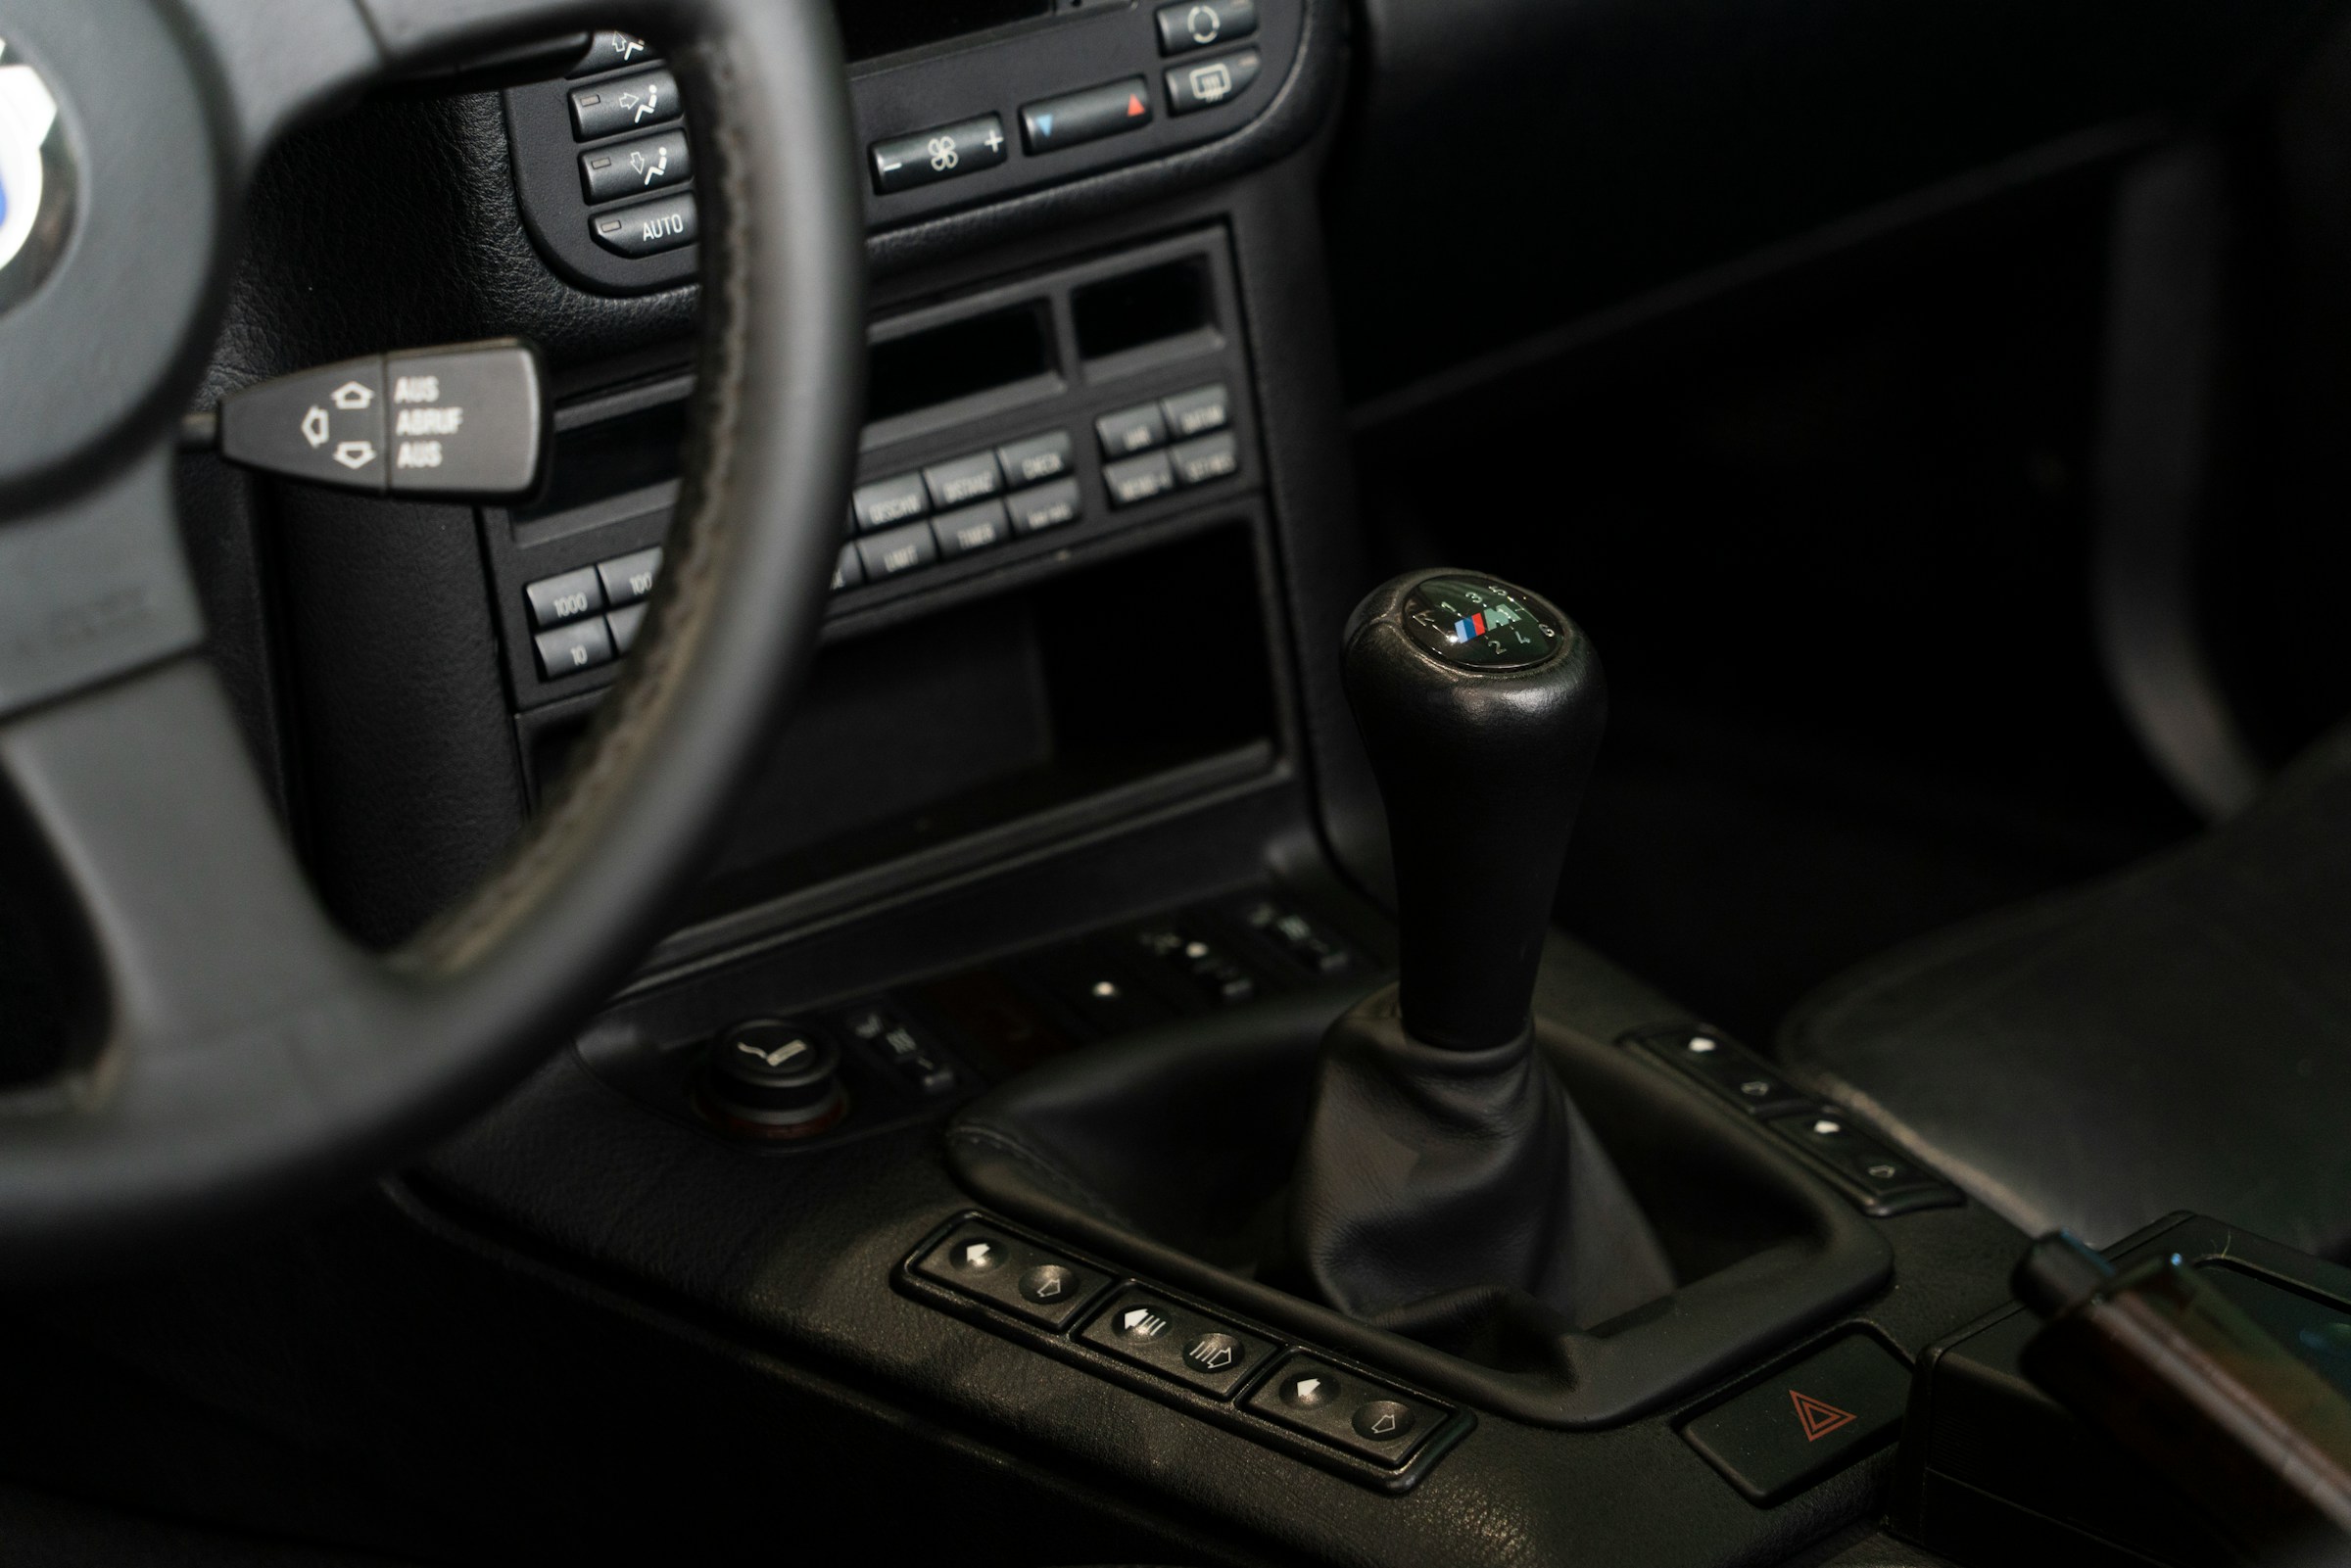
A clutch plate replacement is a significant repair for manual transmission vehicles, requiring mechanical expertise and careful attention to detail. Whether your clutch is slipping, making unusual noises, or failing to engage properly, understanding the replacement process helps you prepare for the job or communicate effectively with your mechanic.


This guide provides a step-by-step breakdown of successful clutch plate replacement, including the tools needed, estimated time, and key considerations for a successful repair.
1. Signs You Need a Clutch Plate Replacement
Before starting the replacement, confirm that your symptoms indicate clutch failure:
- Slipping Gears: Engine revs rise without acceleration
- Difficulty Shifting: Grinding or resistance when changing gears
- Burning Smell: Overheated clutch material
- Spongy or Stiff Pedal: Hydraulic system issues
- Vibrations: Warped clutch disc or flywheel damage
If these issues persist, a clutch replacement is likely necessary.
A. Essential Tools
- Floor jack and jack stands
- Socket set and wrenches
- Torque wrench
- Clutch alignment tool
- Transmission jack (for heavier vehicles)
- Pry bars and screwdrivers
B. Replacement Parts
- Clutch kit (disc, pressure plate, release bearing)
- Flywheel
- Pilot bearing (if applicable)
- Transmission fluid
- Hydraulic fluid (for clutch systems with a hydraulic release)
3. Step-by-Step Clutch Plate Replacement Process
Step 1: Vehicle Preparation
- Park on a level surface and engage the parking brake.
- Disconnect the battery to prevent electrical hazards.
- Lift the vehicle securely using jack stands.
Step 2: Remove Obstructions
- Drain transmission fluid (if required).
- Disconnect the driveshaft, shift linkage, and clutch hydraulic lines.
- Remove the starter motor (in some vehicles).
Step 3: Transmission Removal
- Support the transmission with a jack.
- Unbolt the transmission bellhousing and carefully lower it.
Step 4: Clutch Assembly Inspection
- Examine the clutch disc, pressure plate, and flywheel for wear.
- Check the release bearing and pilot bearing for damage.
Step 5: Flywheel Preparation
- Remove the old clutch assembly.
- Replace the flywheel.
Step 6: Install New Clutch Components
- Align the clutch disc using an alignment tool.
- Bolt the pressure plate evenly in a crisscross pattern.
- Lubricate the release bearing (if applicable).
Step 7: Reinstall the Transmission
- Carefully guide the transmission back into place.
- Reconnect all bolts, linkages, and hydraulic lines.
Step 8: Reassemble and Test
- Refill transmission fluid.
- Reconnect the battery and test clutch engagement.
- Perform a short test drive to ensure smooth operation.
4. Time and Difficulty Level
- Experienced Mechanics: 4–6 hours
- DIY Enthusiasts: 8–12 hours (depending on skill level)
- Difficulty: Advanced (requires mechanical knowledge)
5. Common Mistakes to Avoid
- Improper Clutch Alignment: Causes difficulty shifting.
- Uneven Pressure Plate Bolting: Leads to premature wear.
- Ignoring Flywheel Condition: Results in clutch chatter.
- Skipping the Break-In Period: Reduces clutch lifespan.
6. Post-Installation Break-In Period
A new clutch requires a 500-mile break-in period:
- Avoid aggressive acceleration.
- Minimize stop-and-go traffic.
- Gradually increase load to allow proper seating.


7. When to Seek Professional Help
Consider a mechanic if:
- You lack proper tools or experience.
- The transmission is difficult to remove.
- Additional drivetrain issues are discovered.
Conclusion
Affordable clutch plate replacement is a complex but manageable job with the right tools and knowledge. Following proper steps ensures a smooth installation and extends the life of your new clutch.
If you’re uncomfortable with the process, consulting a professional ensures a reliable repair. Either way, understanding the procedure helps you make informed decisions about maintaining your vehicle’s manual transmission.
Article Last Updated: August 12, 2025.


