

With another year passing since any form of SH Garage update on my two project cars – Project Spec C and Project Levin – I could dig into the excuse book for multiple reasons as to why.
Spare time has been a limiting factor, but being able to use one car while work continued with the other was a priority. My Subaru Impreza WRX STI Spec C hasn’t had much in the way of fixes and upgrades, and this was intentional; I didn’t need two car-sized paperweights.

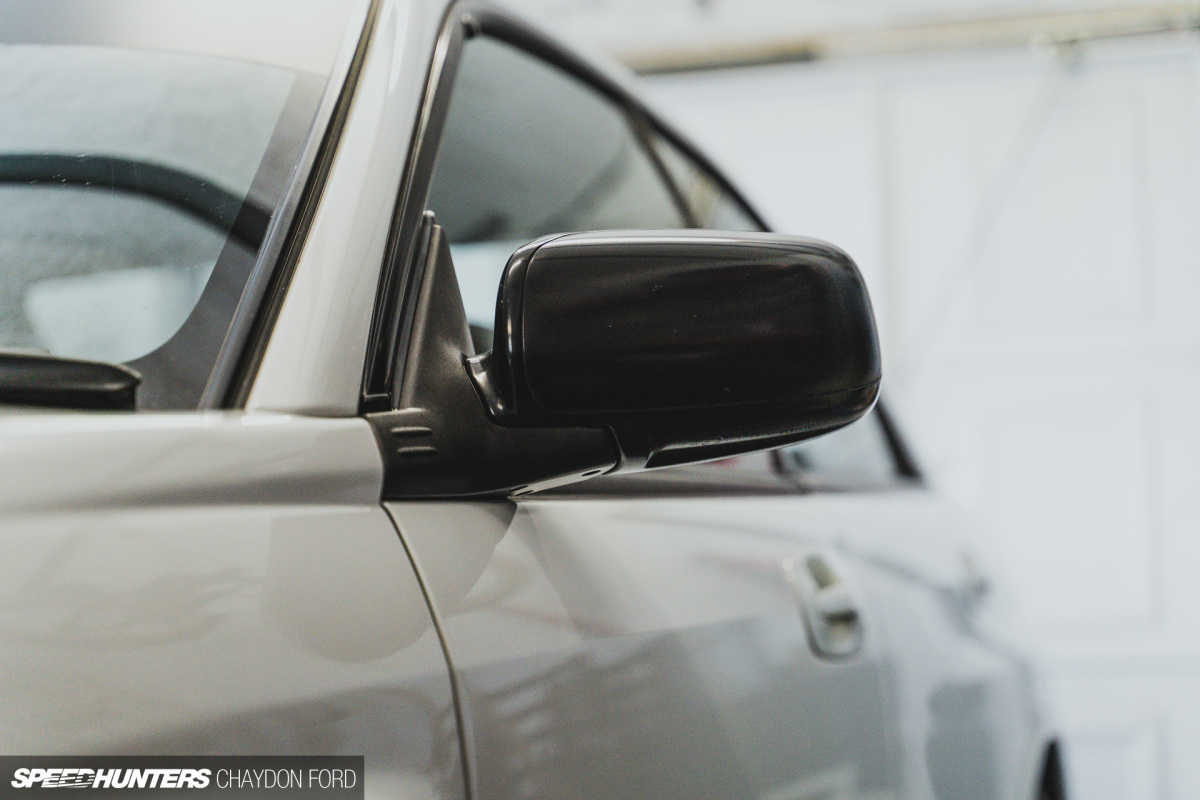

Keeping the car mobile and useable meant only minor tweaks, the first of which was fitting some Group A-style side mirrors – mostly for looks, not looking out of. The next and most important change was to fit a front-mounted oil-to-air cooler, similar to what came in the ‘normal’ Spec C (tarmac spec with 17-inch wheels). Given the previous mention of oil temperature spikes of up to 130°C, the stock Laminova oil-to-water cooler (mounted under the oil filter) that came in my ’16-inch’ (gravel spec) car just couldn’t keep up.


Flat-four engines are challenging to route oil cooler lines, which is why the normal Spec C features a cooler plumbed with hard lines. These are hard to find and expensive to buy, so I opted to piece together an oil-to-air kit, sourcing the AN fittings, lines, Mocal thermostatic plate, and Setrab oil cooler separately.


A bit of CAD (cardboard-aided design) was required to create the support brackets for the cooler.


Later GDB-generation Subaru Imprezas came with a C brace underneath designed to connect and brace the lower arm mounting points around the core support and lower arms. Great, until you need to route an oil cooler line. After much deliberation, the most logical routing for the cooler lines was right where the brace sat. More CAD, some cutting, grinding and glueing together with the MIG welder allowed a big enough notch for clearance.

After cutting the AN lines to the right lengths and heat-sleeving the section that came closest to the exhaust manifold, it was all ready to fit.


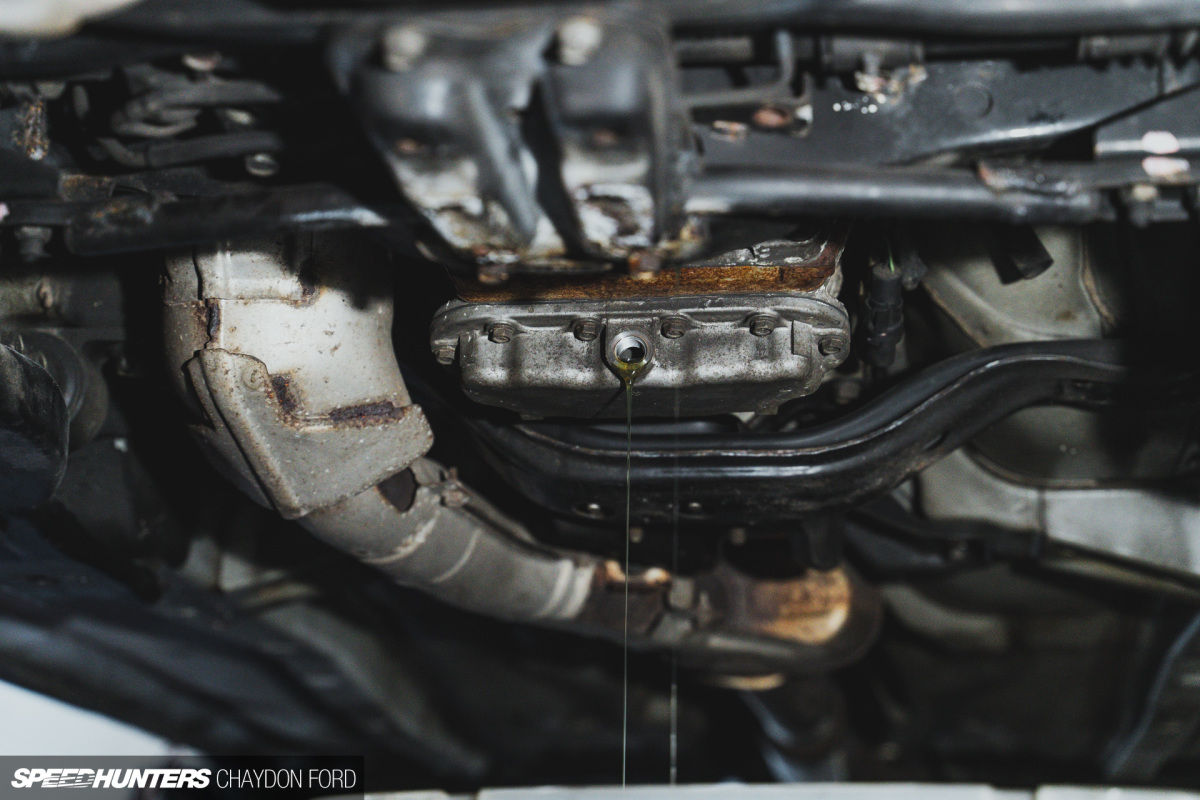
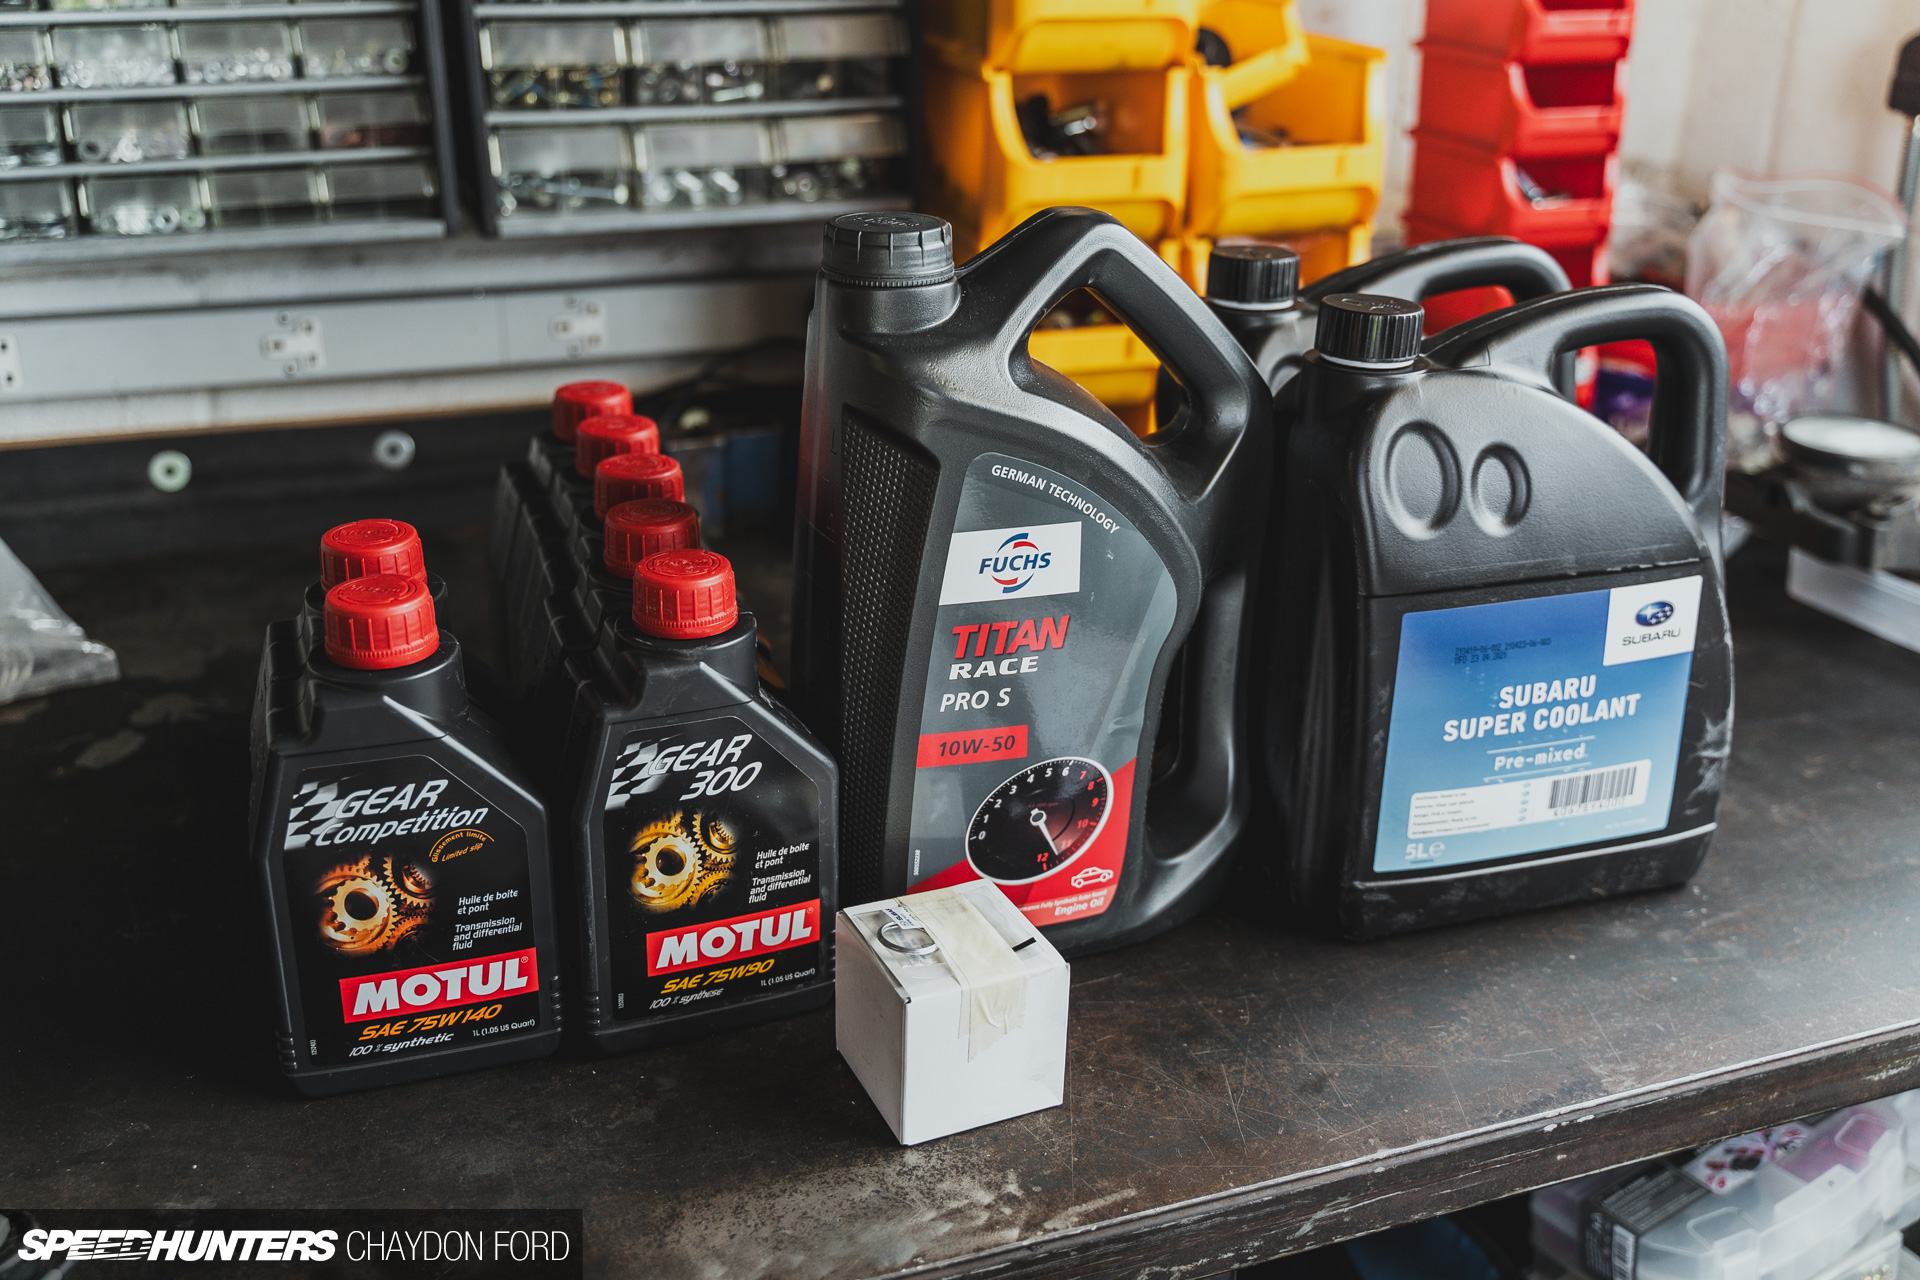
Along with an engine oil change, the gearbox and rear differential received fresh fluids, too.
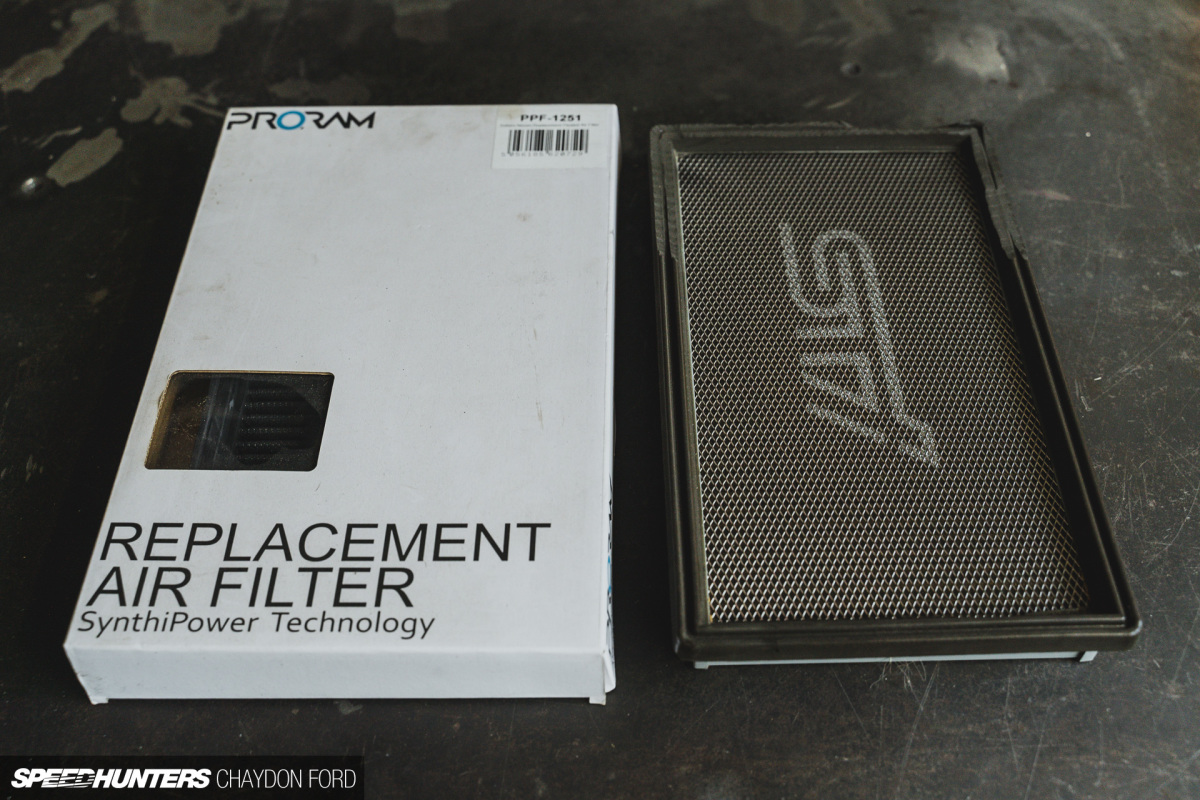

The last service item to replace was the panel air filter; the one in the car had seen better days. Intending to support local industries where possible, I took a quick trip to Ramair Filters – handily just a town away from where I live – and ticked that job off the list with a new Proram panel.

But the most dramatic upgrade I’ve made to Project Spec C over the last year was in the suspension department. Subaru’s intended purpose for this model saw regular STI road suspension replaced in favour of STI competition parts. While adequate, I had always kept an eye out for worthy replacements. A late-night browsing of Facebook Marketplace turned up a just-listed set of HKS Hipermax GT coilovers.

Removed from a newly imported Subaru S204 that was being returned to stock standard condition, the HKS coilovers would be a perfect road-biased suspension upgrade. They came fitted with 6kg/mm front and 3kg/mm rear spring rates and retained the inverted damper design.
They were in good condition, but a quick degrease, clean, and chasing the threads, they were back together. I’m running them at the maximum height, which is still slightly lower than I would like, but it works well for now and is a night and day difference over the stock setup in terms of ride quality.

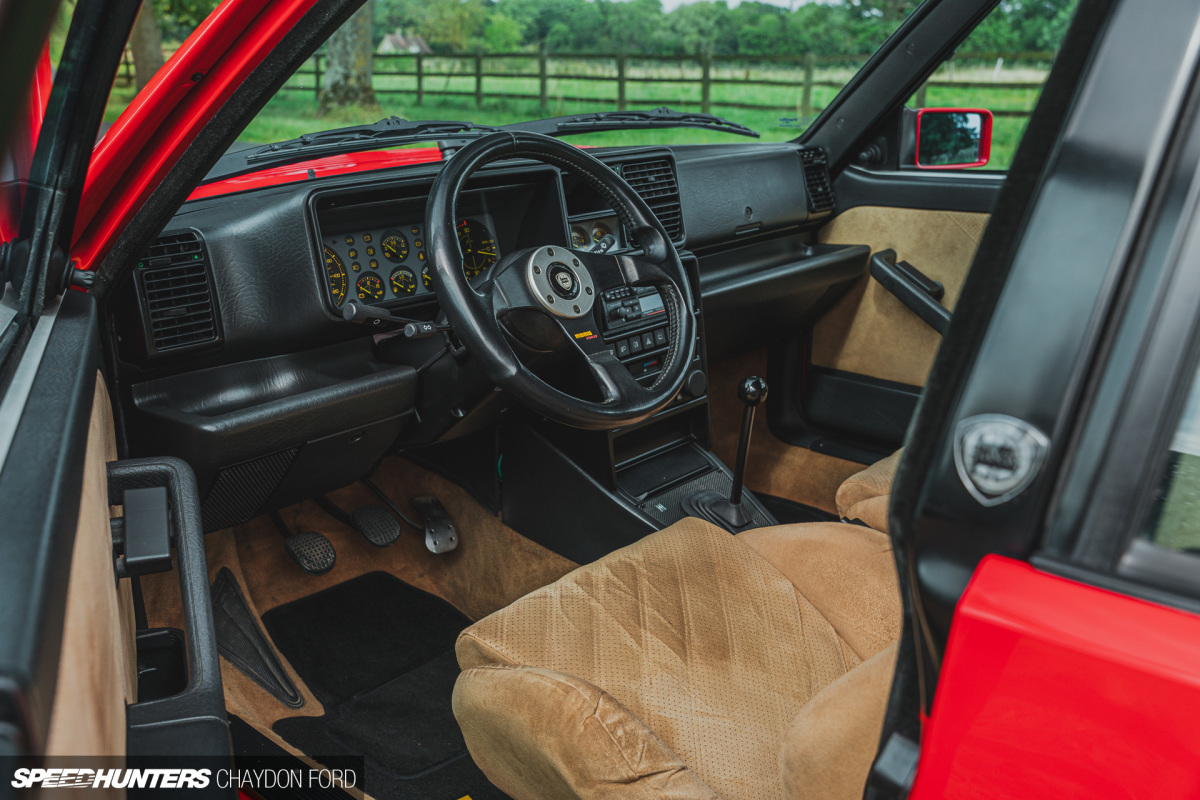
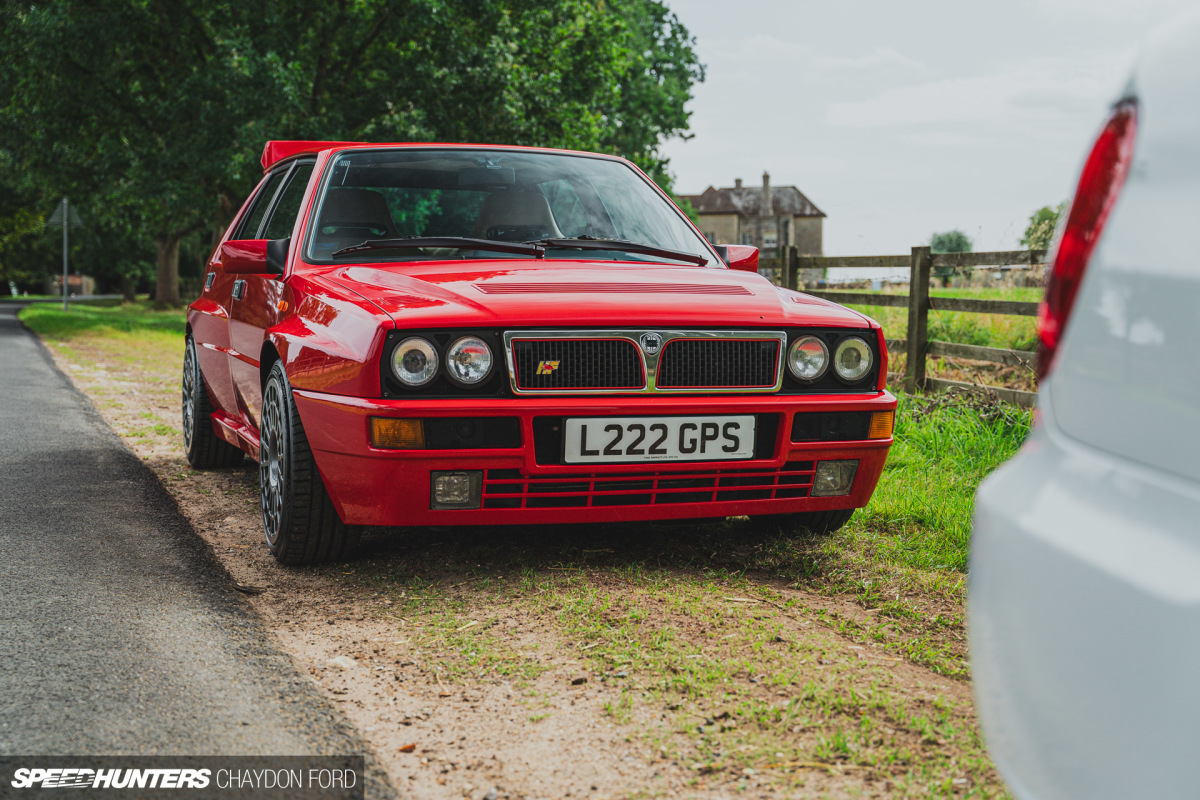
A rare opportunity presented itself over the summer when I offered George the keys to my Subaru for him to see what it was like to drive. Schedules aligned, which allowed us a morning to take in the B-roads around Bicester and, in turn, the opportunity for me to drive a poster car – his recently acquired Lancia Delta Integrale Evo 2.

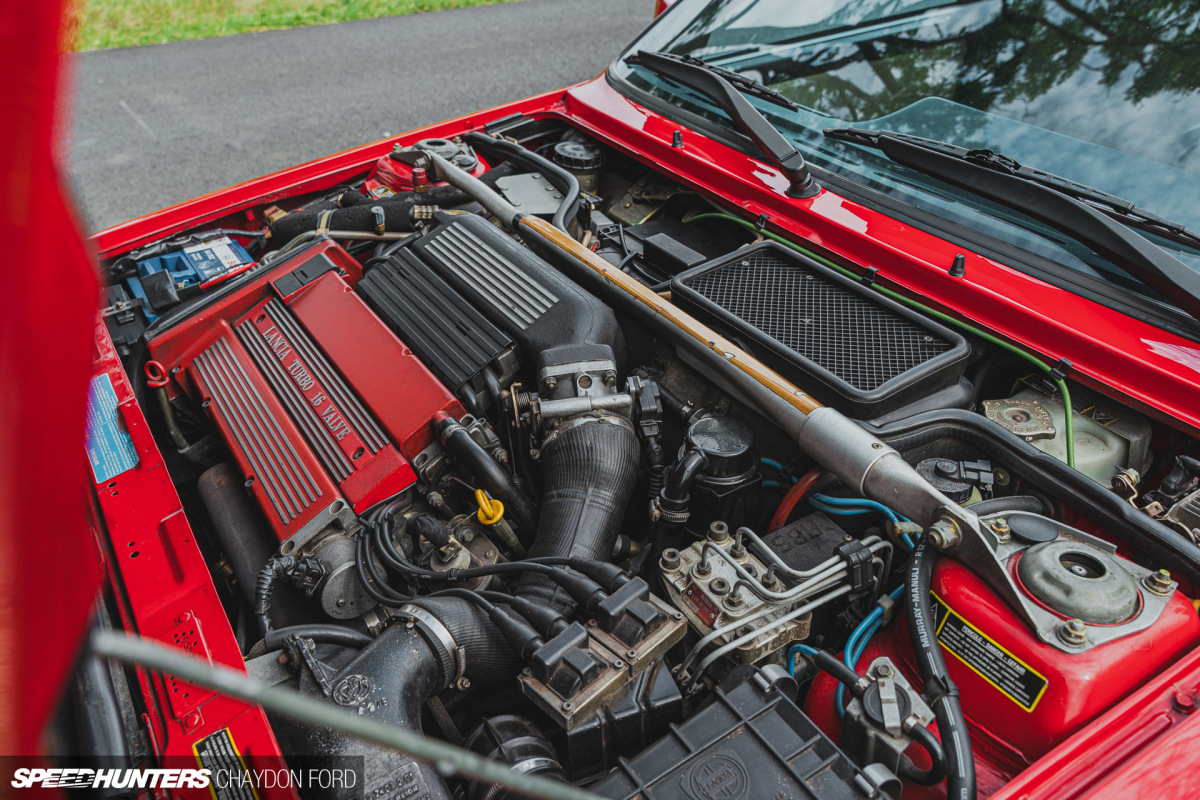

Boxy arches, four-wheel drive, four doors and turbocharging are the products of companies steeped in rallying heritage.
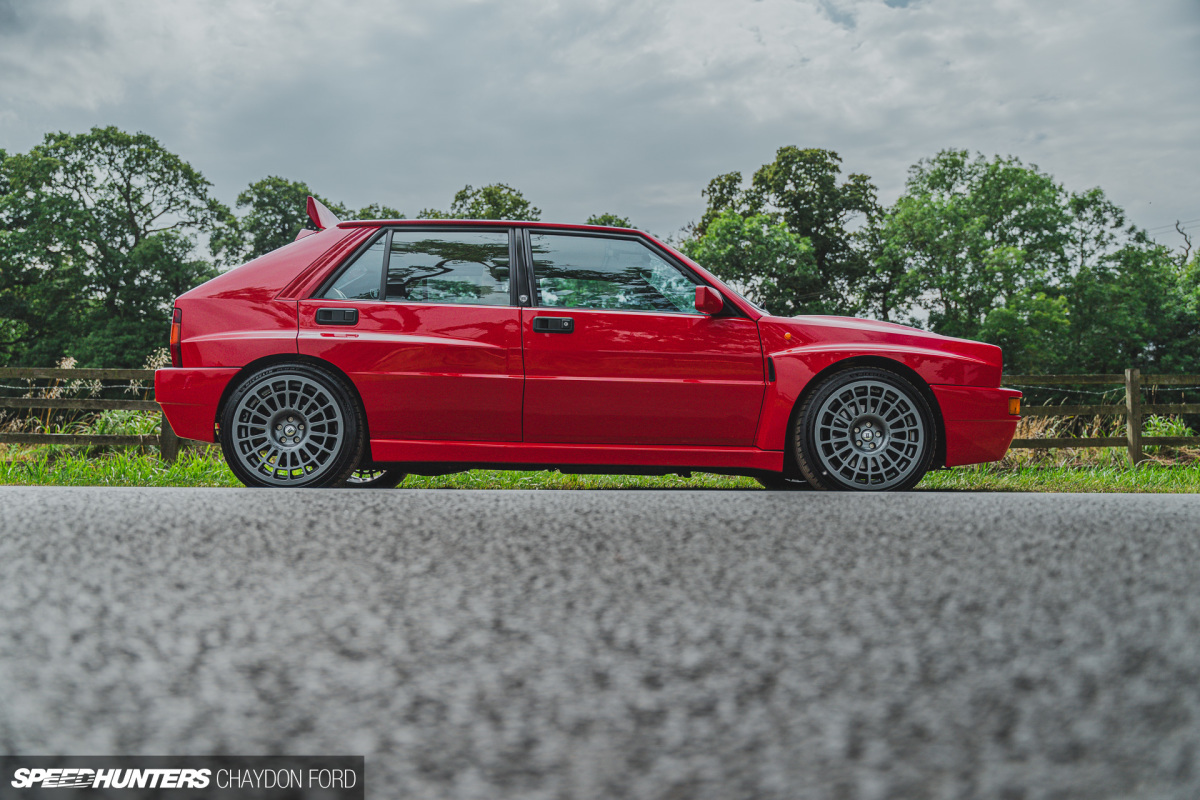

There are obvious advancements made in the decade gap between the two, but also many similarities.

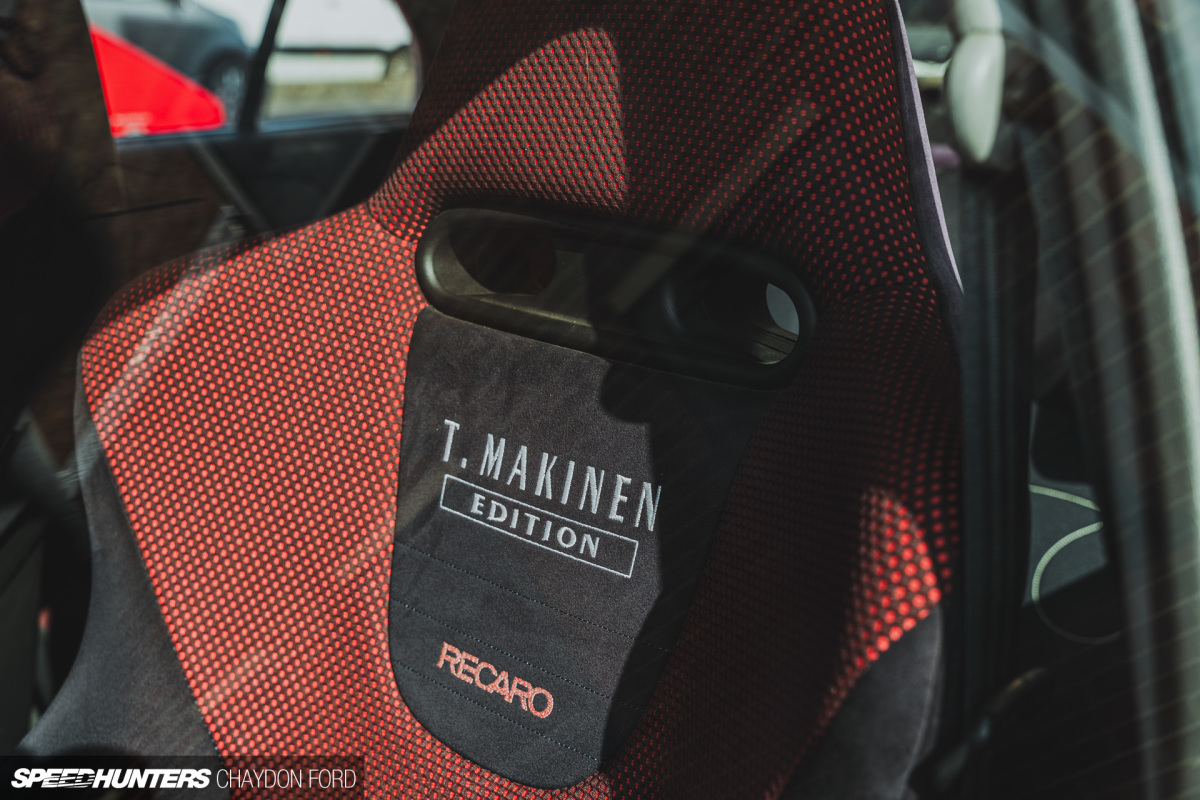
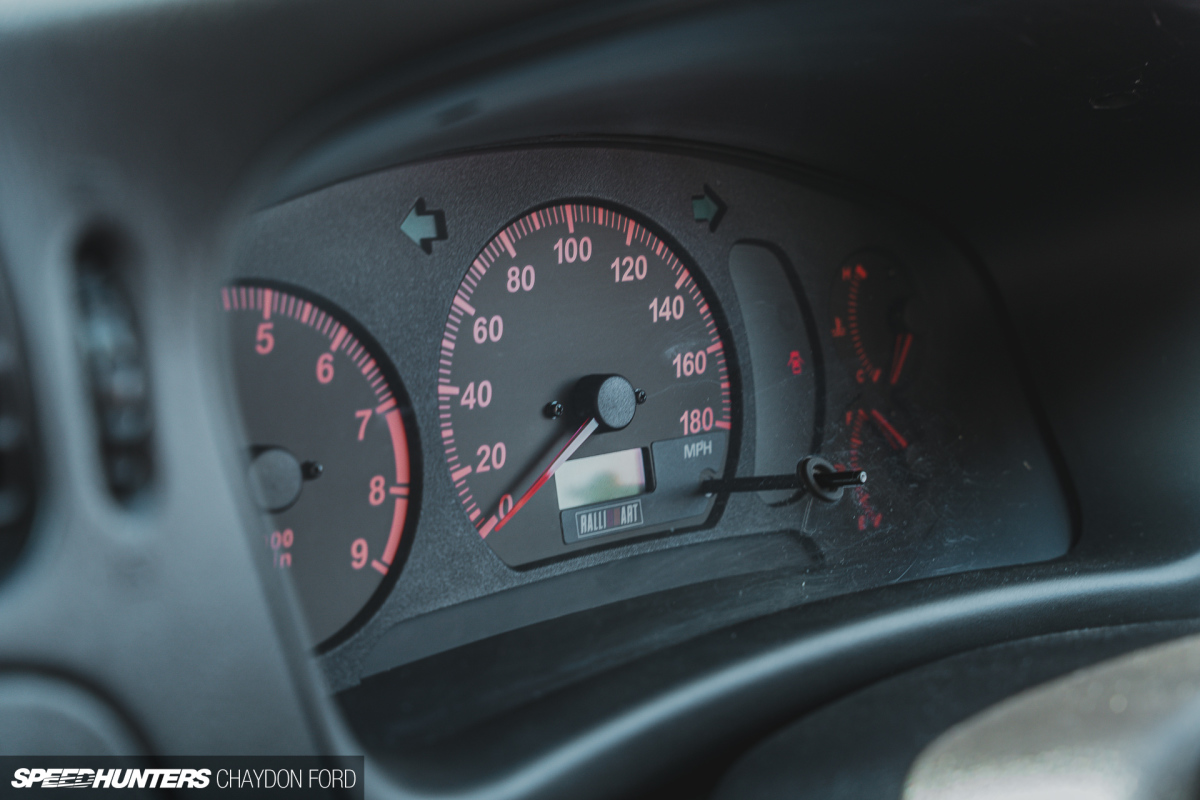

A quick stop off to see the guys at Autosportif and Robbie’s Mitsubishi Lancer Evolution VI Tommi Mäkinen completed the dream lineup.


After 2,500 miles covered over the summer, I’m still slightly conflicted about what’s next for Project Spec C; maybe larger wheels and tyres to make it more capable. Or raise it more, fit some 15s and chunky tyres and live out my rally recce car dreams. Decisions, decisions! But for now, the car sits tucked away from the copious amounts of salt that British roads get covered in every winter, patiently waiting for spring to emerge.

You’ve likely heard the saying ‘It takes a village to raise a child’, but, paraphrasing slightly, having a good group of friends around to help during a car project is invaluable. From moral support to technical knowledge or just being a spare pair of hands, friends’ help cannot be understated. Ultimately, while I could have undertaken almost all of this stuff myself, it’s a whole lot more fun sharing the process with like-minded people.

Project Levin – my ex-featured kouki AE86 Toyota Corolla Levin hatchback – was away for a little over a year, undergoing some fairly dramatic repairs at Retro Speed Shop, which painted my previous black AE86 Levin. Before leaving, a comprehensive strip-down was required, removing anything that wasn’t stuck down, as well as some things that were. Given the difficulty in finding replacement glass, I opted to keep the windscreen and rear quarter glass in, but like a closing-down sale, everything else had to go.
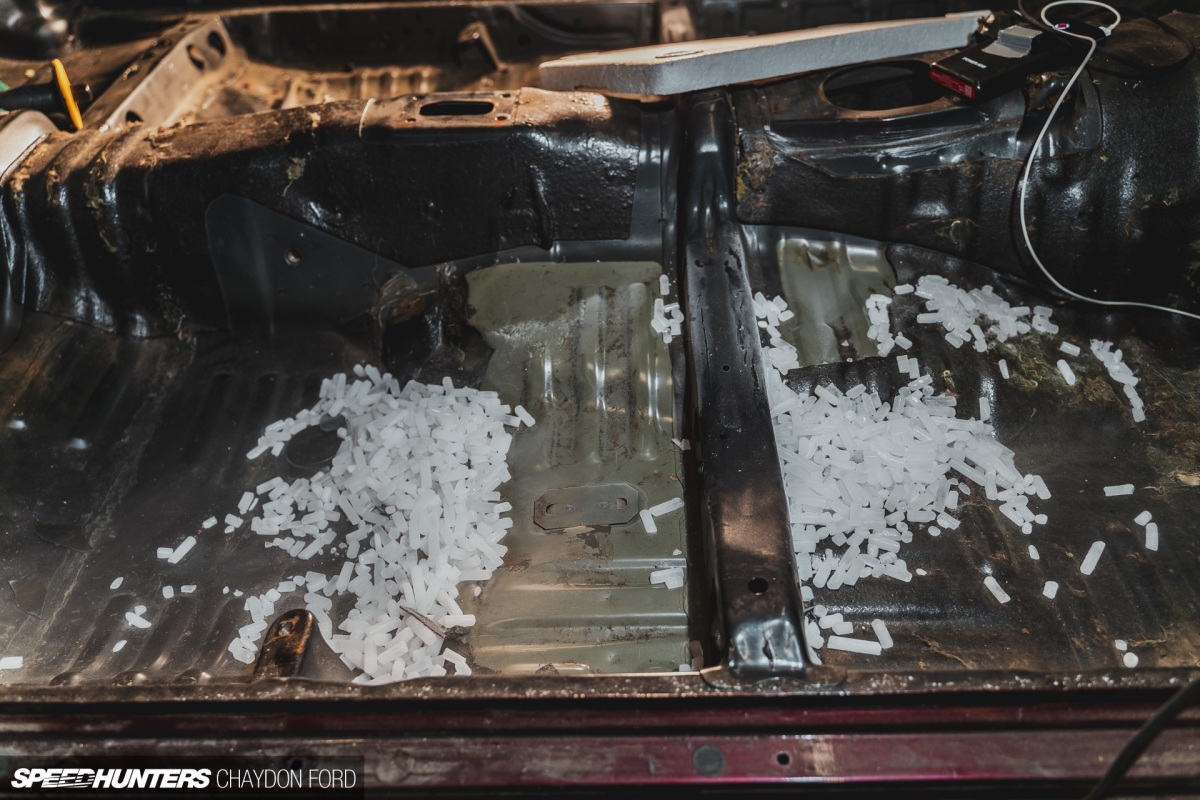

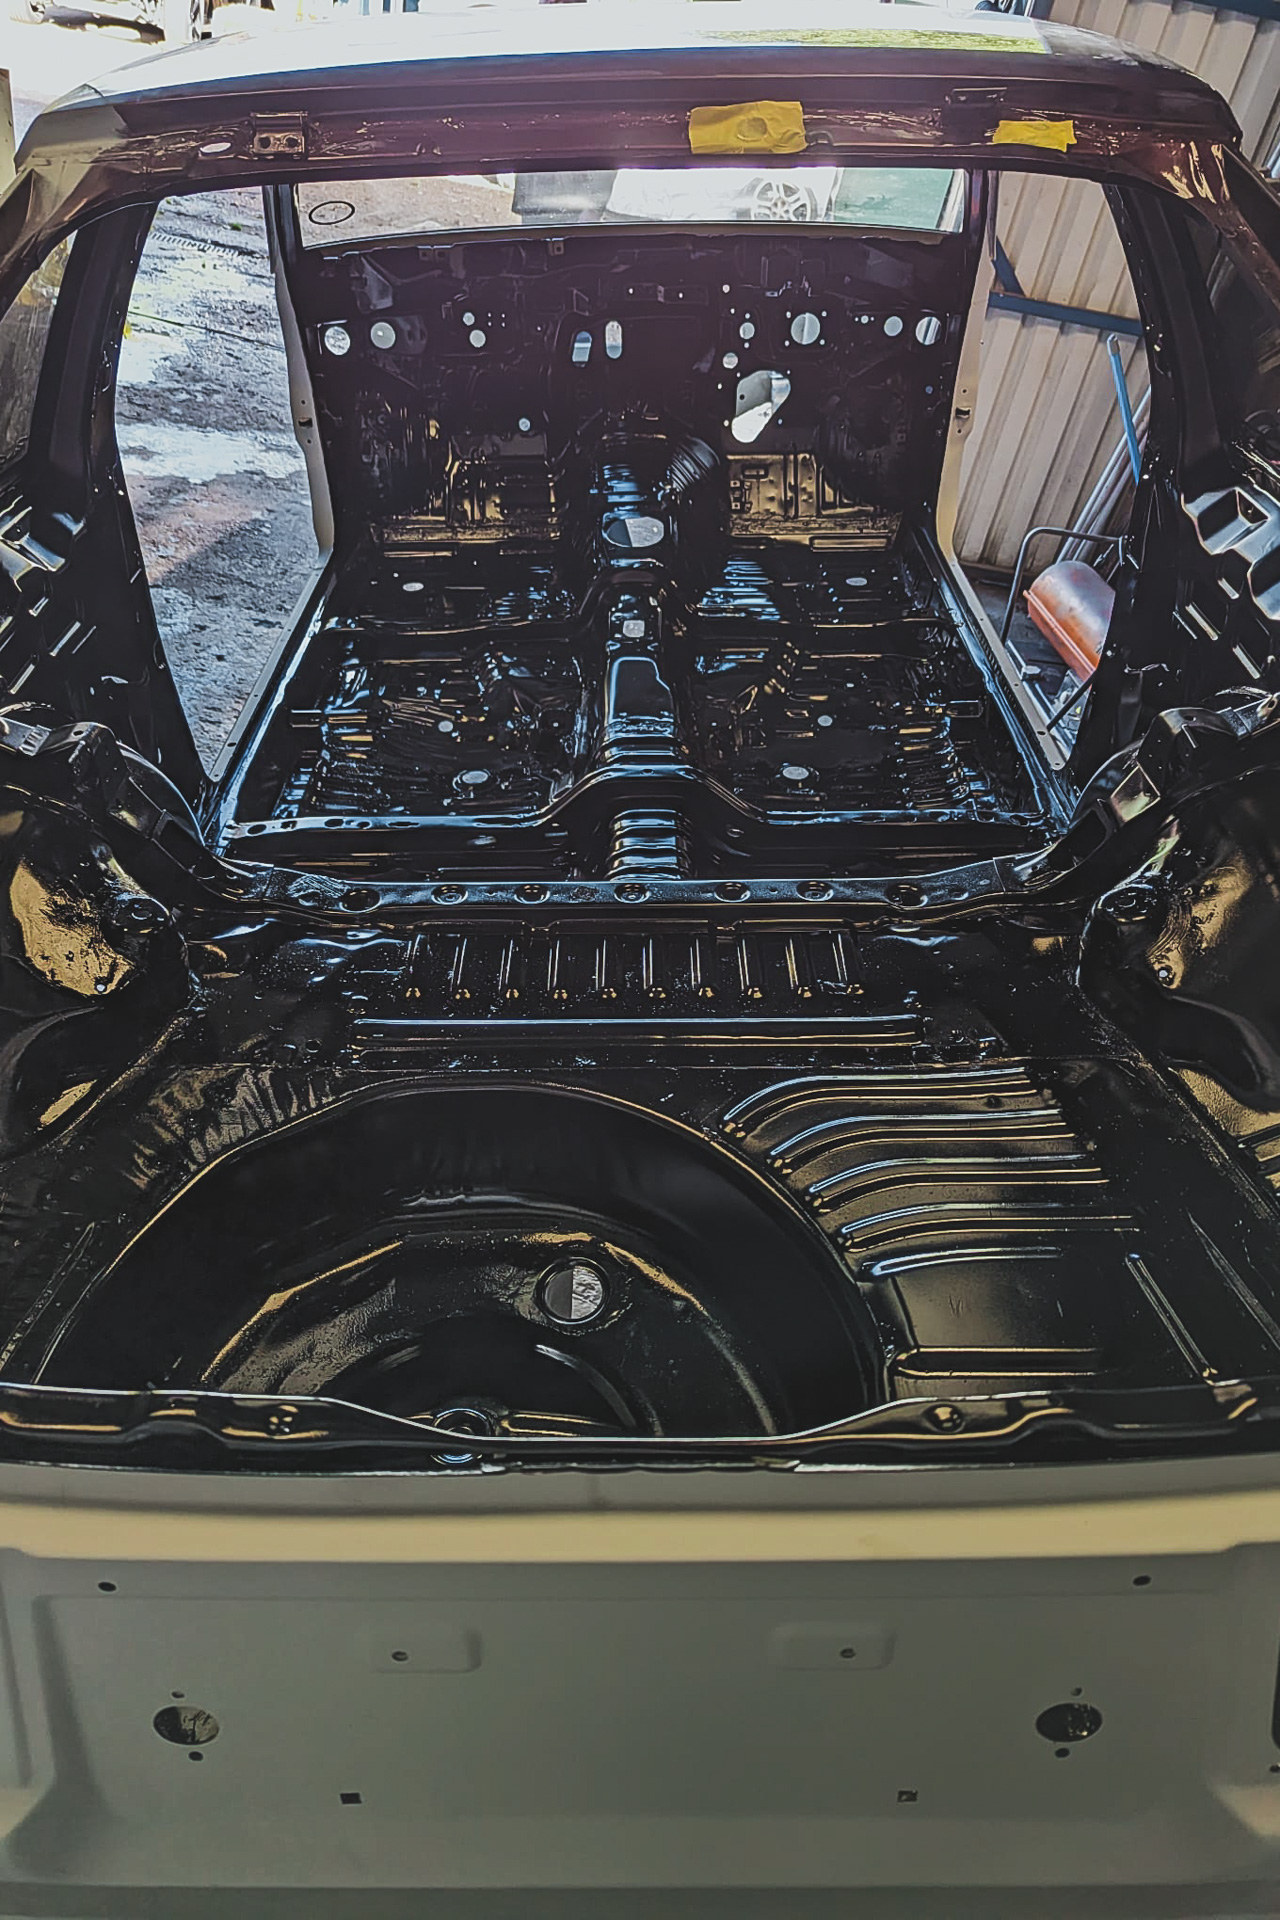
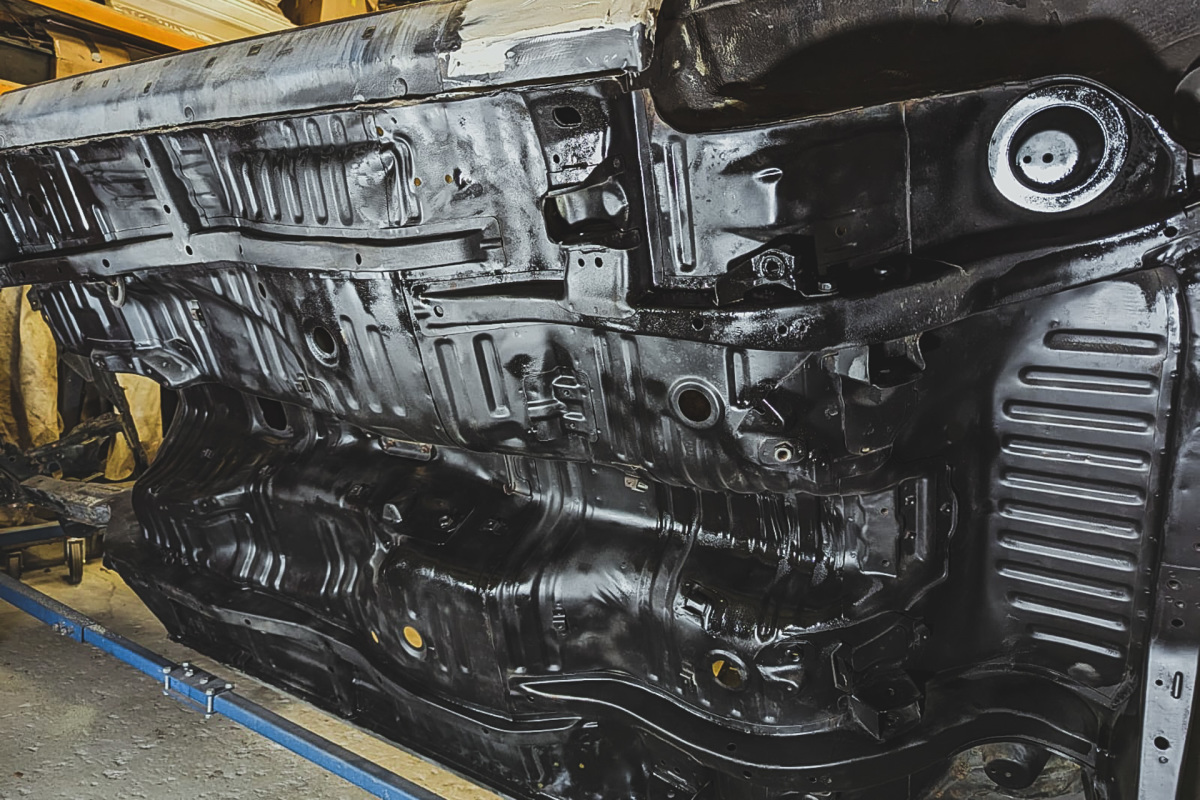
After much late-night research, removal of sound deadening seemed to fall under two options: using a lot of heat or using a lot of cold. Heat is messy, smelly and requires a lot of cleaning, so instead, I opted for dry ice pellets.

Dry ice worked incredibly well, spreading the pellets across the sound deadening and then waiting for the magic to happen.

Here’s a tip for anyone planning to give it a go themselves: For any areas that don’t have a level surface, putting the dry ice into a bag and taping it up against the area, or even the back side of it, worked a treat for me.

When the time eventually came to move the car, creativity was required to get it onto the trailer. After forklifting it into position on the trailer, some wooden pallets and ratchet straps were required to stabilise it on its rollover spit for the 2.5-hour trip. Rob May, who’s had his AE86 featured on Speedhunters before, was gracious enough to tow the car up to Stoke-on-Trent for me.


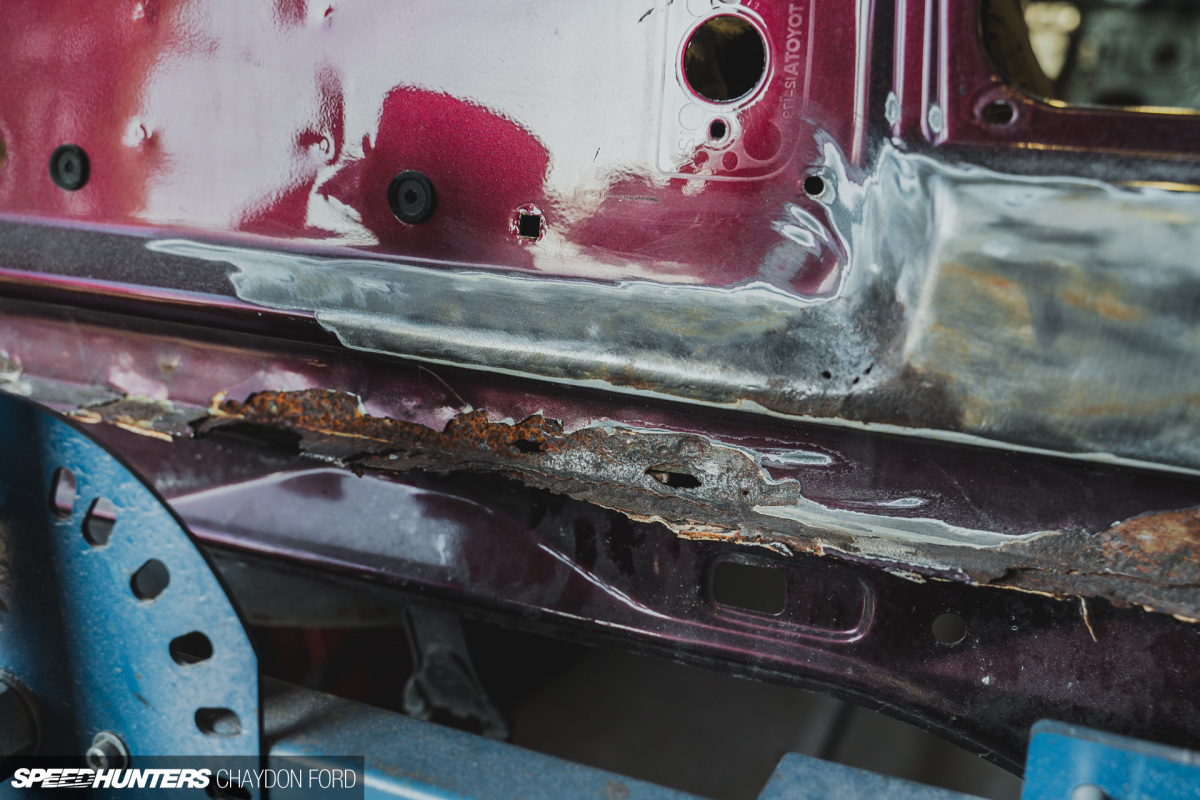

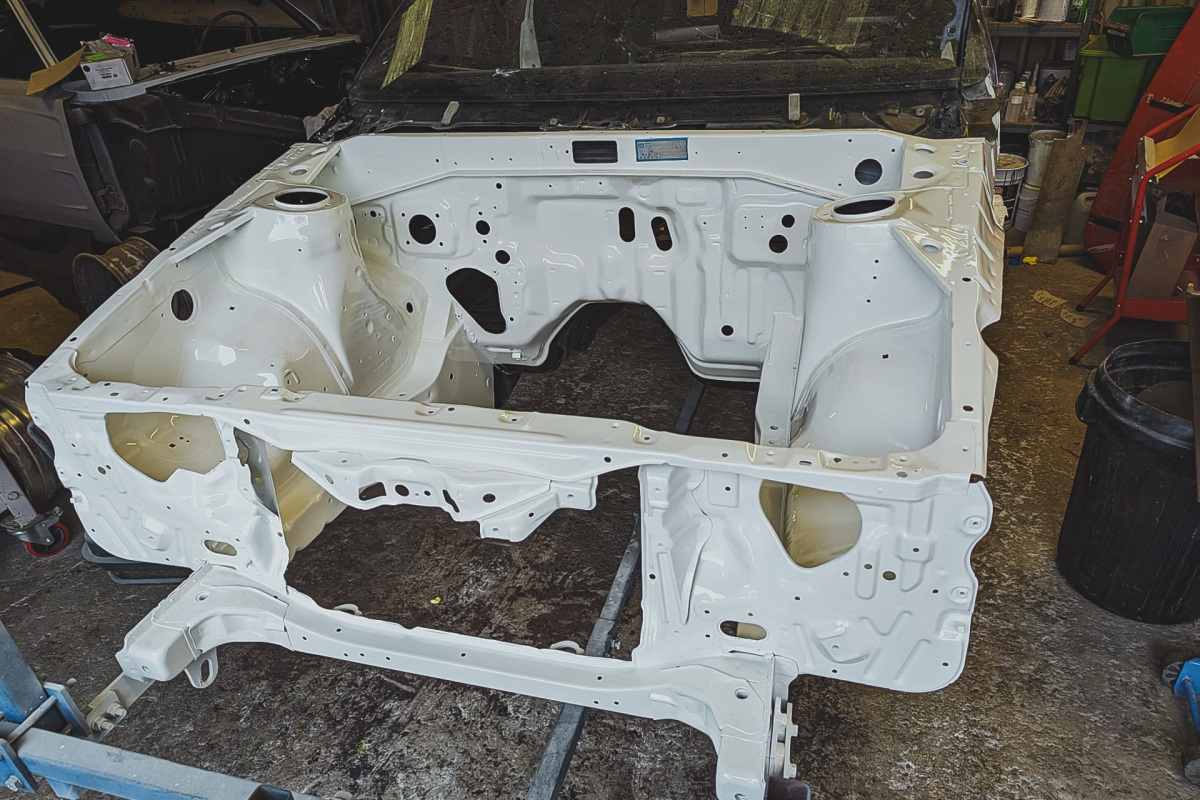
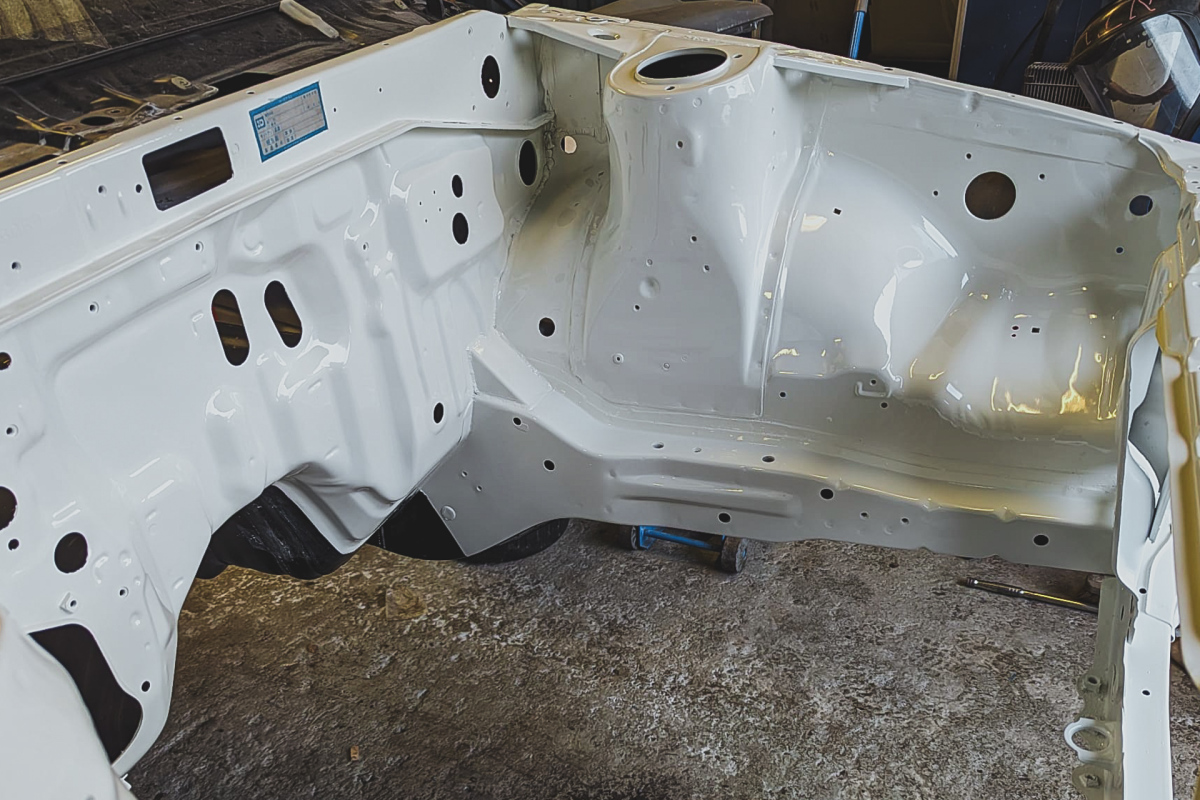
As I’d removed parts, areas in need of attention revealed themselves. By the time Iain at Retro Speed Shop saw it, he was aware of the work that lay ahead, save for a few hidden surprises.


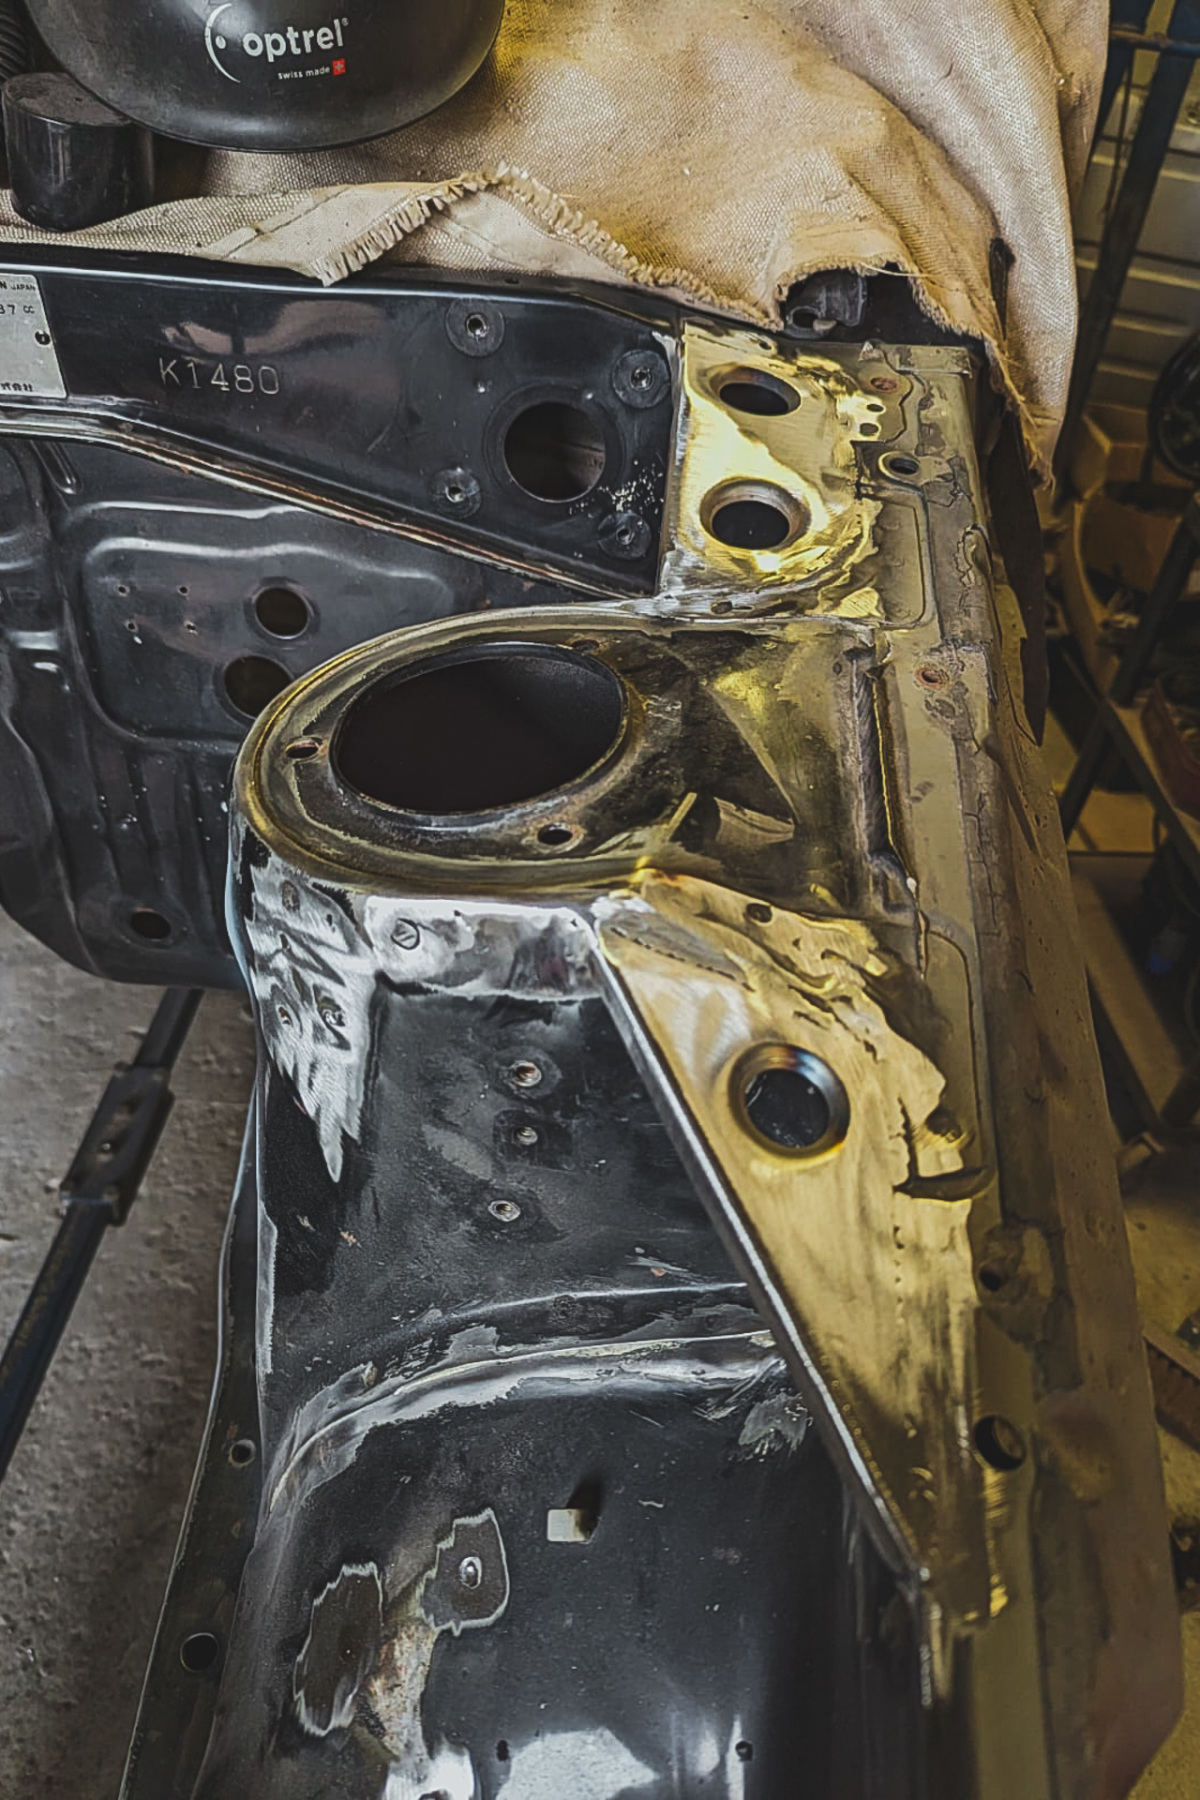
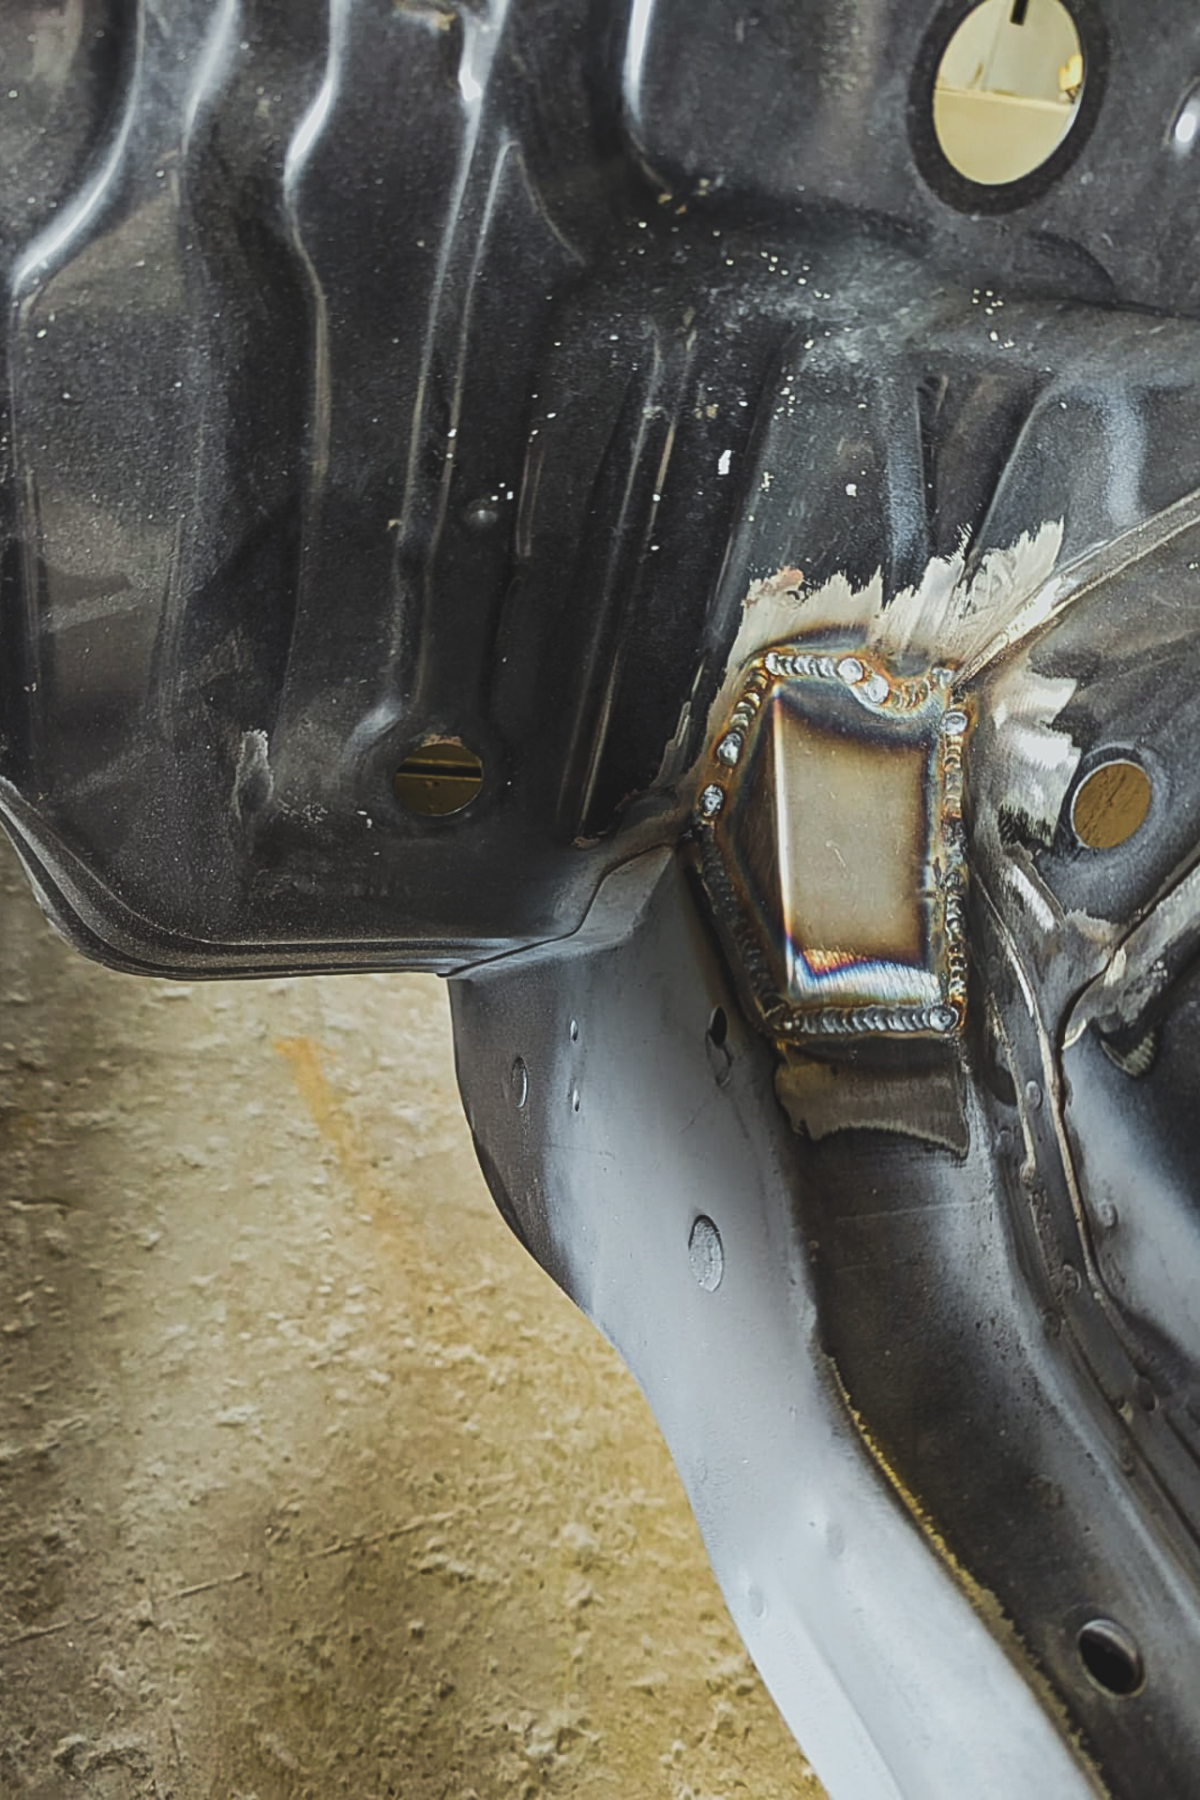
Some extra bracing was also welded into the engine bay.


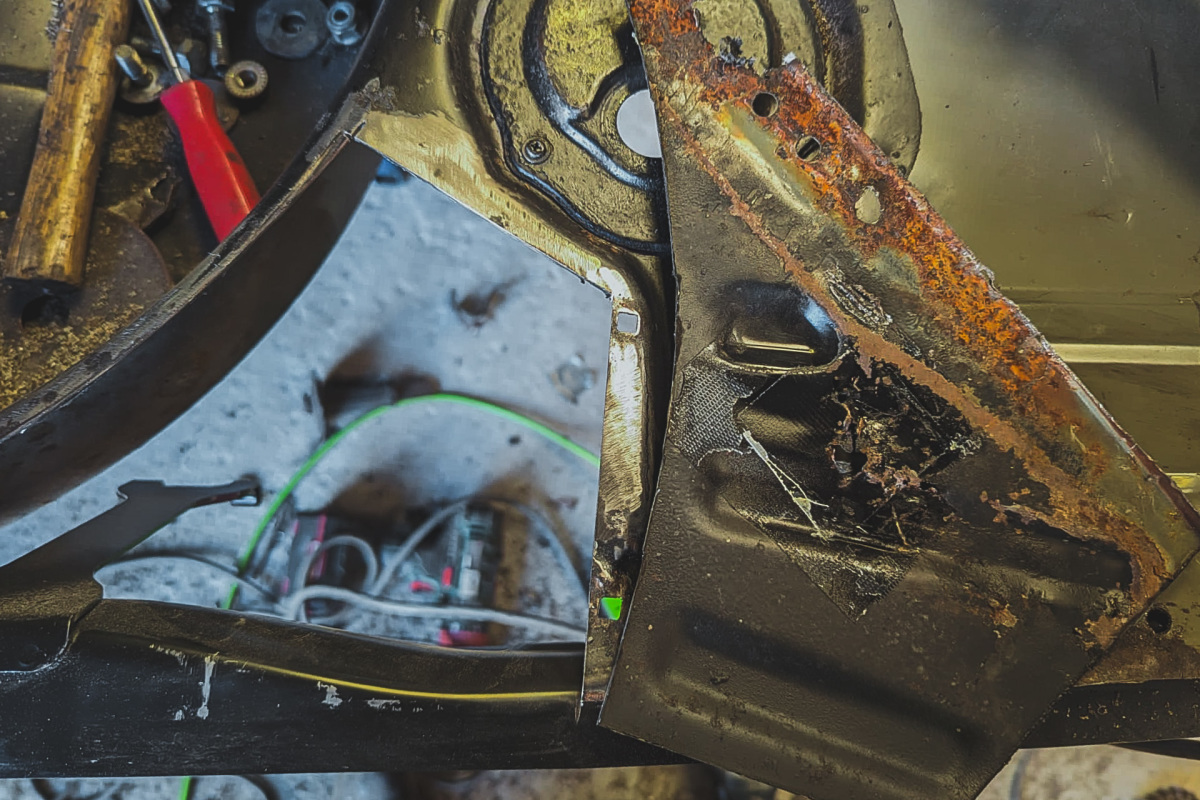

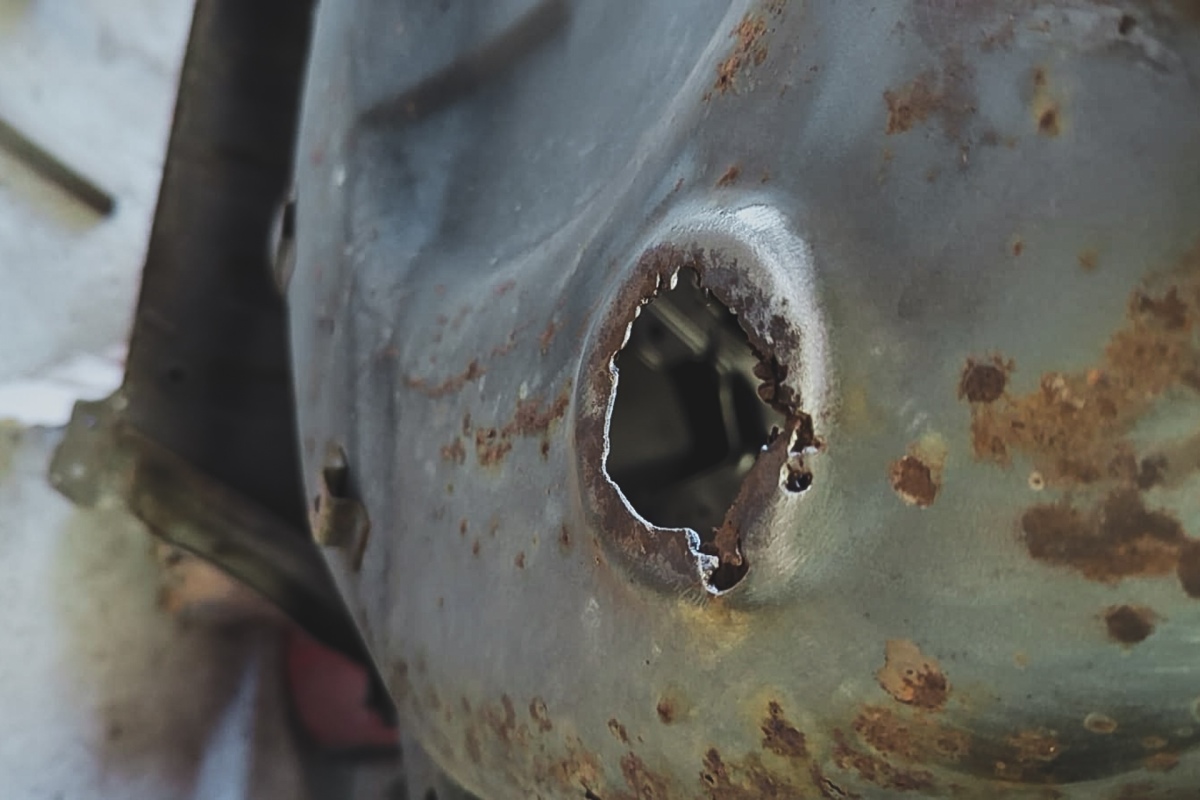
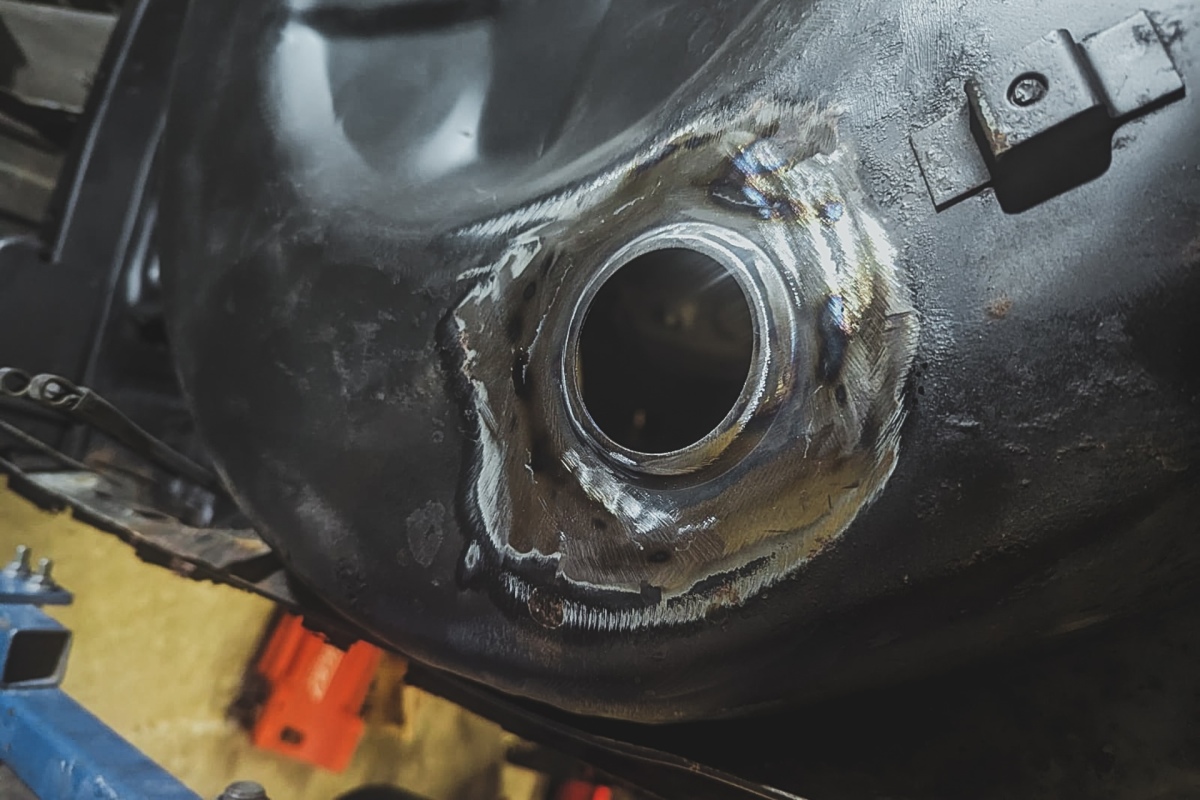
Rust was cut out, and new metal was welded into any areas that required it.

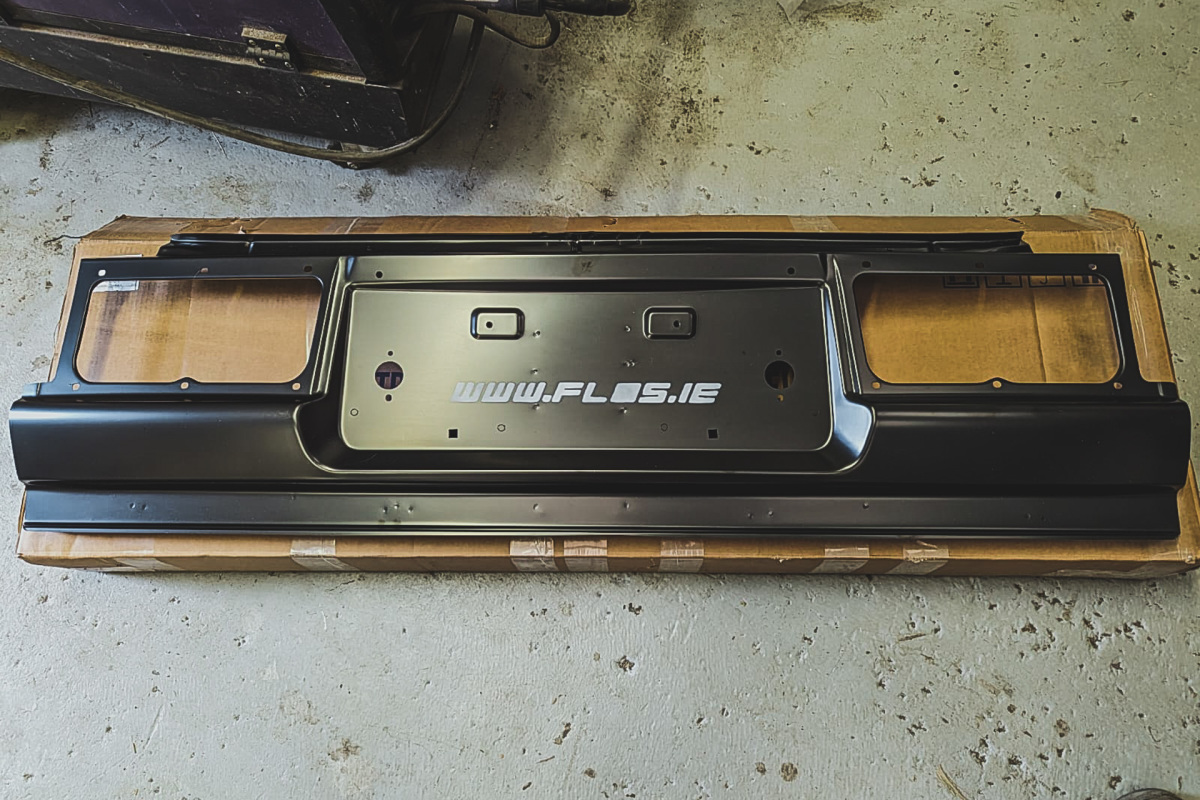
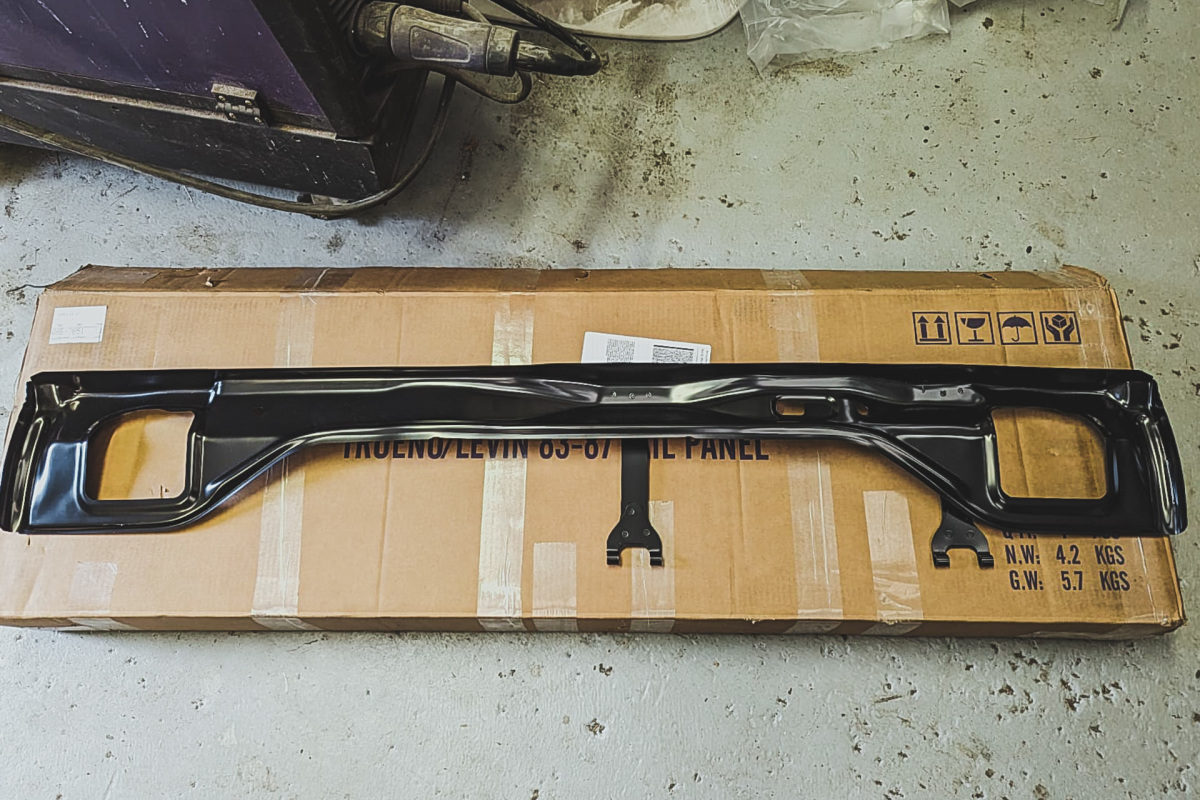


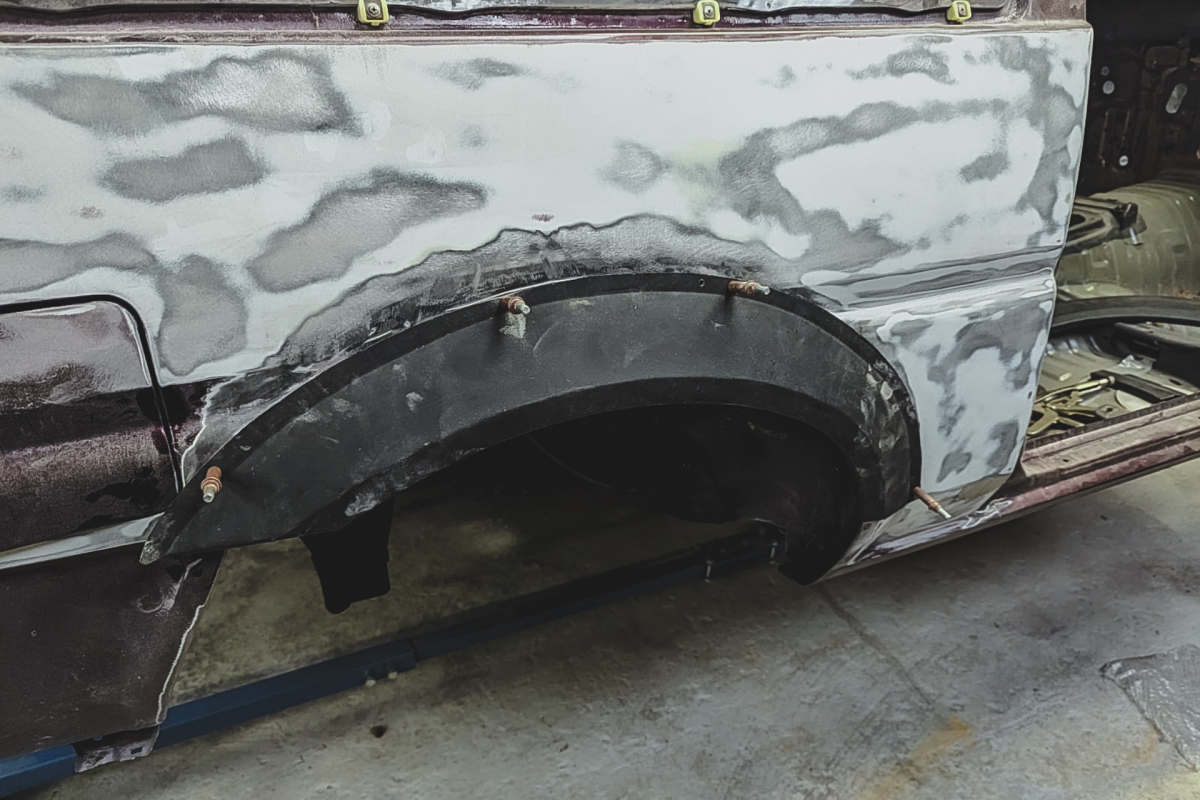

Replacement upper and lower rear panels were deemed necessary, along with some stock-width rear arches in place of the wider fibreglass ones previously fitted, as I’m going for more of an OEM+ look. It’s great to finally see more and more reproduction and heritage parts becoming available for the AE86 as they surpass 40 years of age.


I was, however, missing a few critical parts: The front fenders were beyond repair, the vented bonnet was sold with my previous AE86, and the boot lid had too many holes from previously riveted-on aero appendages. The fenders were sourced from a friend in Japan, and both a spoilerless bootlid and an OEM-style bonnet came from XTR Auto in the Czech Republic.


I made a few trips up to Retro Speed Shop to check in on progress, bringing more parts as required as the panel work edged ever closer to completion.

On one of those trips, I’d given Iain some basic drivetrain parts to get the car rolling ahead of collection, along with a set of wheels. I’ve always liked the Work Meister S1 and bought a full 15×7.5-inch set locally – perfect for the stock-width arches. As is commonplace with most AE86 owners, these won’t be the only set of wheels destined for the car, with some others hopefully making their way from Japan in the coming weeks.
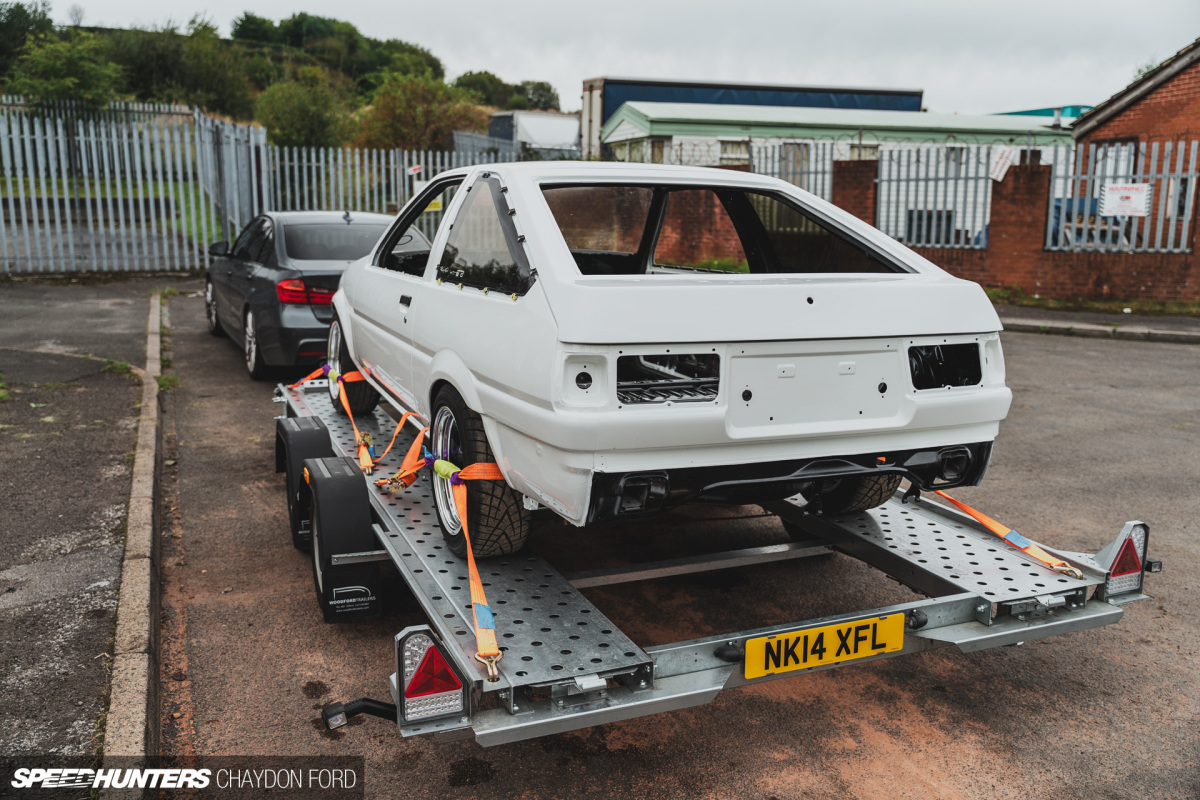


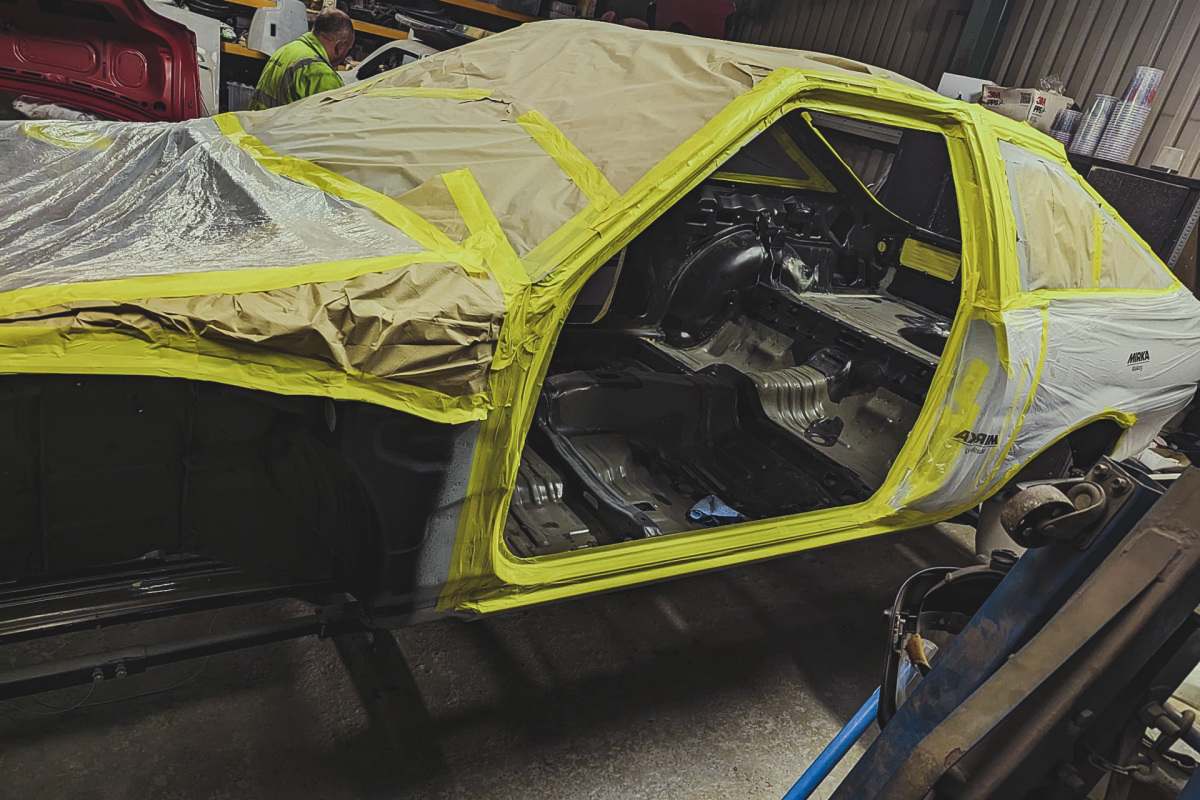
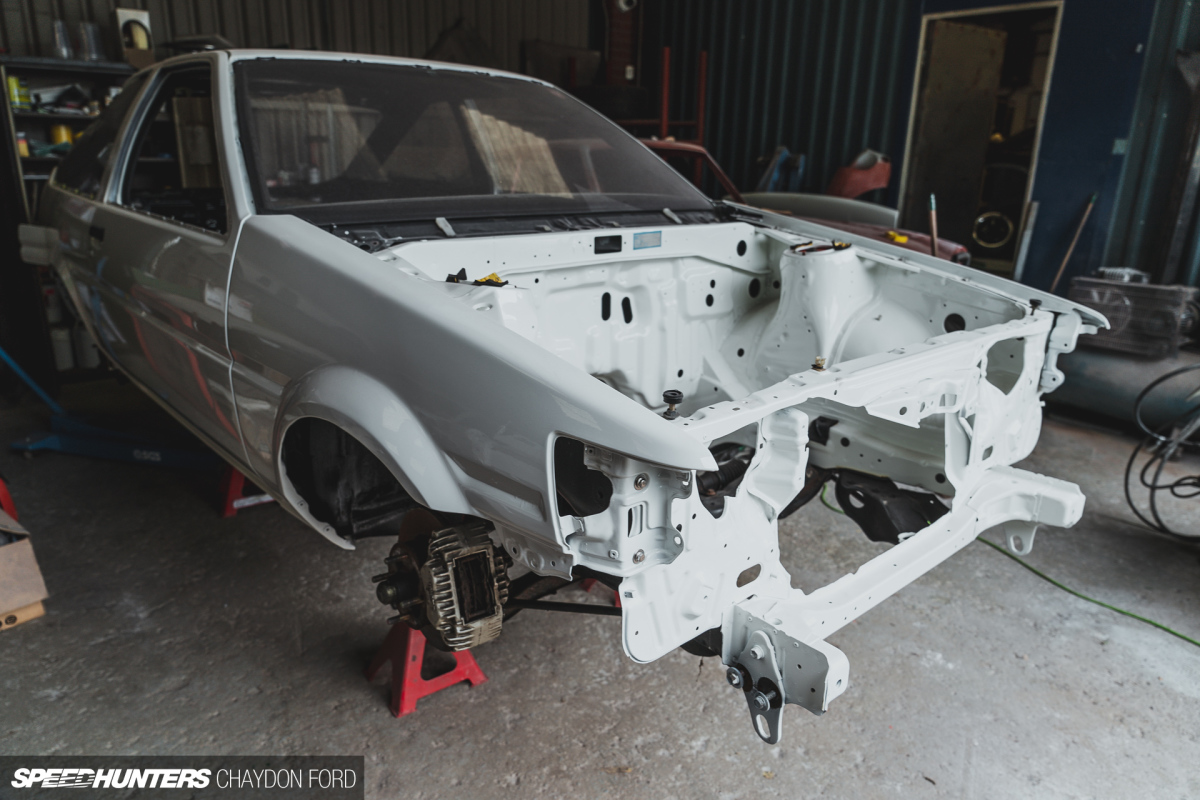
Yet again, with the help of a friend (Kevin this time), we got the car back home safely. It was hugely gratifying to see the car in a fresh coat of Toyota 040 Super White II, a huge transformation from how it looked when I first bought it.

So what’s next for Project Levin? As and when time has permitted, I’ve been in the garage, slowly refitting parts, with everything being cleaned up to varying degrees. There have been some surprises which haven’t been budgeted for, but scope creep seems to be a common occurrence when it comes to projects. Mark knows all about this…
With an aspirational deadline of May ahead of a sprint day, I well and truly have my work cut out for me. But it does mean I’ll have another SH Garage update for you soon.
Chaydon Ford
Instagram: chaycore
Additional Project 86 Photography by Retro Speed Shop