

There are, broadly speaking, two types of computer: The desktop and the laptop. Laptops’ portability has made them the more popular option, letting you work or play from a sofa or a coffee shop, as well as your actual desk. Desktops have their advantages though: The extra size means they can be more powerful, fitted with bigger and better components, and more exactly customized to meet specific requirements.
Obviously there’s the opportunity for larger screens and larger keyboards with desktops, and there’s a good argument to be made that they’re better for your posture too: You can sit up straight at your desk and keep the screen at eye-level, rather than having to be hunched over and looking down all the time.
When you’ve got a laptop though, you’ve actually got a desktop as well—you just need to make a few tweaks and add a few accessories. While you can’t upgrade the hardware inside your computer, you can get the other advantages of desktop computing.
Hardware accessories
To turn your laptop into a desktop, you’re going to use the laptop as the main computer, and attach desktop accessories to it. A good starting point is to invest in a USB hub, which adds a bunch of extra connection ports to your laptop.
Which one is best depends on what’s already available on your laptop: Bigger models have more built-in ports than smaller models like the MacBook Air. Take the $50 Anker Docking Station, for example, which attaches via USB-C and offers two HDMI ports (for monitors) and two USB-A ports running at USB 3.0 speeds (for accessories such as a keyboard).
Anker Laptop Docking Station, 8-in-1 USB-C Hub

You might need a hub or dock for the laptop-to-desktop switch.
Anker
You can then think about monitors, as well as a keyboard and mouse. The best monitor for you is going to depend on the laptop you’re hooking up to it, but put in some research on the web and you should find plenty of options. Likewise with keyboards and mice: Take some time to find models with the features and aesthetics you’re after.
You don’t have to use your laptop screen when it’s in desktop mode, but you can if you want to. If you are going to make use of it, you might want to invest in a laptop stand that gets the screen higher: Something along the lines of the $25 Besign LS03 or the $180 Logitech Casa will work (that Logitech model comes with built-in charging and wireless input devices, hence the higher price). If you’re using an external monitor, you could consider a monitor arm to place it in an ideal viewing spot.
Logitech Casa Pop Up Desk Kit with Laptop Stand

The Logitech Casa comes with input accessories.
Logitech
Further accessories, from gamepads to printers, can then be added as necessary and as space allows. You could even include something like the $200 Elgato Stream Deck, which gives you access to a shortcuts panel you can use for launching various features, functions, and apps on your newly desktop-ized laptop computer.
Elgato Stream Deck
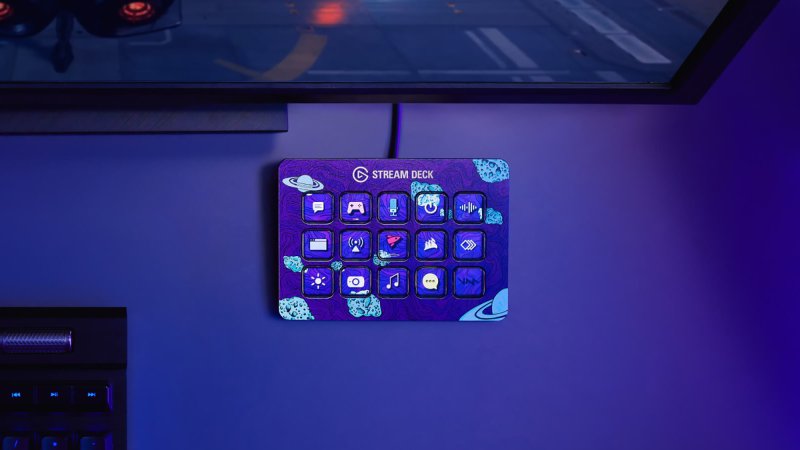
The Elgato Stream Deck is more versatile than you might have realized.
Keeping your laptop plugged in and charging while it’s in desktop mode isn’t essential, but it’s probably a good idea—it means you don’t need to worry about dwindling battery levels while your laptop is driving an external display and any other peripherals. Get your power adapter connected, and something small in the way of cable management (like a clip to keep the cable out of the way), and your hardware setup is complete.
Software tweaks
Once the hardware is in place, you can turn your attention to the software. You don’t need to make a lot of changes here, but there are certain ways that laptops behave by default that might need overriding—depending on how your laptop is already configured.
Most of the accessories you plug into your laptop will just work straight away, with no extra work needed—keyboards, mice, printers, and so on (remember you can connect these via Bluetooth too). Sometimes you’ll find a specific customization tool available, like Logi Options for using Logitech keyboards and mice on Windows and macOS.

When it comes to Windows, open up Settings then head to System > Display to configure multiple monitors. Via the drop-down menu on the right, you can get the operating system to spread itself across two displays (Extend these displays), or have it just show up on an external monitor (Show only on 2). You’ll also see options for display resolution.
Check out the power options in Settings too, via System > Power & battery. Your laptop might be set to turn the screen off after a short time of inactivity in order to save battery, but that’s not necessarily what you want when it’s being used as a desktop. What’s more, via Lid, power & sleep button controls, you can make sure your laptop stays on with the lid closed (which you want if you’re exclusively using an external display).
You’ve got a similar set of options when it comes to MacBooks, via System Settings. Multiple displays can be configured through the Displays panel: The drop-down menu next to Use as lets you set whether macOS uses one or both or the screens you’ve connected, and there are further options for display resolution (click the monitors at the top to switch between the respective settings).
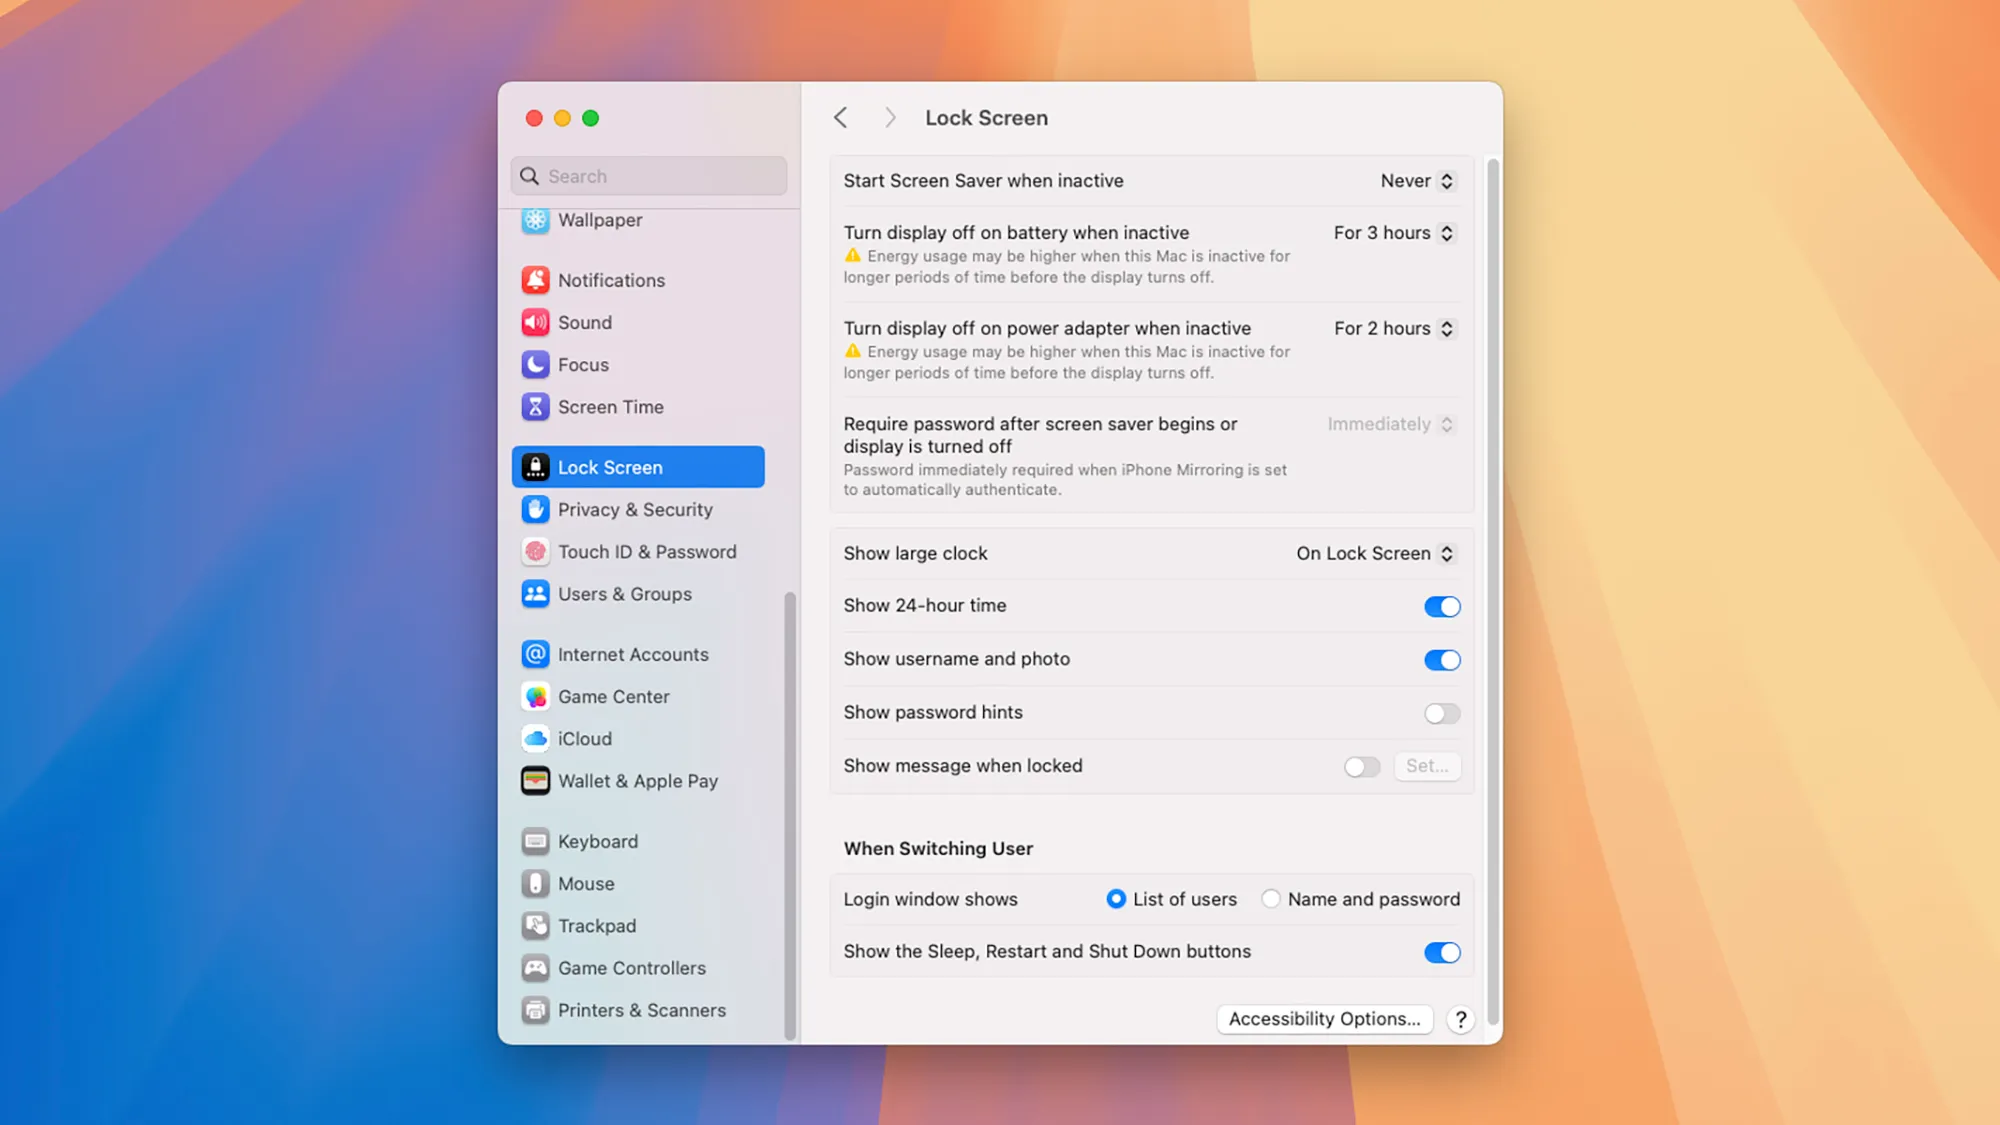
Open the Lock Screen tab in System Settings, and you’re able to control how long macOS waits before turning off the display due to you not doing anything—if you’re using your laptop as a desktop, you might want to extend this time period. There’s no setting for keeping the MacBook on when you close the lid though, as there is with Windows: As long as there’s an external display and a power adapter connected, your MacBook shouldn’t go to sleep when you close its lid.

More deals, reviews, and buying guides