

Over the years I’ve repaired and/or replaced at least 5 dashboards in 850s. I’ve used a number of repair techniques and by trial and error have found that only one type of repair is a permanent solution. This thread contains a discussion of the various repair methods and a short write up of the best solution: fiberglass. This write up can also be used for x70 dashboards since they are so similar to 850s.
850 dashboards suffer a huge design flaw – the mounting points. They are made out of plastic and due to age and wear and tear, they WILL deteriorate and break over time. Unless your 850 has been driven only on smooth roads for its lifetime, I guarantee you have at least some mounts that are broken. Unfortunately, when the mounts break, it puts more stress on the structure of the dash because the weight of the dash is no longer evenly distributed. The increased stress, coupled with driving on bumpy/poorly maintained roads, inevitably leads to cracking in various parts of the dash structure. Many with broken dash mounts will also have cracks in the long, black plastic piece at the top of the dash adjacent to the windshield. The long black plastic piece is attached to the structural parts of the dash, so when the structure cracks, so does that piece.
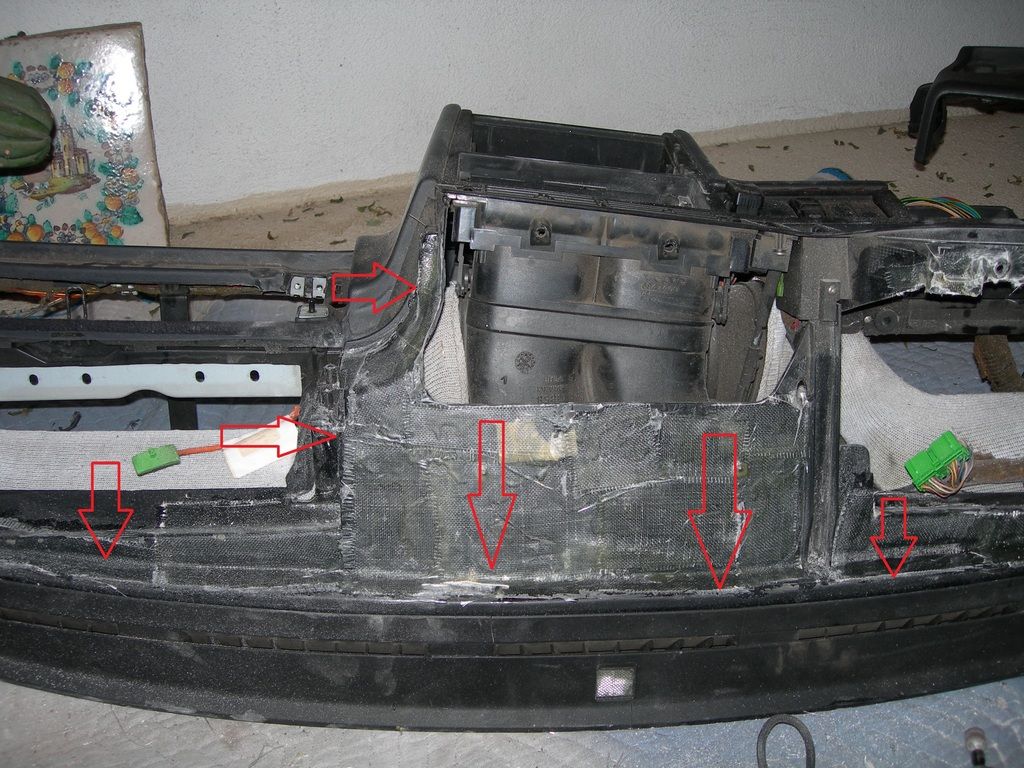
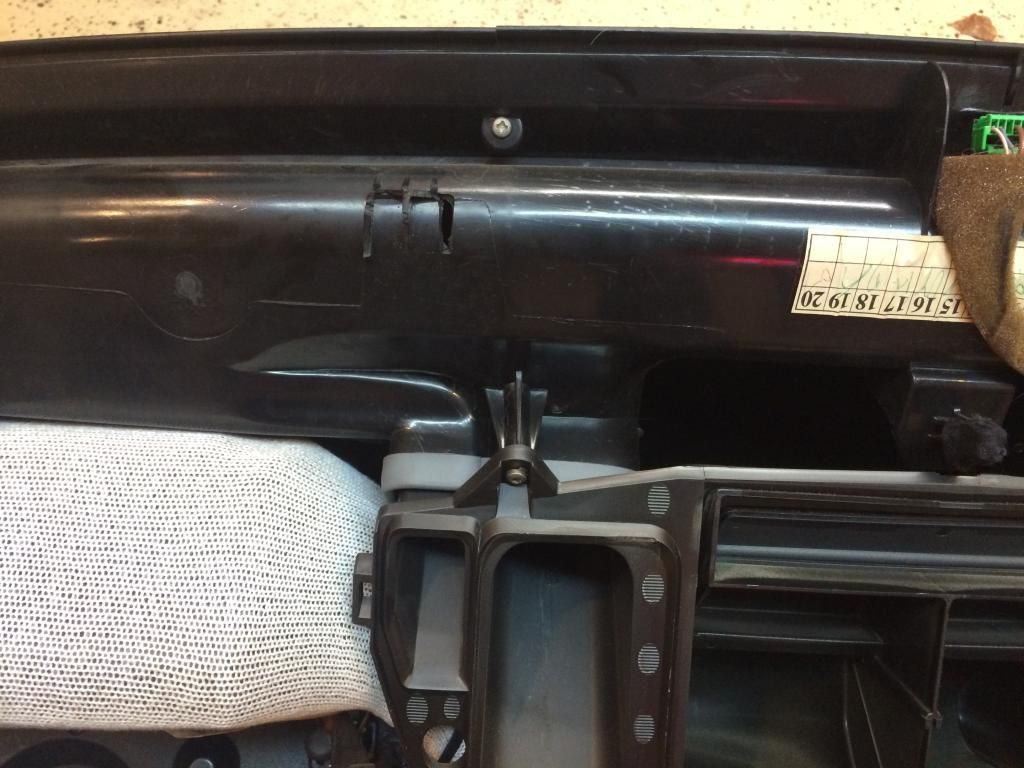
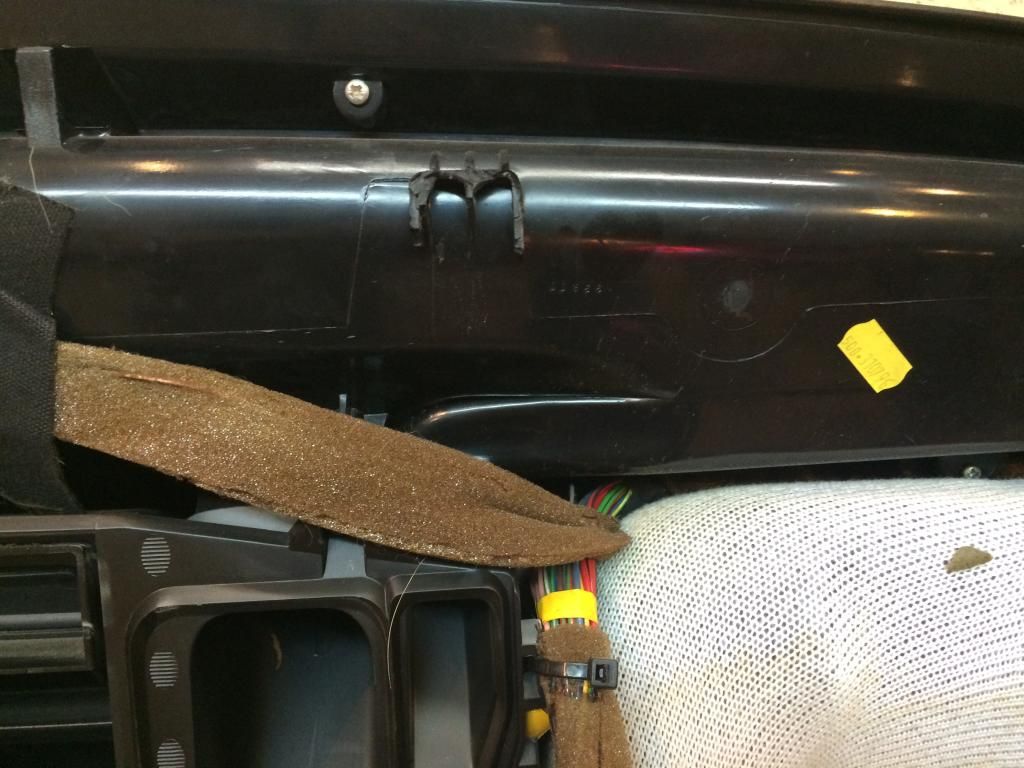
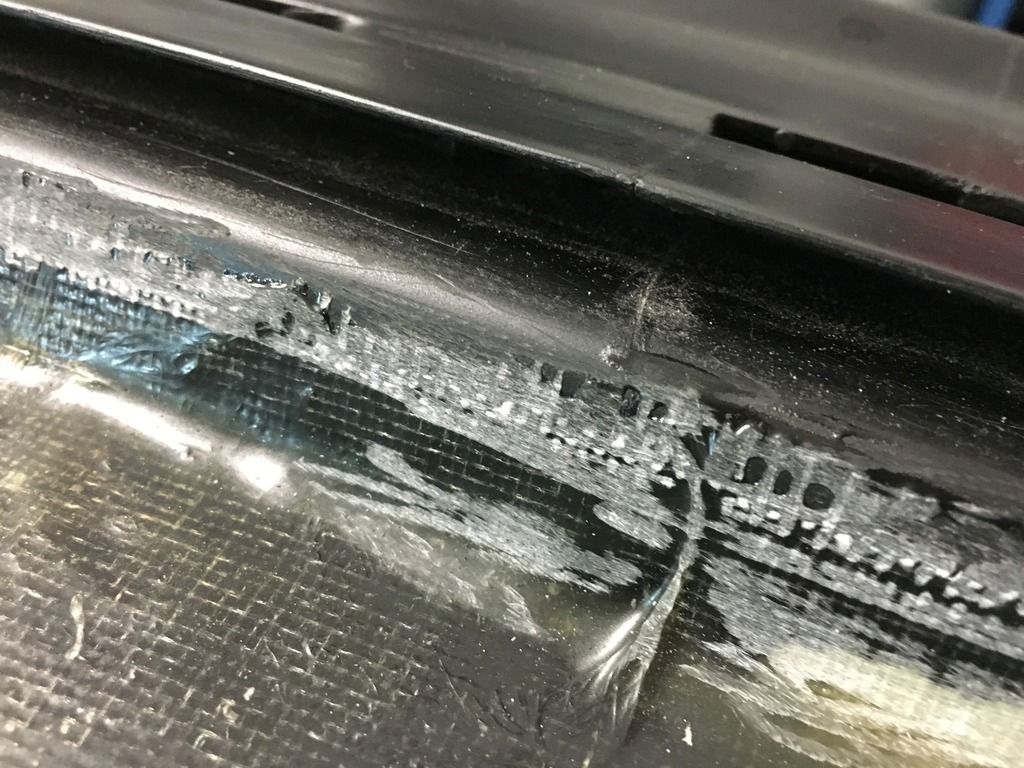
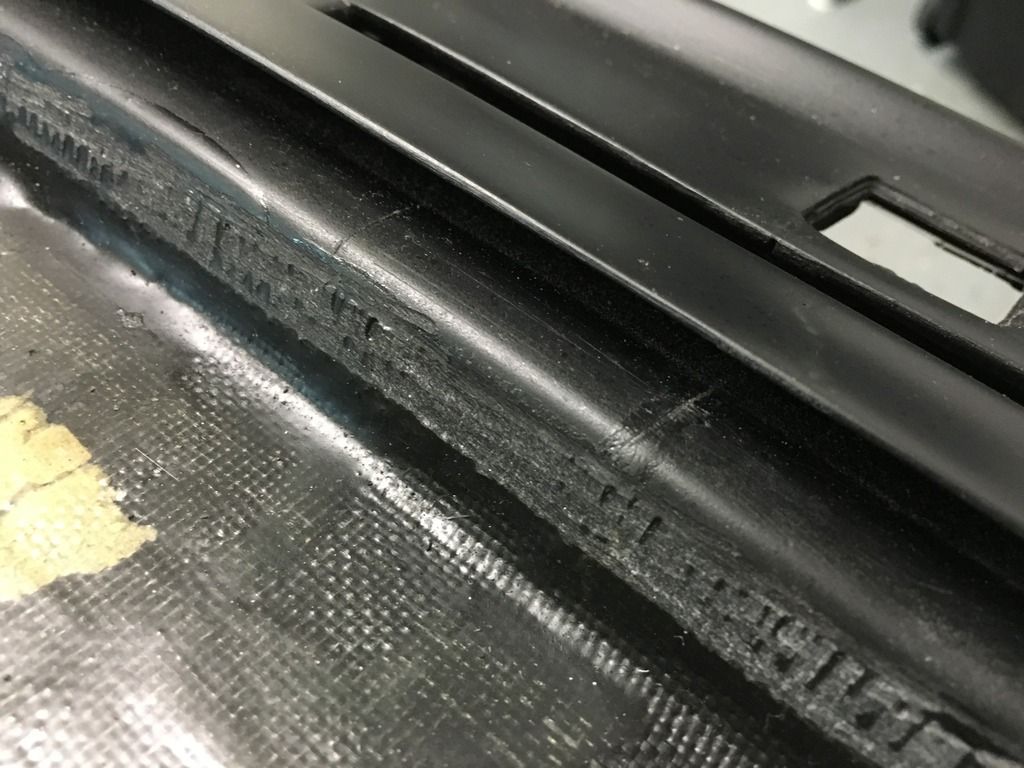
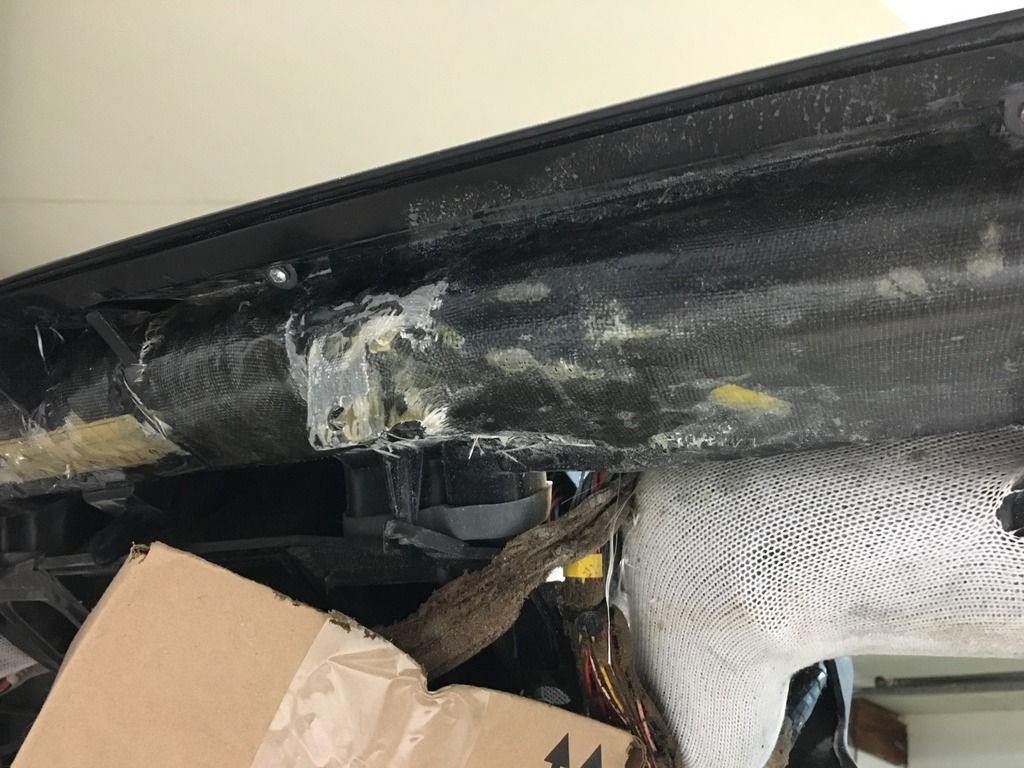
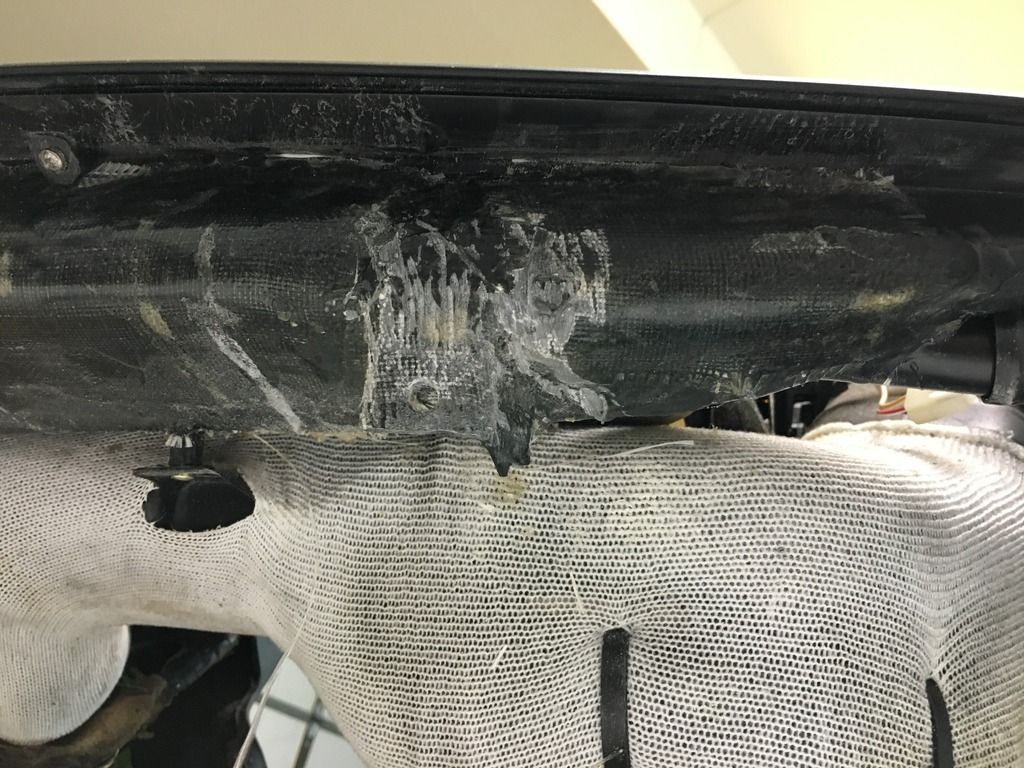
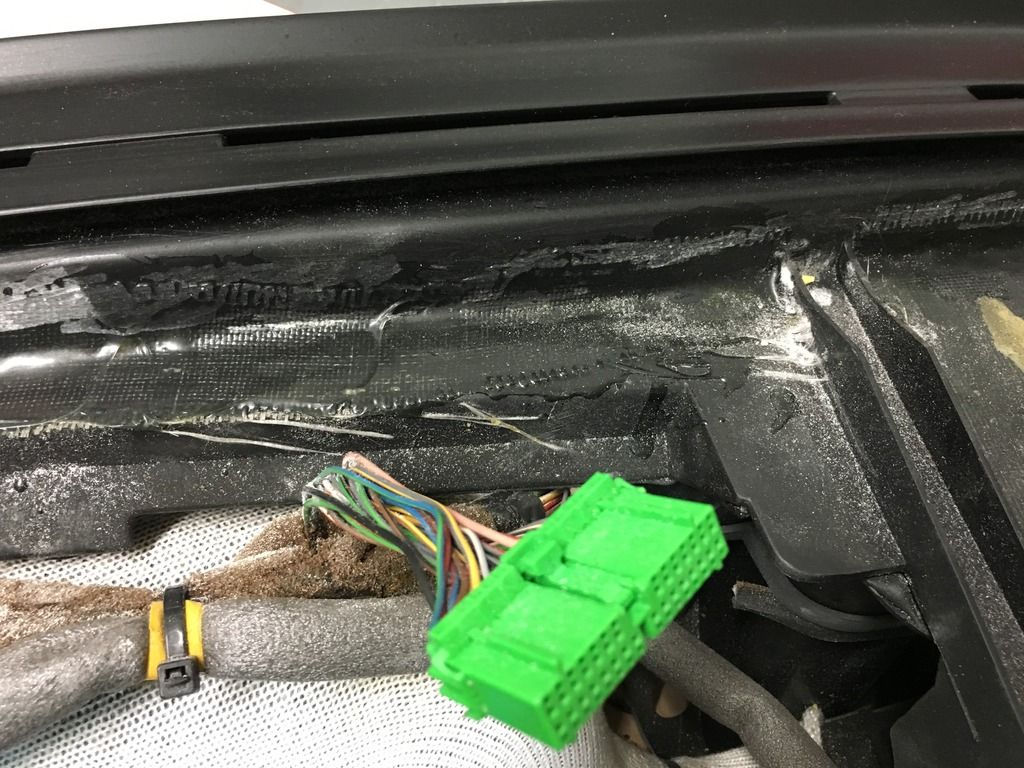
Here’s a picture showing the stress cracks along the structure of the dash. You can bet there is cracking on the backside of the structure of the dash as well. More on that below.

If you are repairing a used dashboard, you will very likely need to repair/reinforce more than just the mounts. You’ll need to address the structure as well. On a new dashboard, the structure is obviously intact, so you could probably get away with just reinforcing the mounts. But new dashboards are virtually impossible to find – we’re talking about 20+ year old parts here.
Repair methods that do not work:
–Metal strap method on dash mounts: there are many write-ups that show people reinforcing the mounts by attaching metal straps or other metal-based supports. The metal is attached to the structure of the dash with rivets, screws, etc. DO NOT DO THIS. This is the absolute worst thing you can do and it WILL ruin your dash over time. I have personally tried this repair method, and it resulted in a destroyed dashboard. The dash is quieter and more secure at first, but over time, it will break. The problem with this method is that when you drill/screw into the dash to attach the metal supports, you’re actually weakening the plastic structure of the dash. Over time, cracks WILL develop at the drilling/securing points, which will result in further cracking throughout the structure, and ultimately a ruined dash. In short, do not screw or drill into the plastic of dash. Example pics:
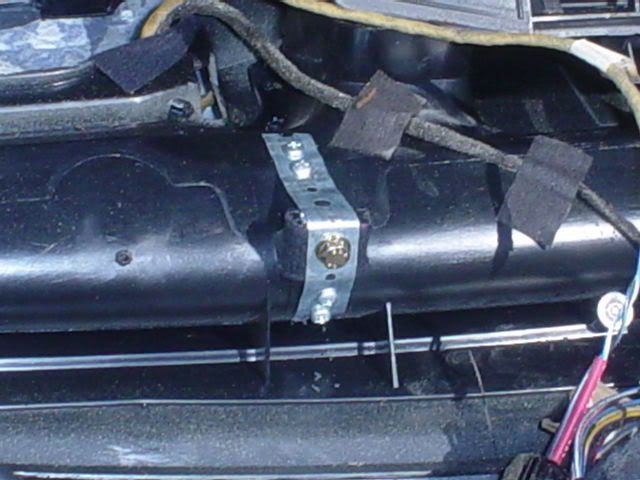
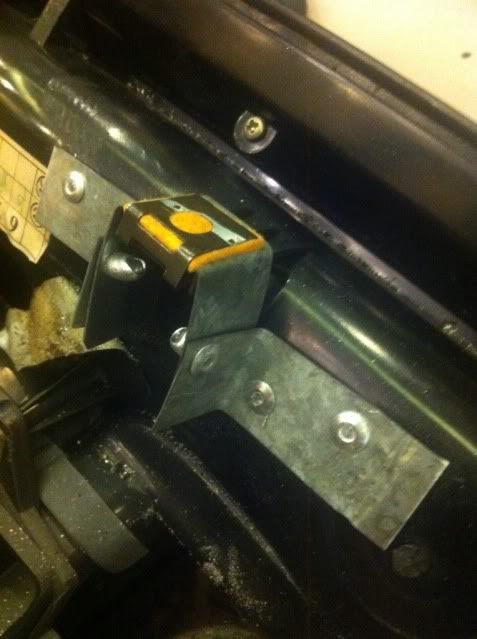
AGAIN, DO NOT DO THIS^^^^^^^^^^^^^^^^^^^
-Gluing/epoxying the dash mounts: this method will only work well if you have zero cracks in the structure of the dash. As mentioned, 99% of you are going to have at least some minor cracking around the dash structure. Reinforcing the mounts is only a band aid fix. The fact that the structure is impaired means it cannot properly support the weight of the dash, or the force of bumps in the road, and it will deteriorate over time. Your mounts will eventually crack off of the dashboard and you’ll be left with a dashboard that “floats” in the cabin, moving around and rattling like crazy.
-JB Weld: I used this on one of my dashboards to reinforce the mounts AND structure. I applied liberal amounts of JB weld on the dash mounts and structure, basically anywhere that looked like it could crack. It has held up for several years now, but I am not confident enough to say that it’s a permanent fix. I’ve seen JB weld crack in other applications, so it’s not the best solution.
Permanent solution: fiberglass. Use fiberglass to reinforce the dash mounts and the structure of the dash. In essence, you’re building a dash within a dash (queue inception).
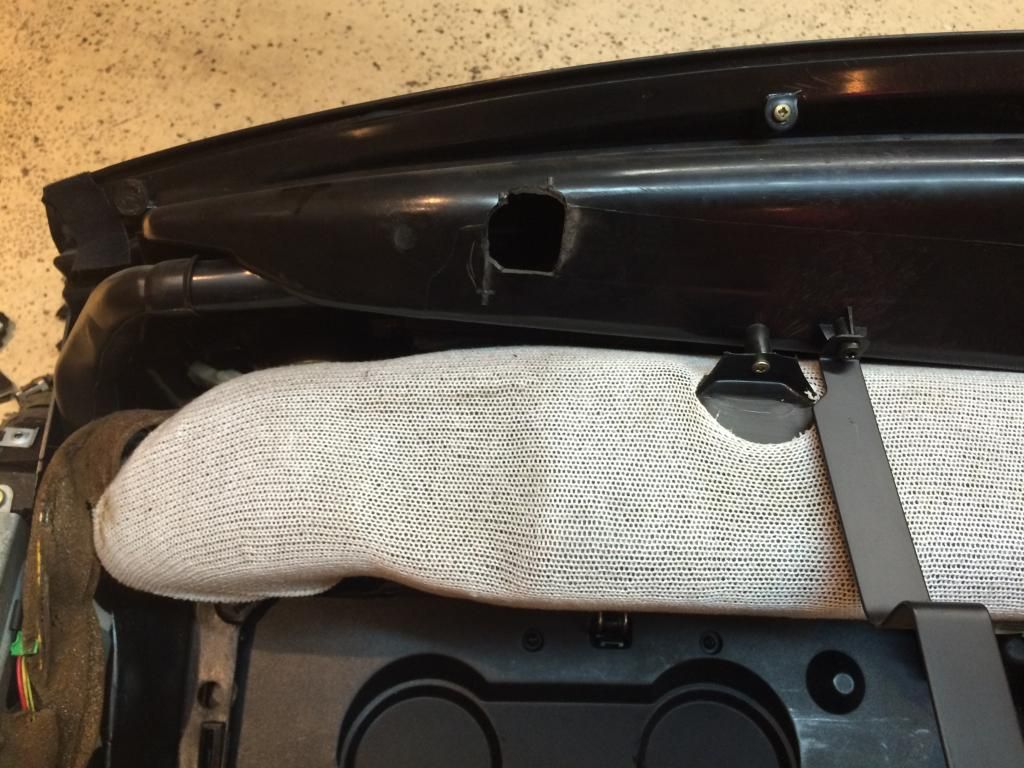
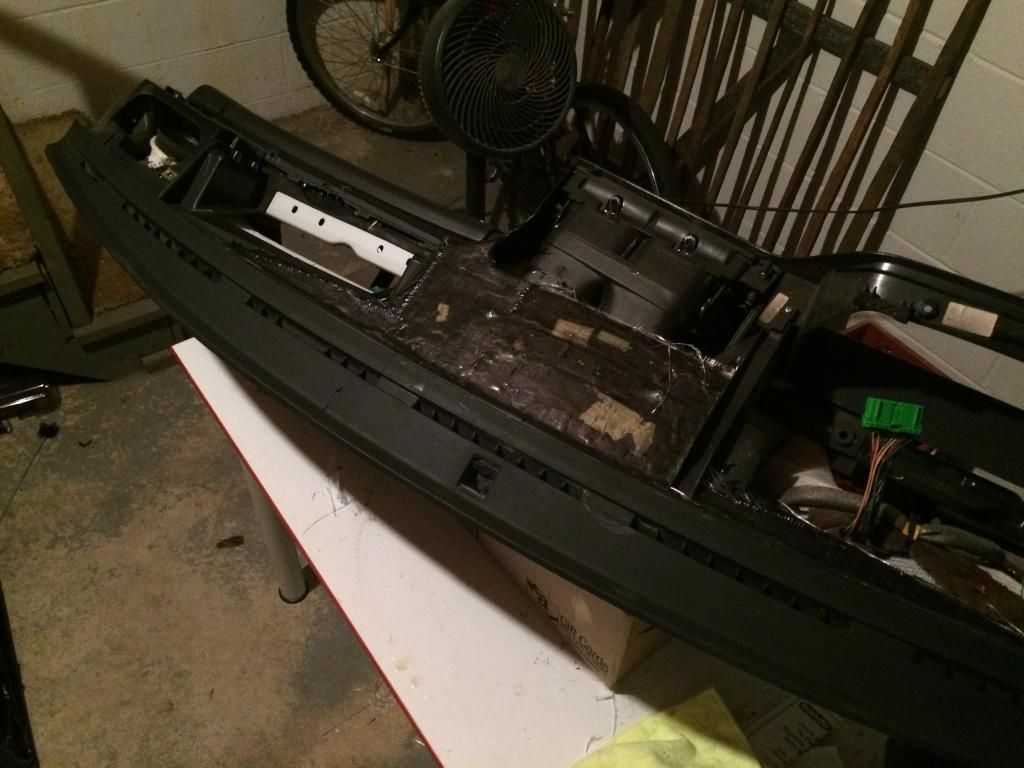
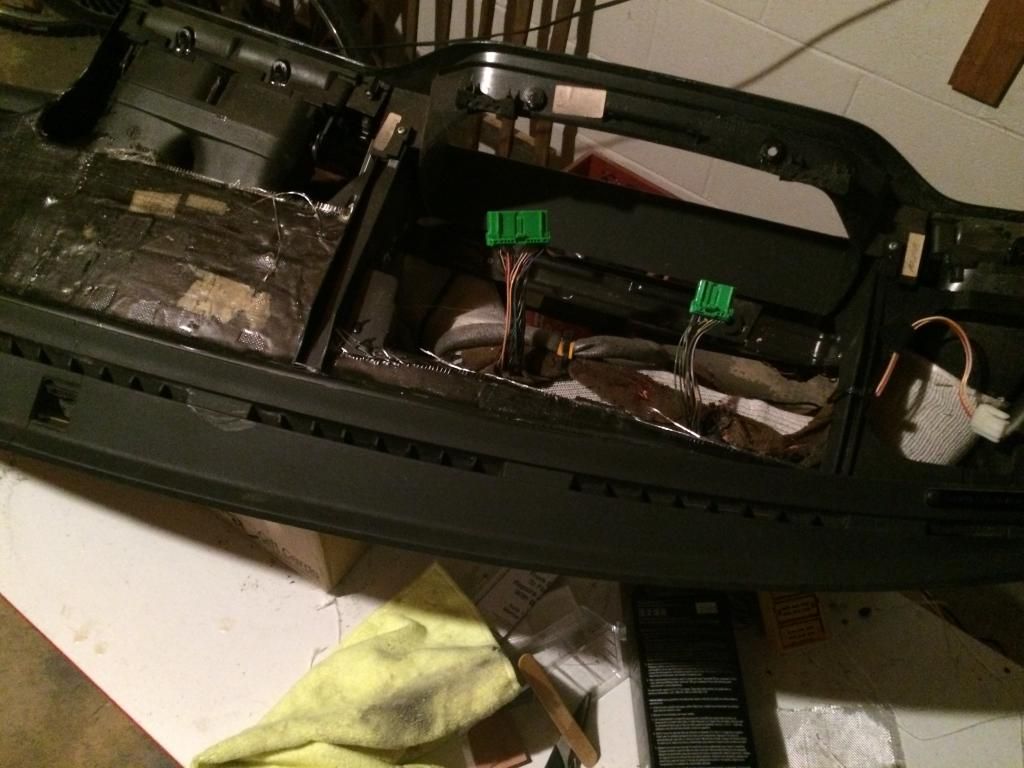
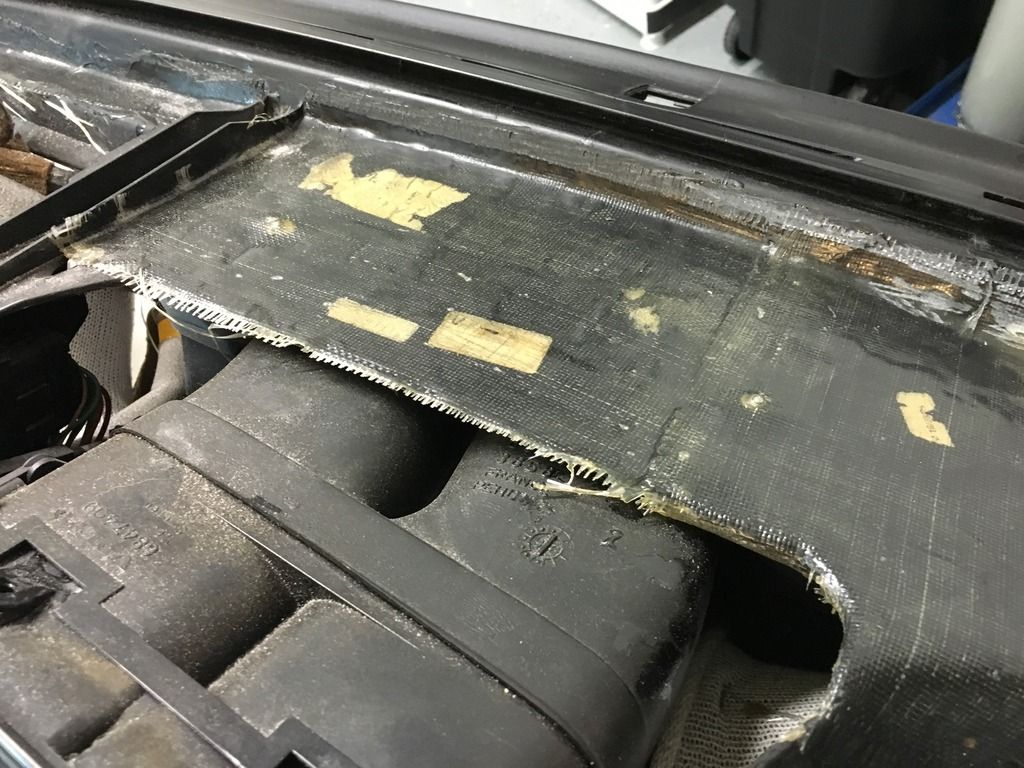
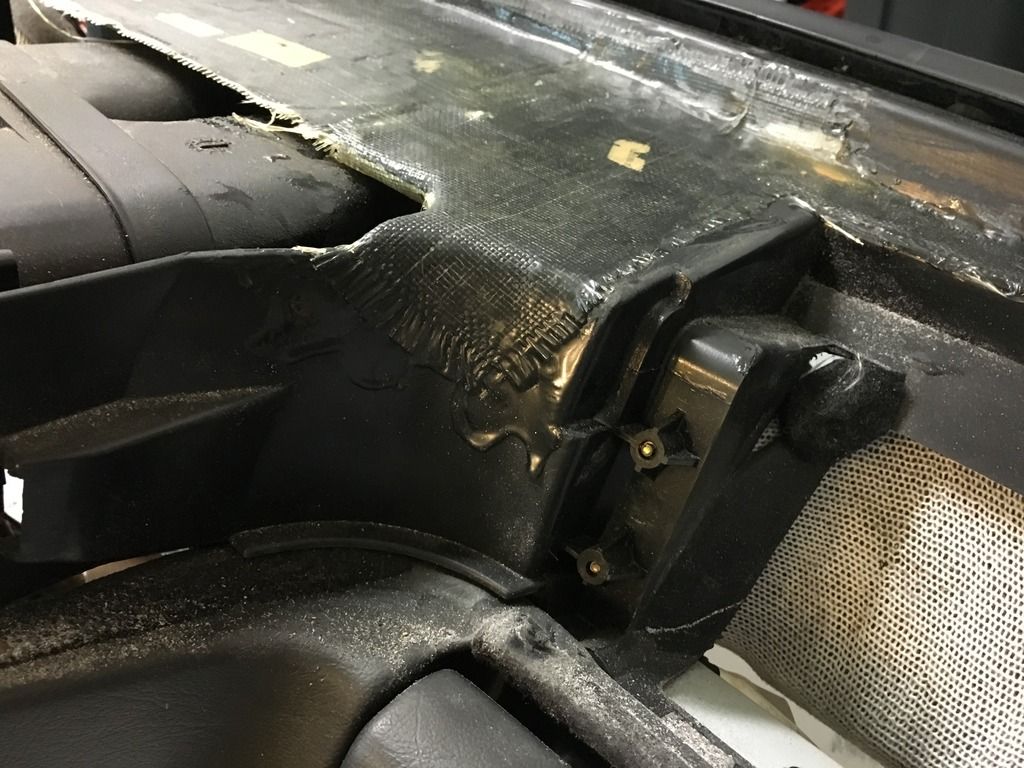
The first two pictures are not mine, but they provide a good bird’s eye view of the areas you want to reinforce. I’ve inserted red arrows showing some of the areas you want to reinforce on the top of the dash. On the underside of the dash with the mounting tabs, it’s self explanatory.
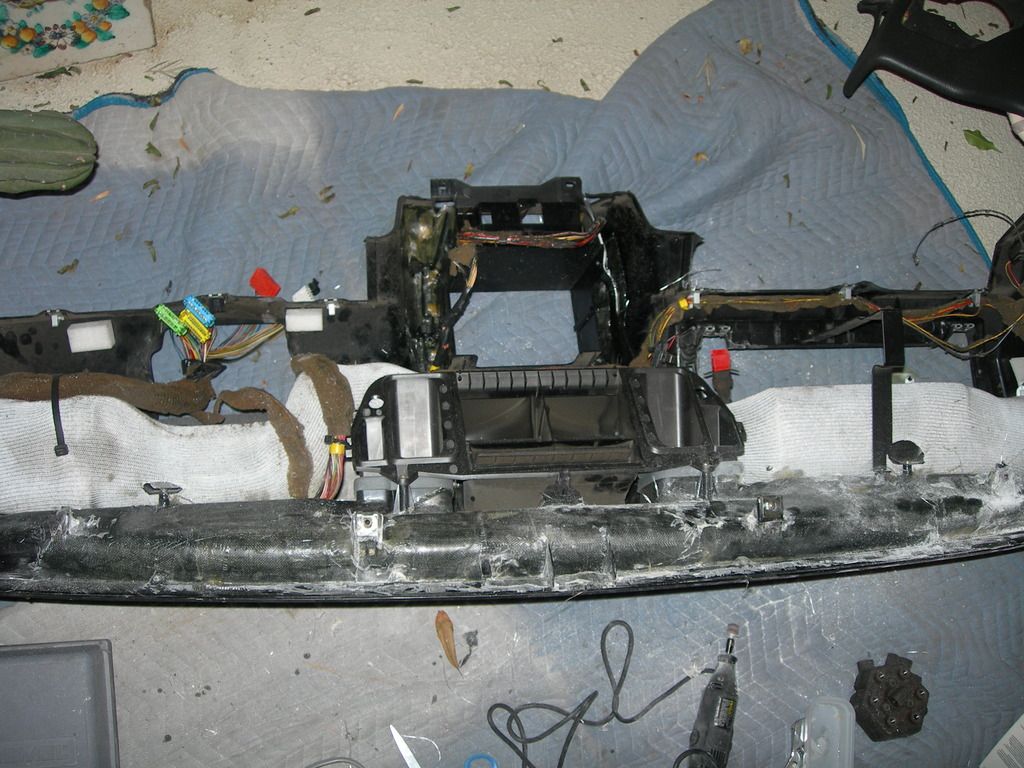
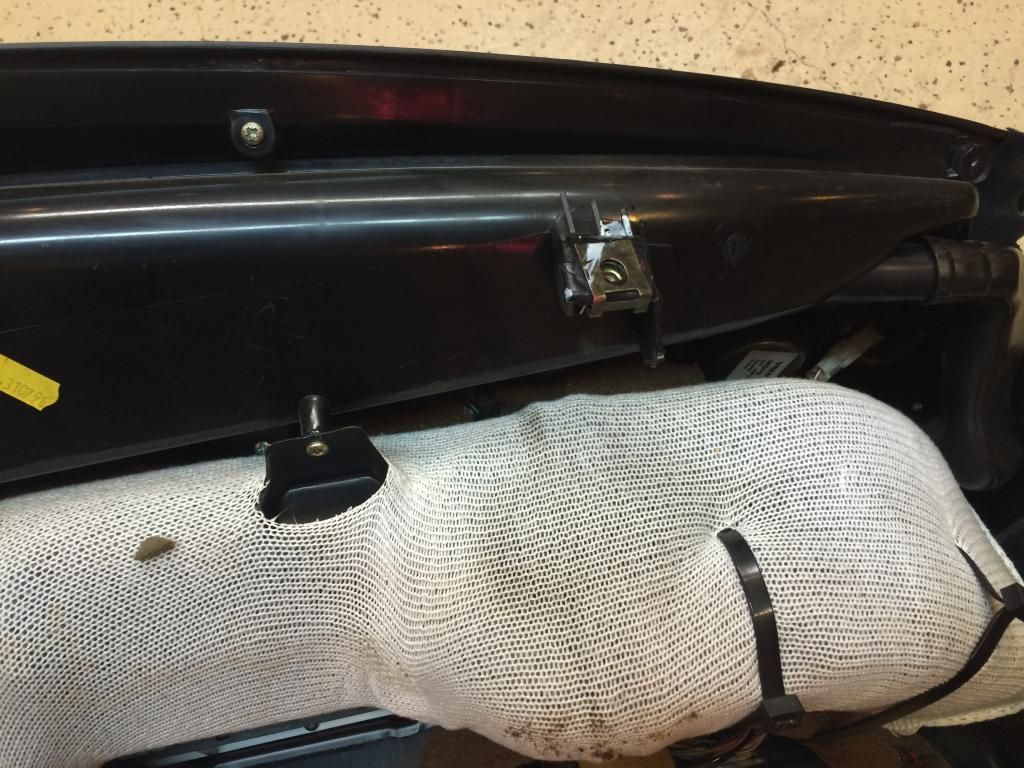
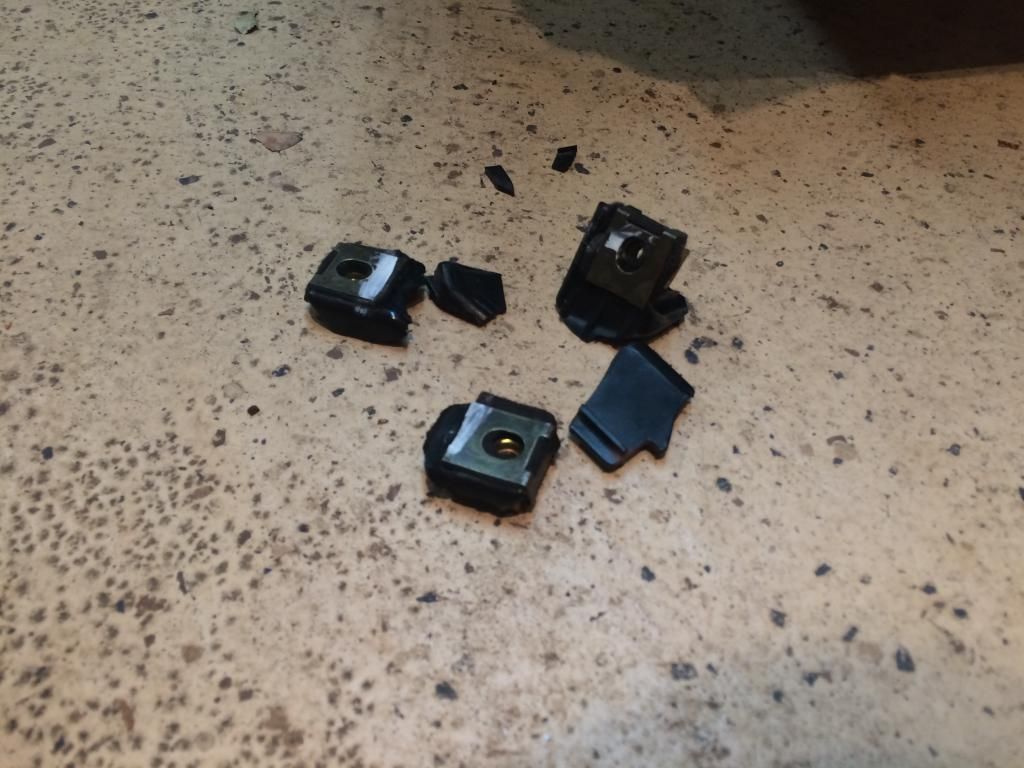
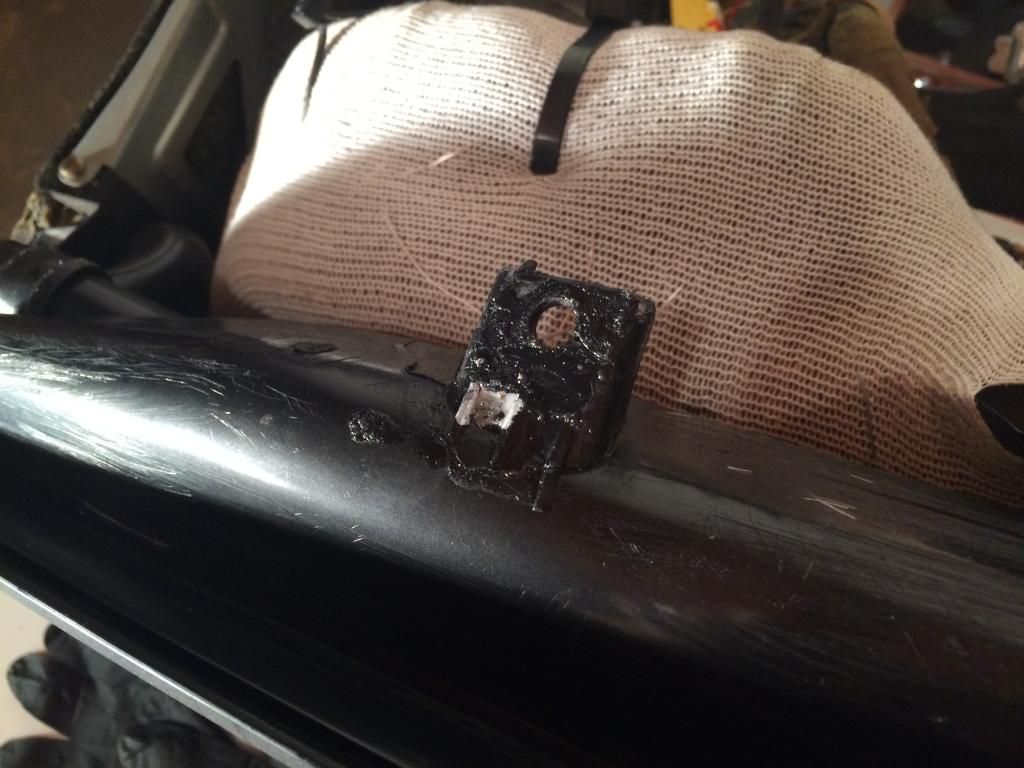
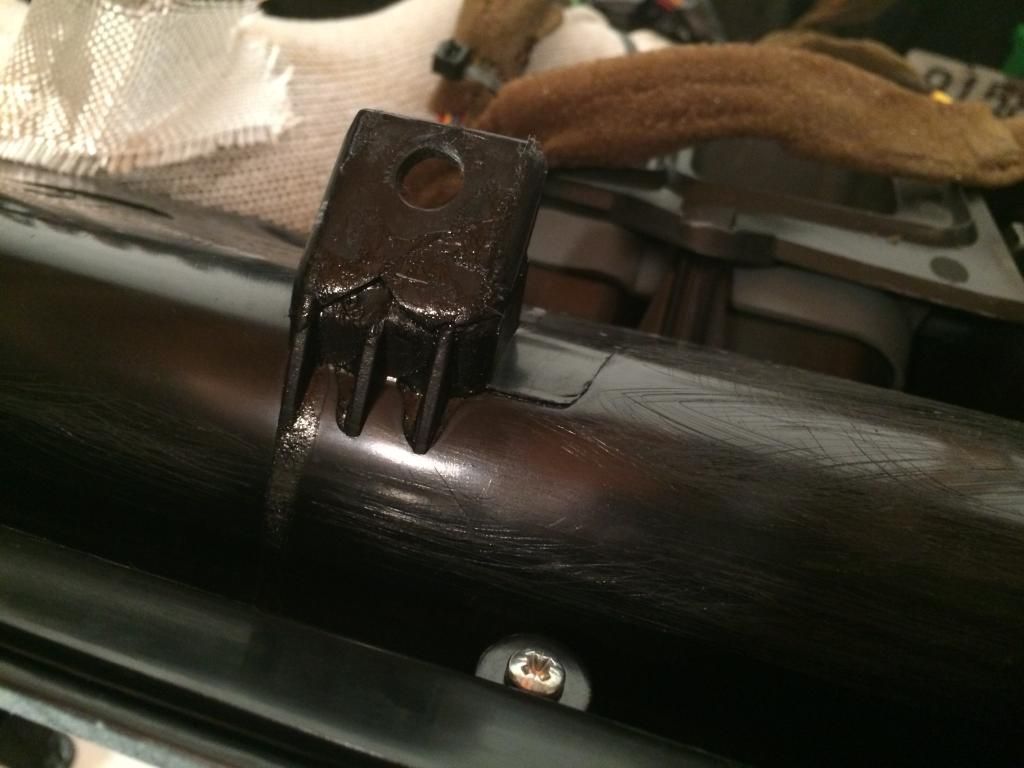
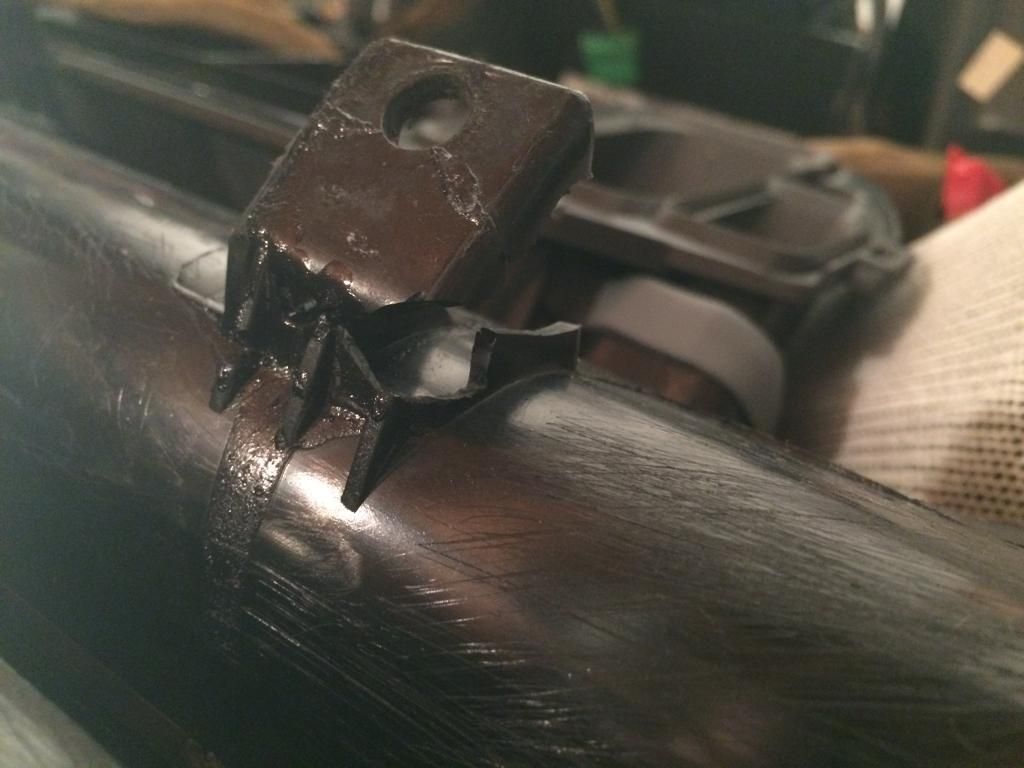
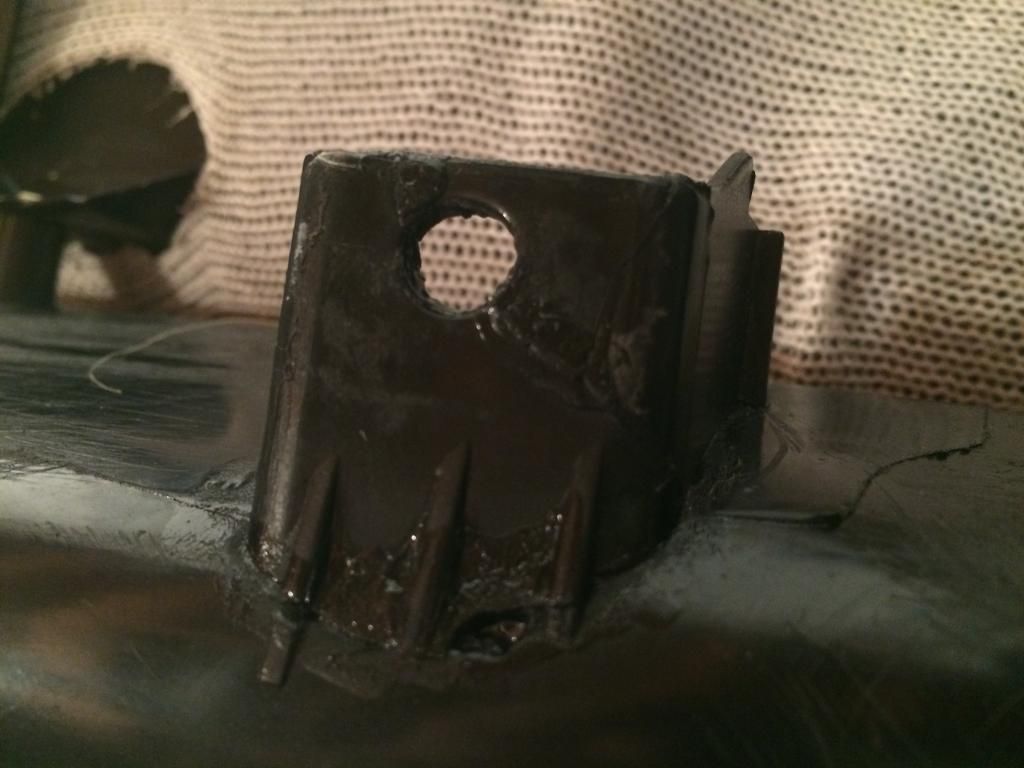
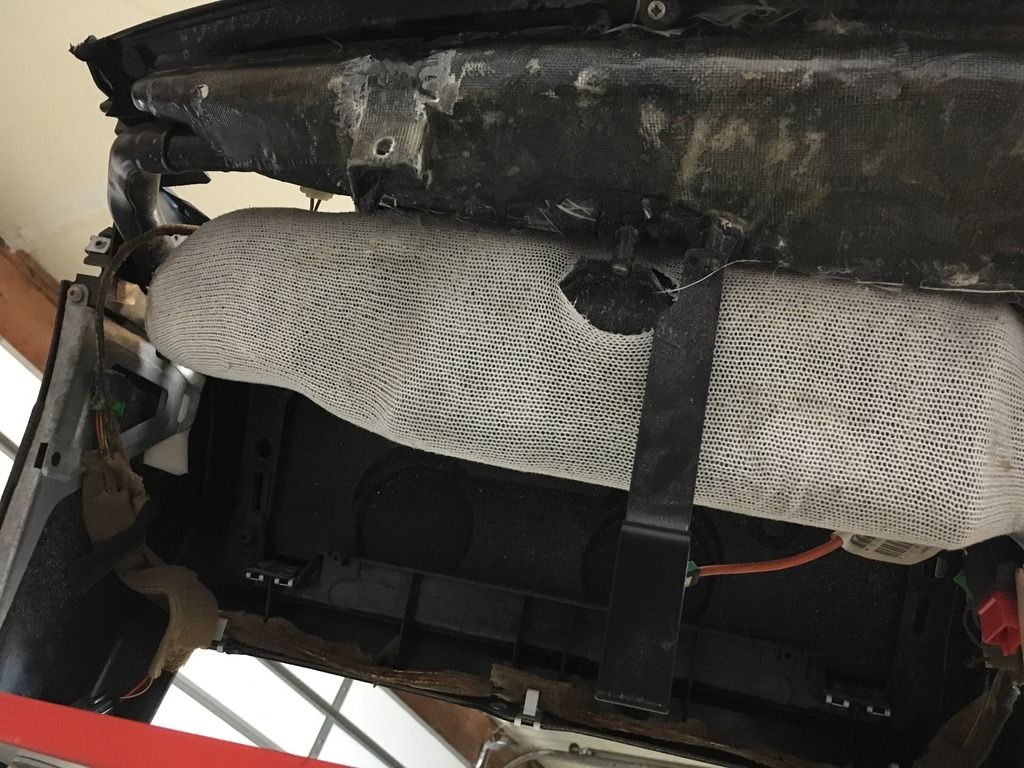
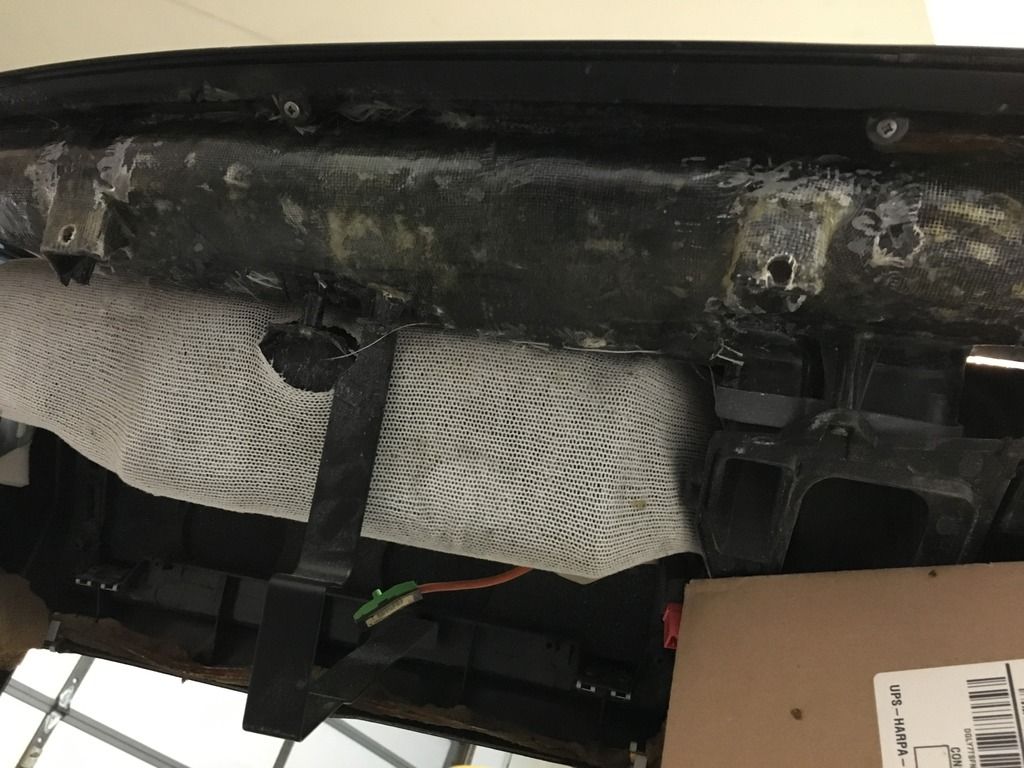
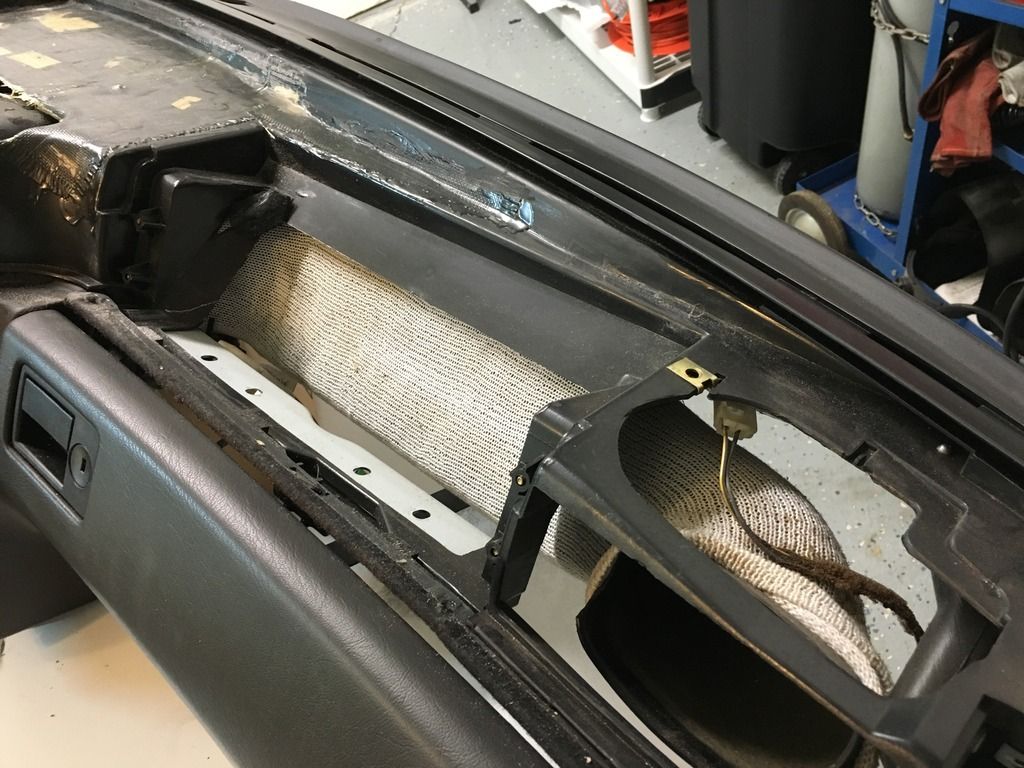
The remaining pics are from my repair. The first group of pictures shows the condition of the dash when I got it. The tabs were broken off, there were holes in the back of the dash, etc. Obviously, before fiberglassing anything, you’ll need to attach the mounting tabs to the dash. I used super glue. My go-to superglue is Loctite super glue “professional.” It’s the absolute strongest and quickest drying glue I’ve worked with. It’s awesome stuff, but it’s extremely strong, and very easy accidentally glue your fingers, clothing, etc, so be careful.
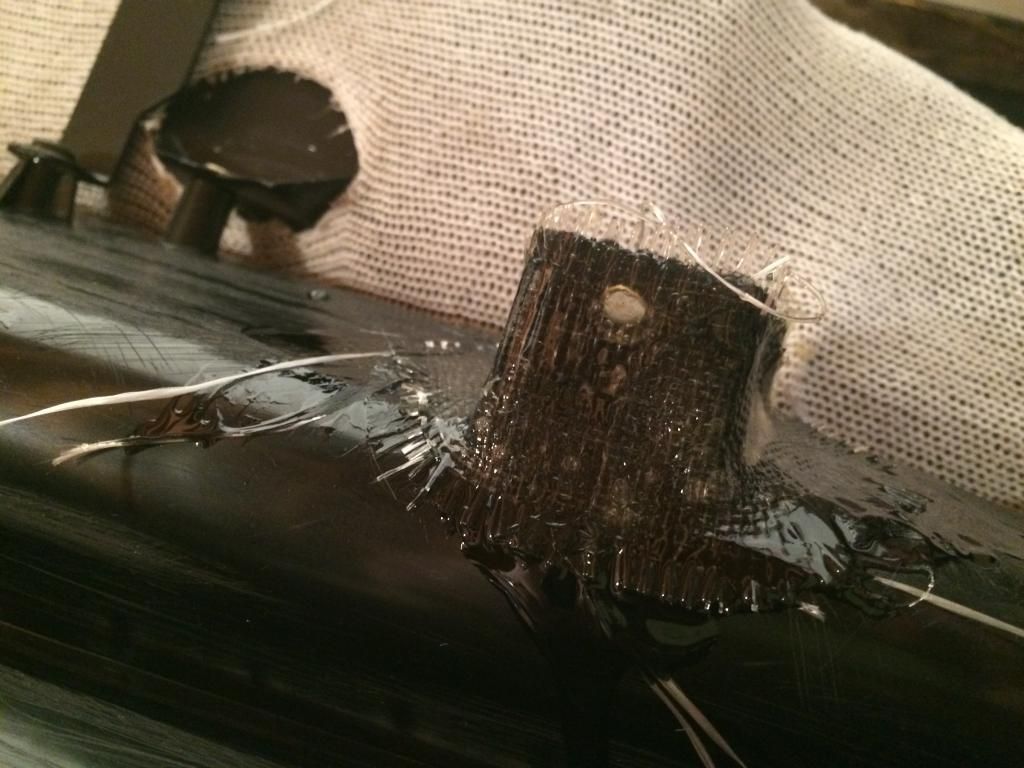
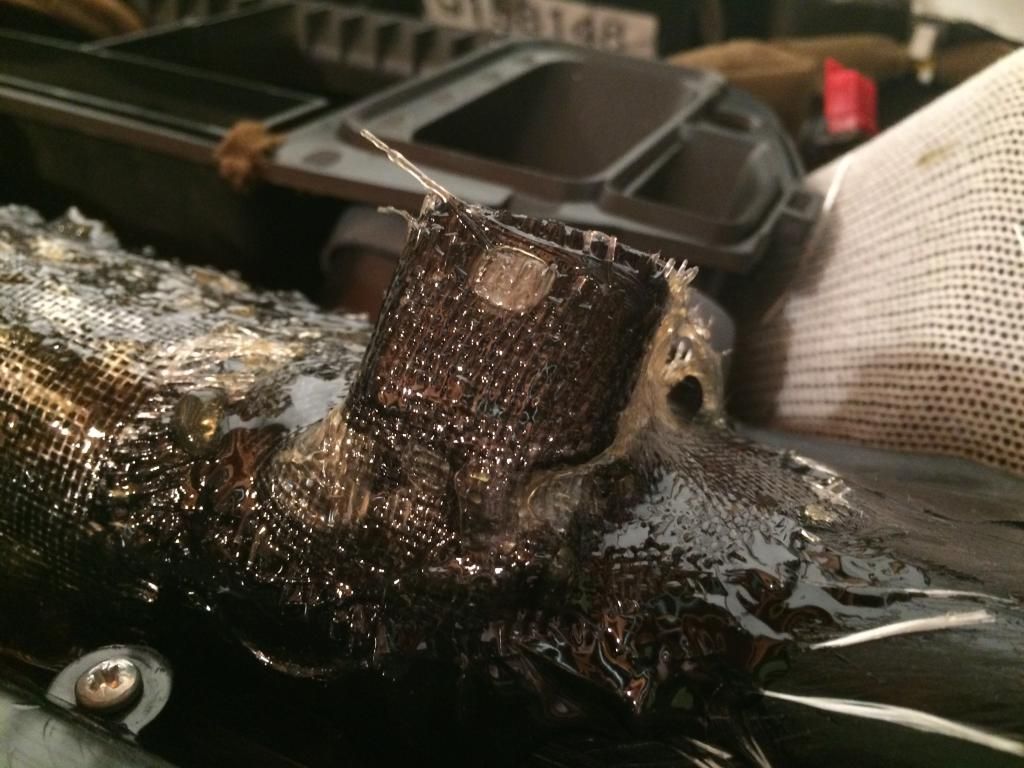
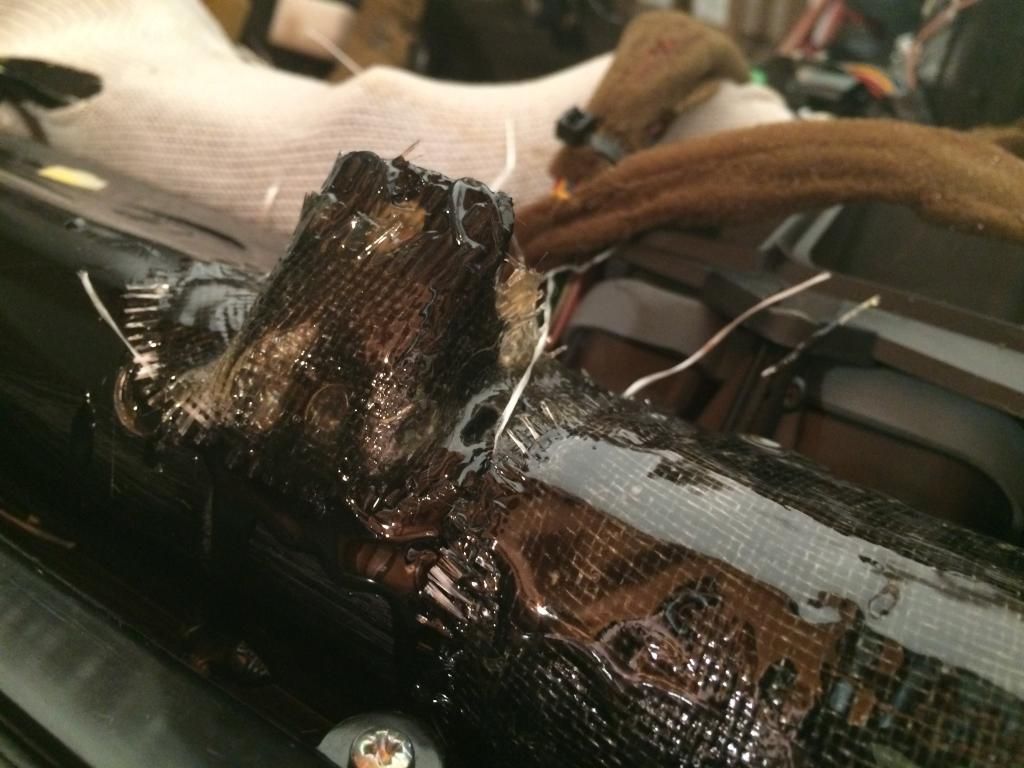
Once the mounting tabs are in place and everything is dry, you can move on to the fiberglass. You’ll want to use coarse sandpaper to rough up the areas you intend to fiberglass. This promotes adhesion. I didn’t sand the mounting tabs though, as they were too delicate. As seen in the pics, in addition to fiberglassing the dash structure and around the mounting tabs, I fiberglassed the mounting tabs themselves. The fronts, the sides, and the bottoms. The result is an extremely strong tab that will outlast the car. However, once the resin sets you’ll have to sand down and smooth out the mounting tabs. A dremel with a sanding wheel attachment works well for this. You’ll have to drill a hole in each tab for where the bolt goes through since fiberglass now covers the hole. Once you’ve smoothed out the tabs, make sure you test-fit the screw brackets that slide on to the tabs. You want to make sure the brackets fit firmly and the screw holes of the brackets lines up with the holes of the mounting tabs.

CONTINUED BELOW….