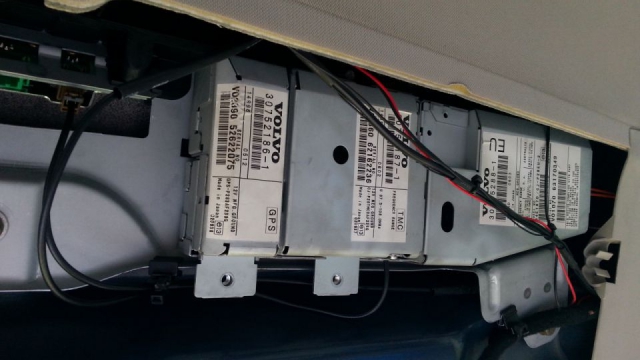
radio unit. Sorry this is missing of course in my posts but I supose that this is the
basics when someone own a XC90 to enter in this places…not so hidden.
Here is photos from A-Z how to reach all this fuse boxes, radio unit ect…
Yes I already change in guaranty 6-CD changer in 2007 a year after and
this cost in 2007 almost 680 US$.Guaranty of course.
A
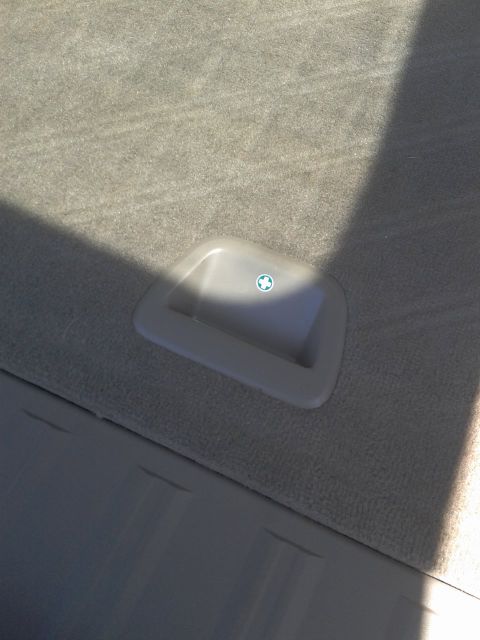
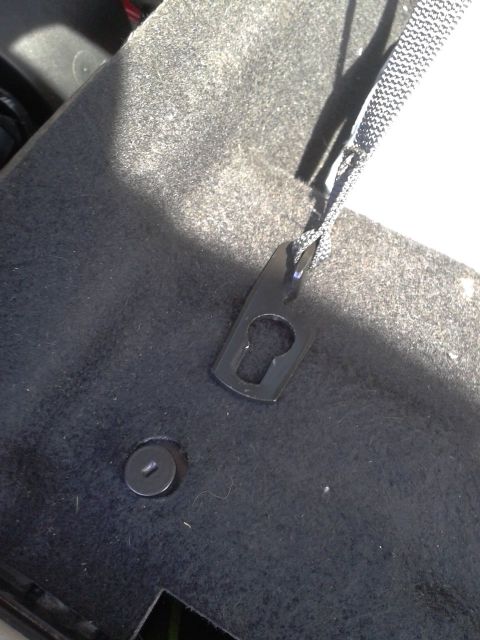
Lift cover on the floor with this handle.
Than depending if you have 7 seats or 5 rise the cover and release safety small black belts as photo
shows.
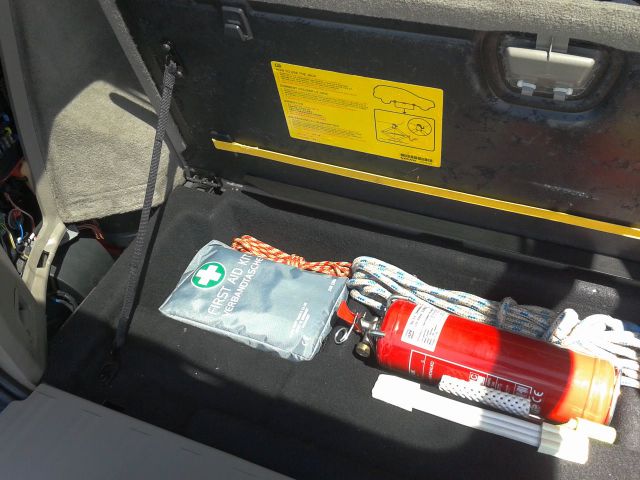
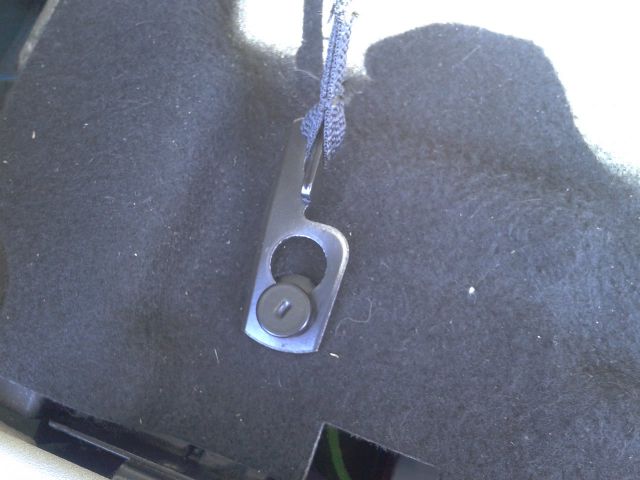
Than pull UP this traingle cover from polistirol on the left side.
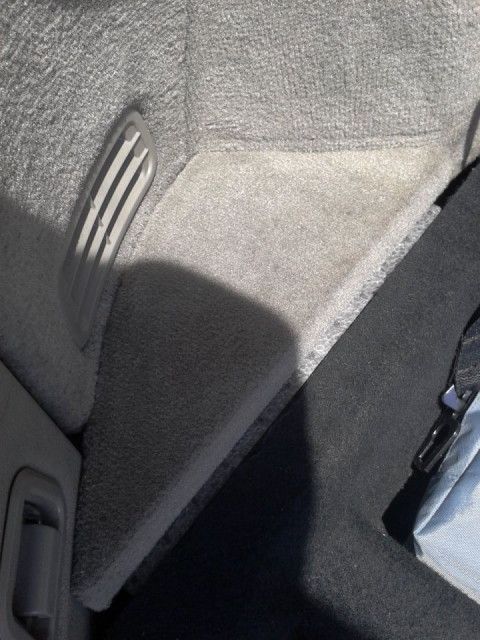
Than you can spot small black level pull it up and remove left cover side.
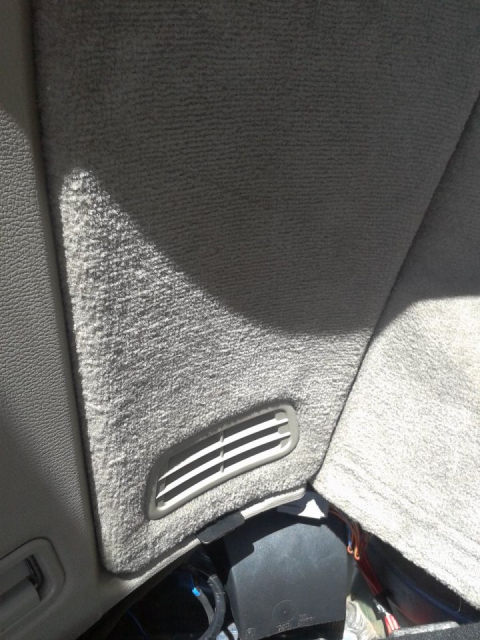
This level.
And you will enter in REM fuse box on the right side.
If your car have alarm with movement sensor this grey box must be fixed
on this place or you will have problems with parking on hills. Do not remove
this grey module from his position.
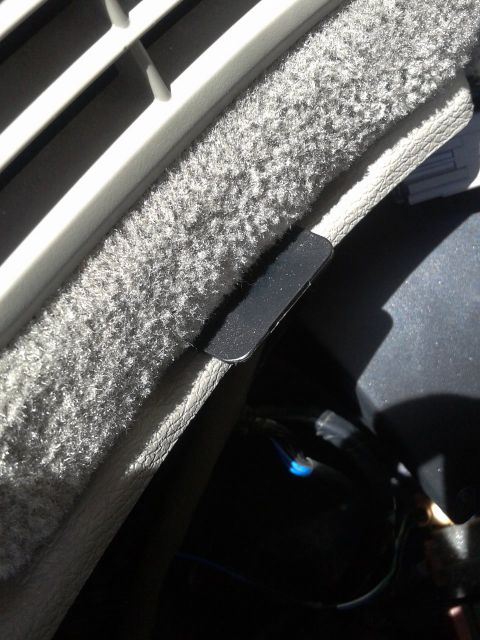

Now you can spot that I removed FUSE NR.6 from top left fuses counting to right and second row first one
is Nr. 6.
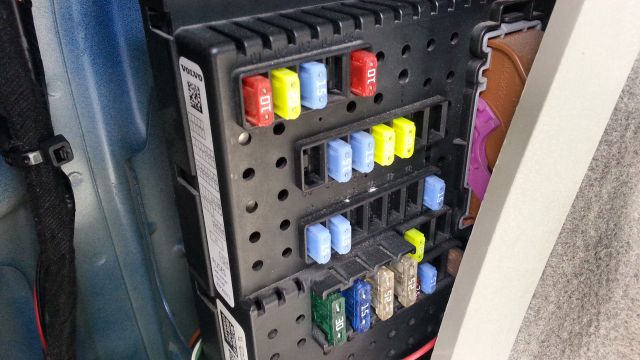

First pull out FUSE Nr. 6 on REM on the back side of the car.
From TOP from left to bottom 1,2,3,4,5
6. of 7,5 A
Than pull covers of speakers and just pull left side *no need also right one.
You will find under the roof 2 covers plastic one, please pull it out with small screwdriver,
under you can find 2 torx. Simply pull out cover of radio GPS unit.
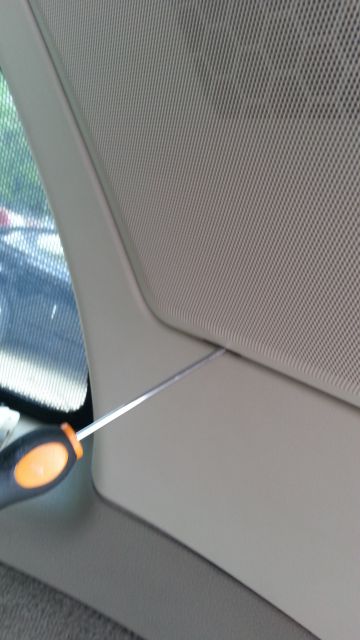
remove connector pushing slightly level down and pull out.
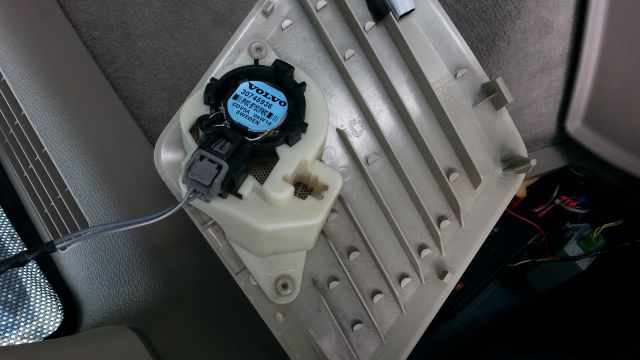
Second instruction starting with removing left cover column and roof cover of radio unit.
When you remove last cover remove 2 plastic cover of plastic covering
inside ceiling (module of radio and antennas)
its 2 torx screw. Than you can pull left column side just PULL out no problems.


Remove the covers and the screws underneath for the rear headlining
Carefully pry off the panel at the rear edge. Use a plastic weatherstrip tool
Pull the rear edge of the panel downwards until the four clips on the top release
If the car has lighting in the panel, disconnect the connector
Pull the panel backwards to release it.
Carefully pull off the D-post panel. Start at the top edge then pull down until the three clips on the inside release. Do not damage the panel
Disconnect the connector on the D-post panel (if the car has a loudspeaker in the D-post, the connector is in the loudspeaker)
Remove the panel by pulling upwards slightly and unhooking it from the side panel.
Than take care before you pull everything out to remove all screws 3 pcs.
cables and connectors especially optical orange one…
Photo show exactly what to do.
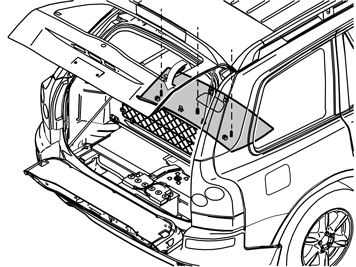
Remove the covers from the rear headlining panel. Unscrew the screws from inside the panels.
Carefully pry off the headlining panel at the rear edge using a plastic weatherstrip tool.
Grip the rear edge of the headlining panel. Pull the headlining panel down until all the clips on the inside release.
Applies to cars with three rows of seats
Disconnect the connector for the rear roof lighting. Pull the panel backwards.
Carefully pull off the top edge of the right-hand D-post panel. Continue down until the three clips have released.
For cars with D-post loudspeakers: disconnect the connectors for this loudspeaker.
Remove the right-hand D-post panel by pulling upwards slightly and unhooking it from the side panel.
You can spot complete unit. Very nice professional quality made in Japan of course by Mitsubishi.
