

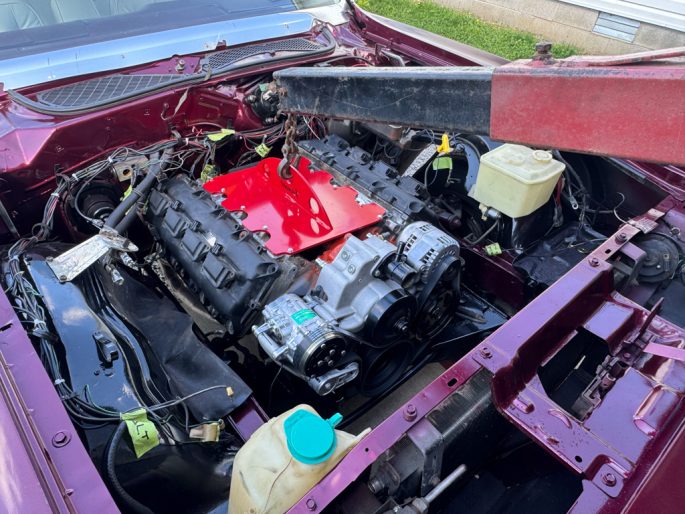
Now that the Charger’s engine bay has been prettied up, thanks to the power of spray paint from the local auto parts store, time for lingering is up. I’ve scrubbed the Hemi down. I have motor mounts bolted on to the block. It’s time to get to the meat and potatoes of this swap and start fitting the 2009 5.7L into the engine bay. I can tell you that the engine fell into the cradle, bolts right up and everything fits, first time. Right?
Oh, if only. But I don’t doubt your intelligence, reader. I can only promise that you’ll see the engine bolted in as you continue to read on. But first, we need to address some issues that cropped up and how they were dealt with.
First: The New Oil Pan
5.7s sourced from a car feature a front-sump oil pan. The Charger’s K-member doesn’t permit a front-sump, so out came the wallet for one of Holley’s Mid-Sump VVT oil pans (p/n 302-61 for the cast look). The new pan ships with a new oil pickup tube, windage tray, baffling and allows the use of an oil dipstick from a late-model Ram pickup (but will require me to tap a boss on the block for a bolt to hold it in place). Installing it was straightforward – just remember your blue Loctite, put RTV at the four corners that require it, and make sure you install all twenty-one oil pan bolts.
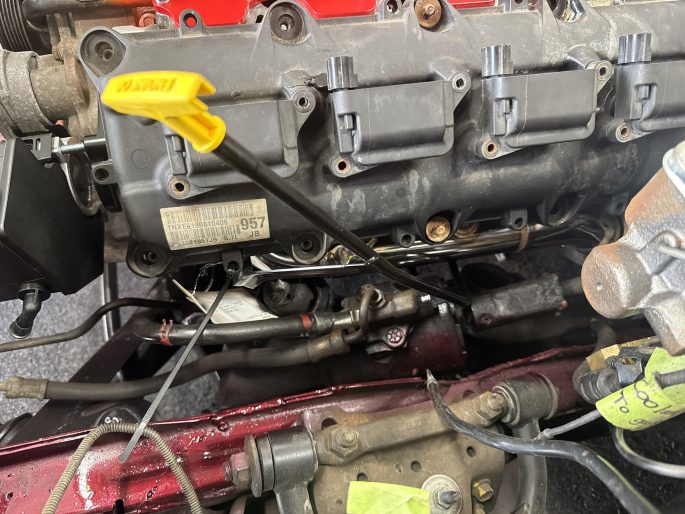
On the first fit, you can see that the forward tube of the header is making contact with the stud poking up from the steering box. The oil dipstick is not secured in this photo; moved to its installed position, it clears just fine.
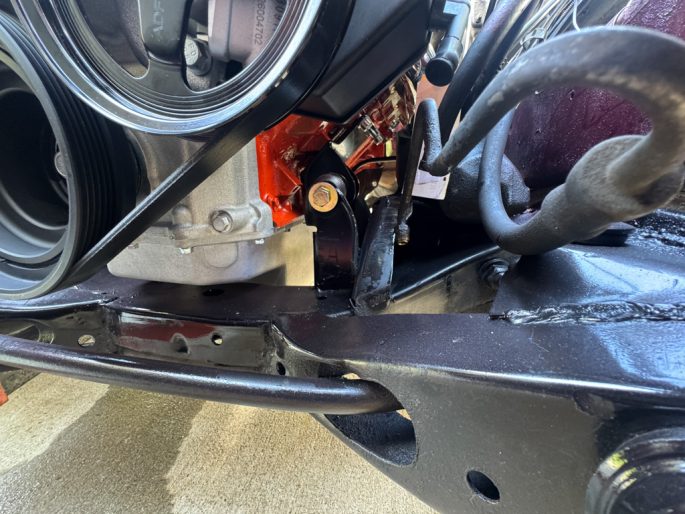
The alternator is supposed to fit here, but in reality to make it fit, I’d have to carve into the “frame rail” quite a bit. That isn’t going to work.
What is more concerning is the interference between the passenger side motor mount and the stock oil filter location. This is going to require a remotely-mounted oil filter.
In addition, the cop car’s original alternator managed to sprout legs and walk, and it was wildly apparent that the air conditioner compressor occupied the same area as the driver’s side motor mount. But it wasn’t all bad news; There is plenty of room all the way around the engine and the exhaust manifold logs fit beautifully. I should only need to have adapter pipes made and the current exhaust system trimmed to fit.
Some Side Projects, While Waiting For Parts To Arrive
After making arrangements to figure out my next moves, I shifted focus and tackled a couple small taskings while I waited for the UPS truck to show up with more goodies.
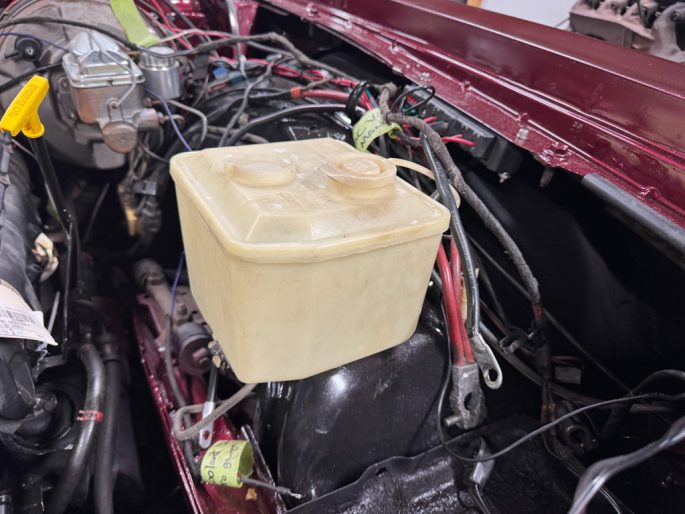
Project 1: Scrubbing The Underhood Plastics
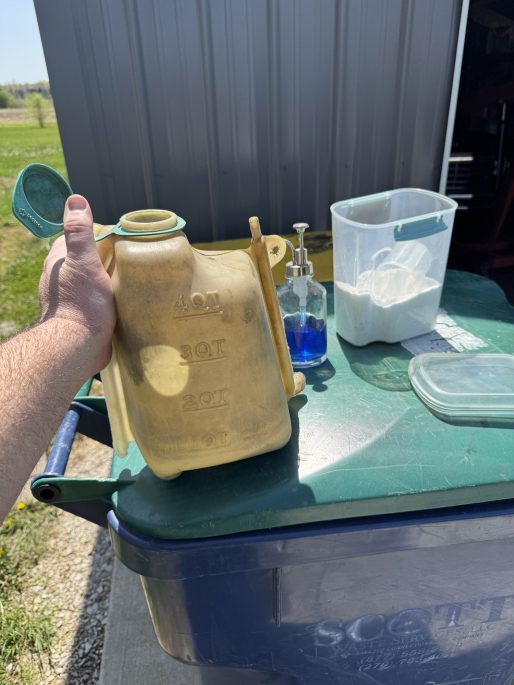
By a sheer miracle, both the washer fluid container and the radiator overflow jug are both intact and in remarkably good condition. But they look like 50-year-old plastic parts, and since the 1975-’79 B-body restoration market sucks, I decided to try a home-made scrub treatment composed of dish soap, Oxi-clean, scrub brushes and water.
The washer bottle rinsed out pretty well, but when it effectively holds glass cleaner, how dirty could it get?
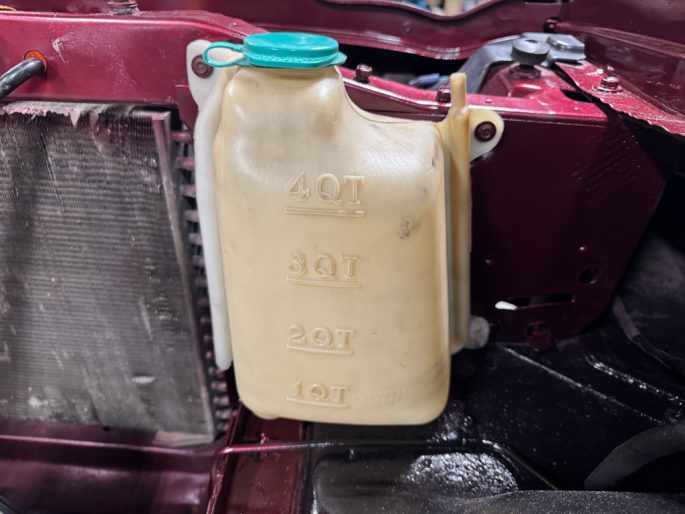
The overflow tank, on the other hand, has had cooking ethylene glycol in it since the Gerald Ford’s first adminstration. This required a few flushes and scrubbing, but it is a sight better than before. Good enough for now.
Project 2: Door Glass Weatherstripping
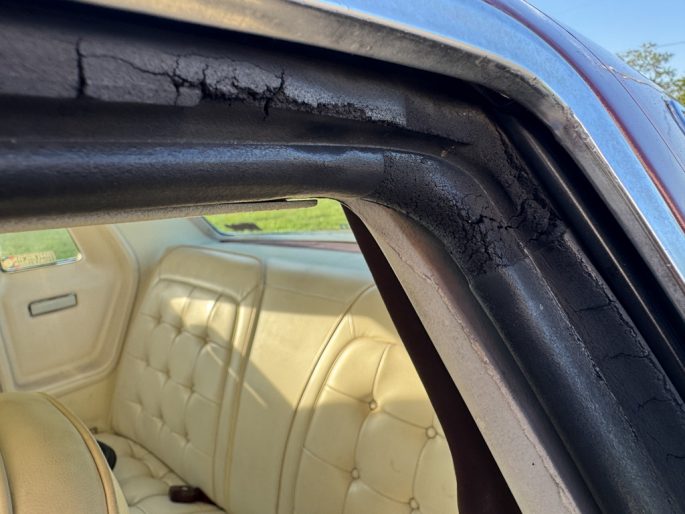
The weatherstripping around the glass can be summed up in three words: “Shit’s cooked, yo.” With the windows up, the wind noise above 40 MPH was obnoxious. The whistle from the passenger side was borderline unbearable.
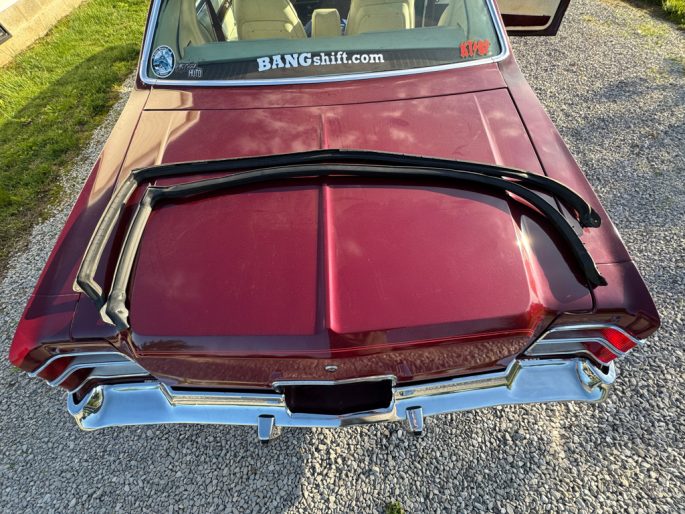
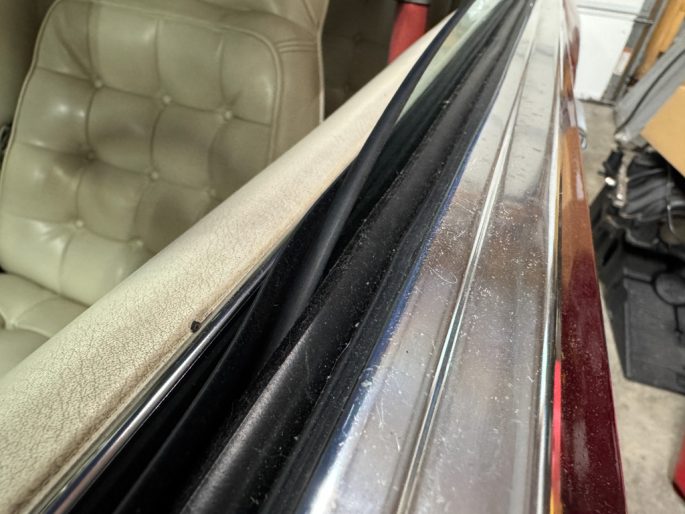
We’re replacing the original weatherstripping with fresh rubber from Steele Rubber. I’ve actually been sitting on this kit for a couple of years because I expected the full weatherstripping treatment of glue removal, trimming, re-setting and learning that I screwed it up.
In truth, I didn’t need to worry. Four push-pins like this one hold the weatherstripping down while the remainder of the rubber fits a run track that works all the way around the perimeter of the opening. All I had to do was to make sure that two push-pins per side lived through removal.
The new weatherstripping came with fresh pins embedded for the forward points. After that, it’s just a matter of carefully tucking the new rubber into the track with a plastic tool. It took maybe 20 minutes total to change out both sides.
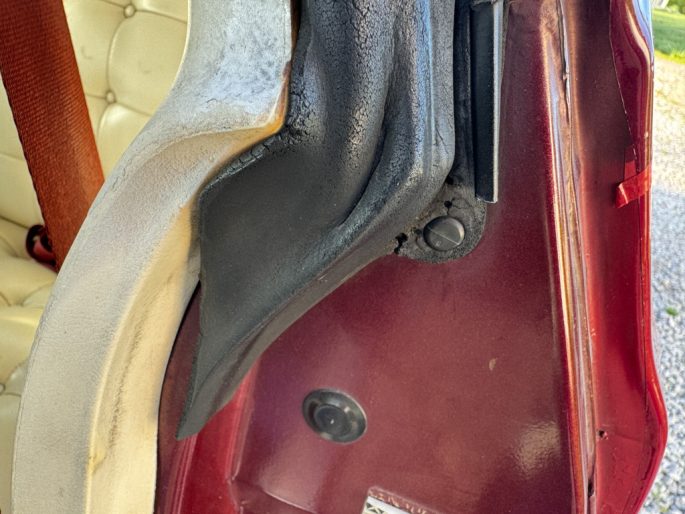
Project 3: The Window Felts

My apologies for the bad photos here, but you can plainly see that the felts were absolutely shot on the car. There were gaps big enough for small animals to fit through, much less leaves, rainwater, and everything else that causes 1970s-era Mopars to rot.

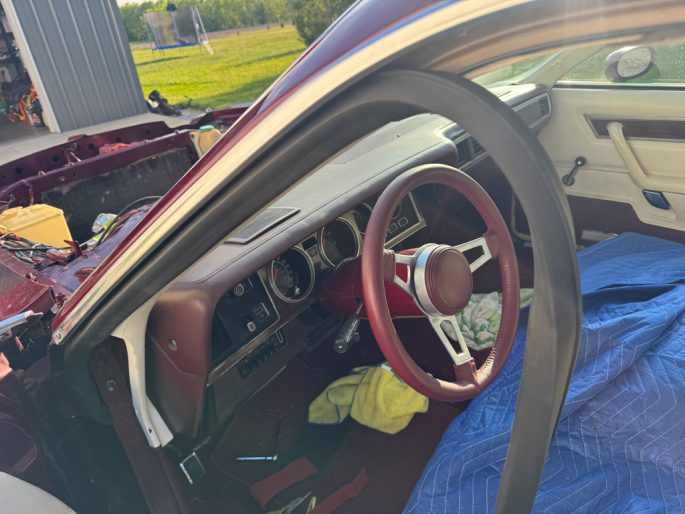
To change the felts, the door panels come off and the door glass comes out. This gave me a clean spot of the original Garnet Red paint (the darker red tone), complete with the original red metalflake intact. If I ever get around to repainting this car, this exact point will be used for color-matching.

Severe caution was used with the door panels and the glass, because finding a replacement for either is a horrifying prospect. Worse yet, the door panels are formed plastic (like a ‘Cuda/Challenger) and have early heat rot (plastic dusting).

Changing out the outer felt is easy: just remove a handful of Phillips-head screws and replace. The inner felt is stapled to the door panel with stainless-steel staples. It took a Dremel tool with a tiny little cutting wheel to remove these staples and my thinnest flathead screwdriver to pry the old felts off. The new felts are attached. I’m not explaining how, I’m not proud of how I made that happen.
That being said, I am proud of how this turned out. And I never, ever want to do this again.
Now, For The Fitment Fix…The Mid-Mount Accessory Drive Kit
The UPS guy looked positively pissed-off when he stepped out of the van with the big box. “If this thing weighs fifty pounds, I’m the f-cking pope,” he muttered. He wasn’t lying. But I didn’t care. Holley’s Gen III Hemi Mid-Mount Accessory Drive Kit was the answer to everything I needed to change. Well, except for the oil filter issue, anyways.

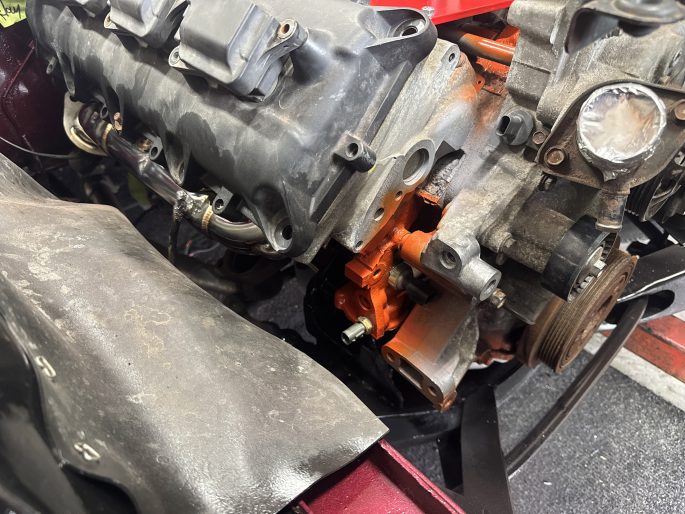
Here is the stock system, minus the alternator and A/C compressor. Everything worked fine in the cop car, but with the fitment issues apparent, this all had to go.
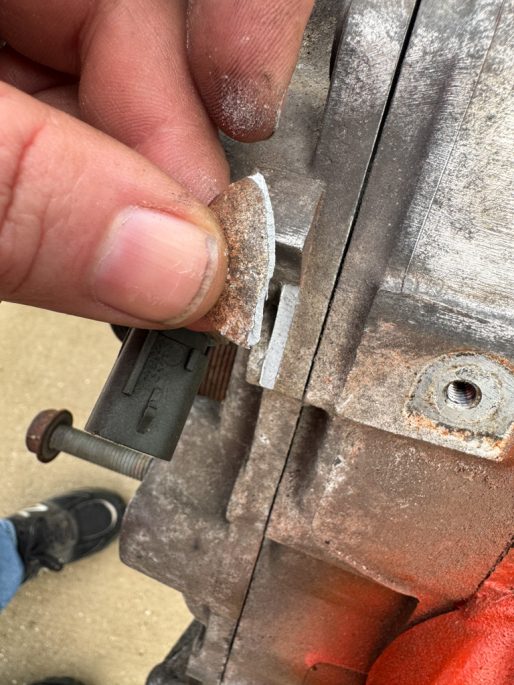
If my mind wasn’t made up before, it was when this bit broke off. The donor car had lived in the saltier regions of Ohio. Wonderful. Just because it was a “newer” car doesn’t mean that the donor car wasn’t a fifteen-year-old beater with rust issues.
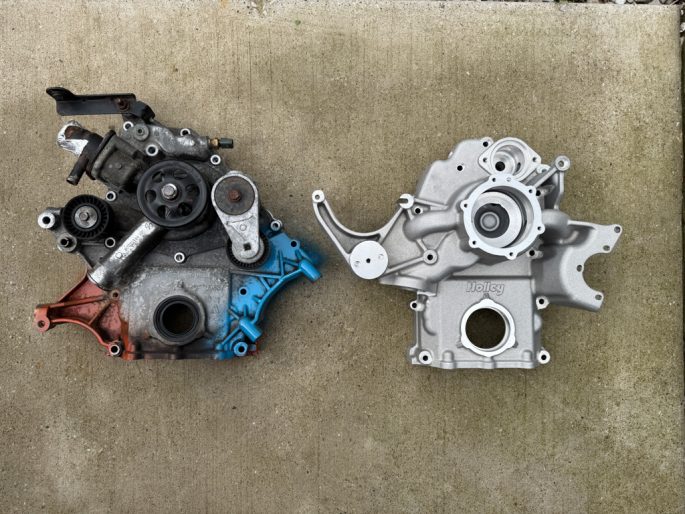
Here’s the side-by-side comparison between the stock timing cover and Holley’s cover assembly. On the stock side, the orange is the alternator and the blue is the A/C compressor.
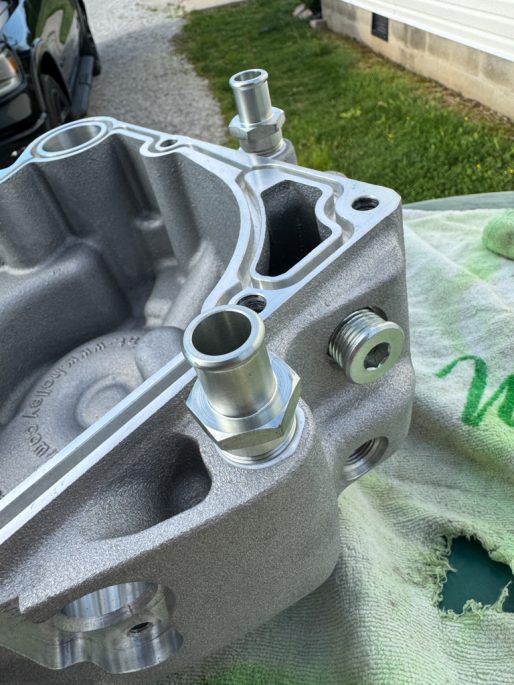
The new timing cover offers up three different port locations for heater hoses. In this photo, you can see that I’ve chosen the rear-most ports that run under the intake manifold. Whatever hose option you don’t choose gets filled with an NPT plug (that half-threaded one, in this photo.)

The cover gasket gets laid into the cover and locked in at the bottom on each side.

Since I’m not planning on deleting VVT (yet, anyways), the camshaft sensor is simply swapped over.
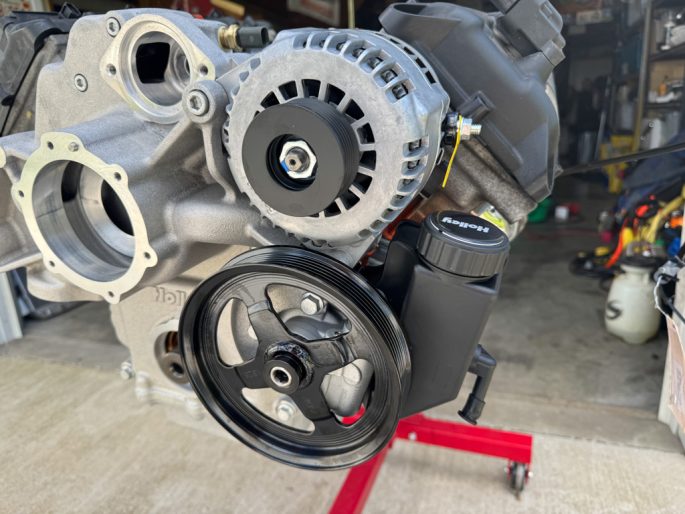
The alternator is an easy install. Holley’s low-pressure power steering pump allows the use of the factory power steering, and only requires you to install a hard line and the pulley.

The upper radiator hose simply re-uses the factory thermostat housing cap, and a new thermostat is provided. For the lower radiator hose, Holley provides a 45-degree and 90-degree outlet that can be clocked, plus the collar and bolts.
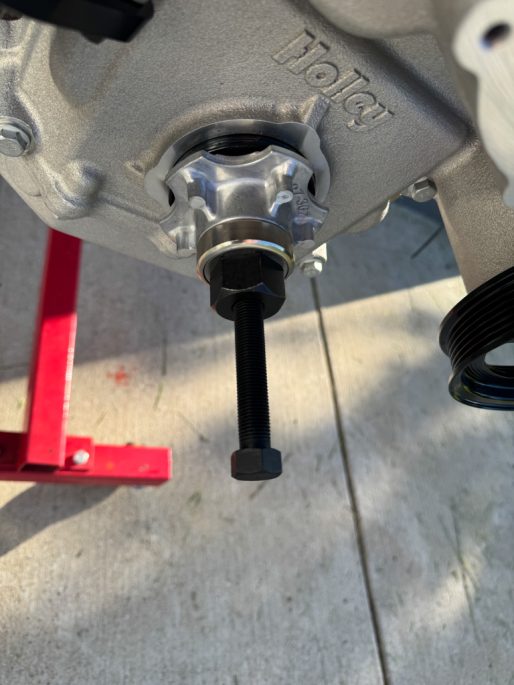
Holley also provides an installation tool for the crankshaft seal and the damper (either a standard or SFI-rated unit). You just have to rent the installation tool from your local parts store.

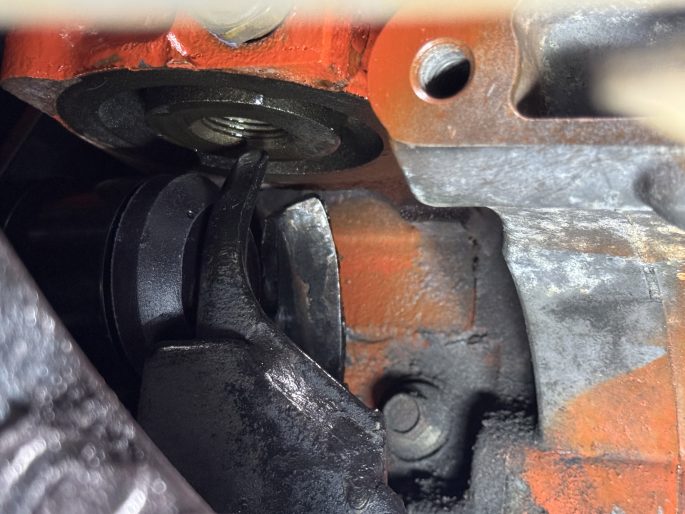
The water pump is a cartridge-style unit, similar to an LS. Six Allen-bolts hold it in place.
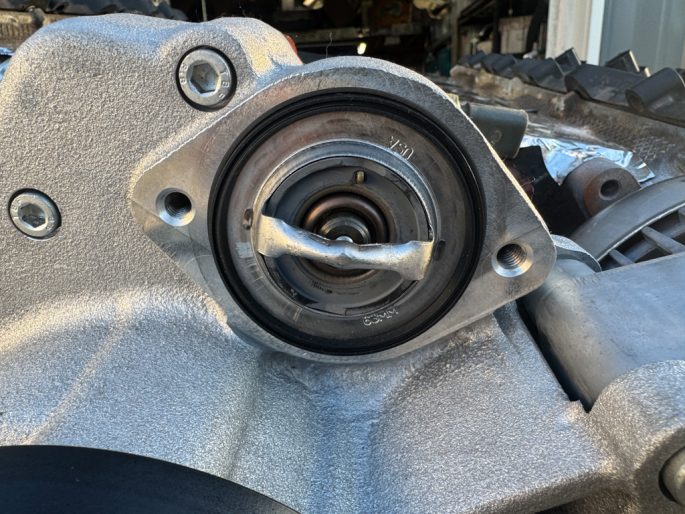
Don’t forget to install the thermostat with the bleeder port at the 12-o’clock position.
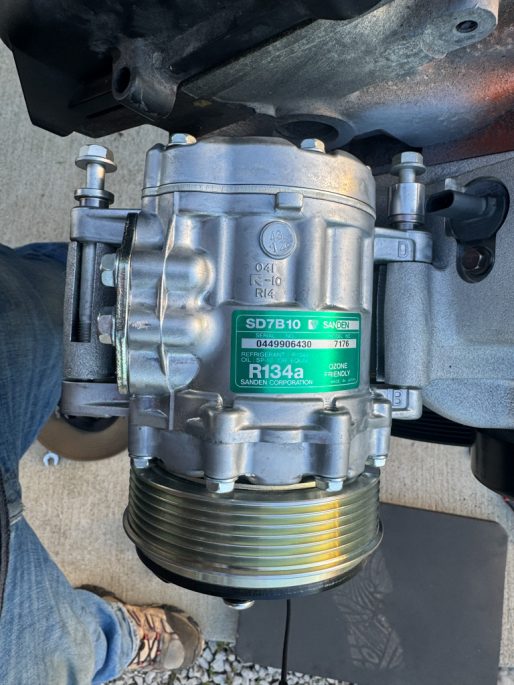
Holley includes a Sanden SD7 air conditioner compressor with the kit. Again, simple to install and just about idiot-proof.
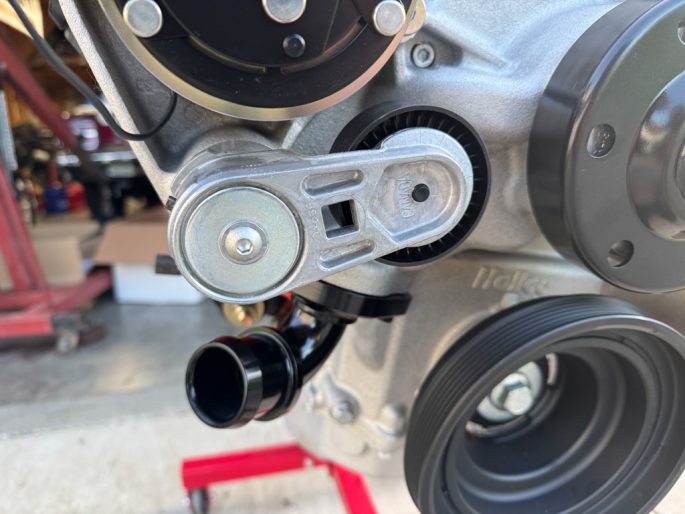
Even the smaller items, like the belt tensioner, are included. Every bit of hardware, a wiring pigtail for the alternator, everything is in the box.
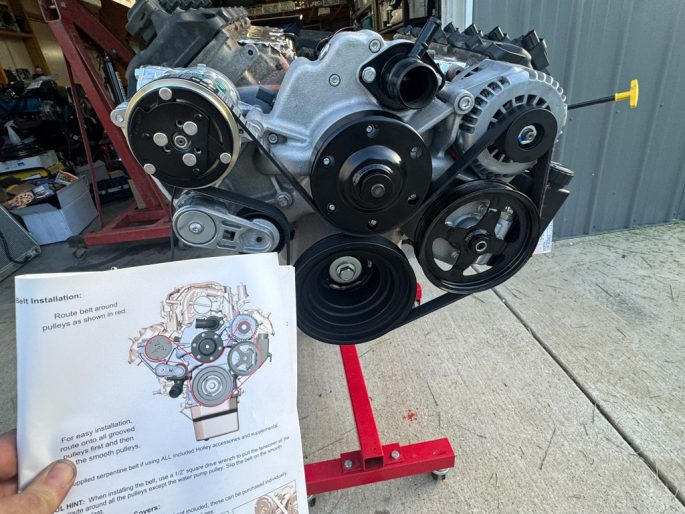
They even throw in the serpentine belt. And a set of instructions that tell you everything you need to know. Don’t ignore them. Don’t toss them out. Follow them and you will be just fine.
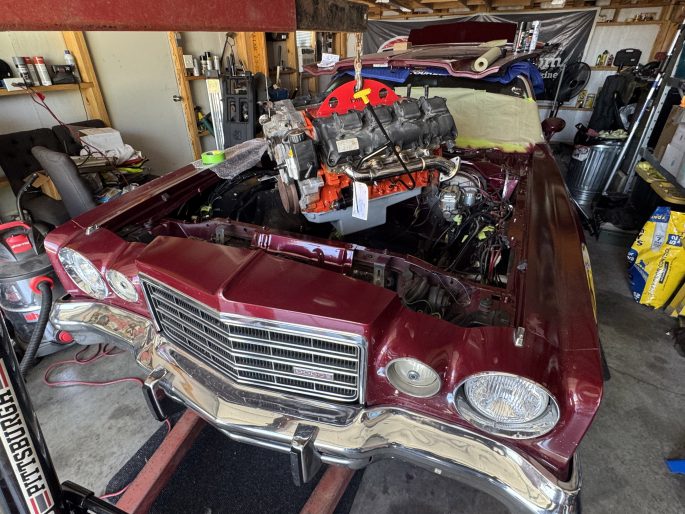
With everything installed, the 5.7 was dumped back into the engine bay for a second fitment check. This time, however, I set the engine fully into the mounts and checked everything. I still need to “adjust” the driver’s side header tube, but everything else fit beautifully.
The added benefit of the Mid-Mount Accessory Drive Kit is that the motor mount bolts are much easier to access from the front.
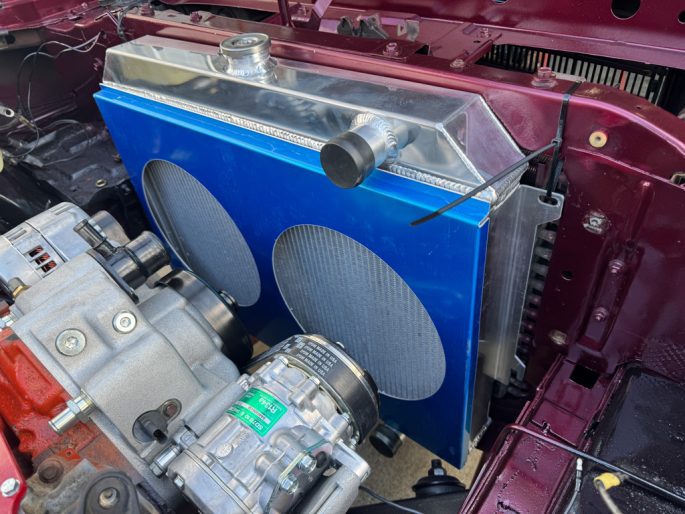
My final act for the weekend was to test-fit the Frostbite radiator and fan shroud for the twin SPAL fans. The shroud fits beautifully, but you can see that the radiator is a touch too narrow for my application (being fair, it is meant for 1968-1974 B-body applications). That’ll be a future project.
That was a lot of work!
So what’s next? I need to get the Hemi to play nicely with the TKX, so that’s a high priority. There are some parts on order so that I can finish the Earl’s oil filter relocation kit that should take care of my passenger-side motor mount problem once and for all. I need to send the cop car’s ECU off to get reprogrammed to behave like a manual-transmission car, need to nail down an engine wiring harness, and I need to finish up some other odds and ends.
But I’m also at the point where I need to pull the heads off of the Hemi to delete the MDS system and change out the lifters. If I’m going that far, I might as well bite the bullet and swap in a camshaft, don’t you think? I do…and I’m thinking I might. Scope creep is a bitch, after all…
Need To Catch Up?
Part One: The First Assessment
Part Two: Trunk Paint, Instrument Cluster Work
Part Three: Deeper Instrument Panel Work and the EFI-Ready Fuel Tank
Part Four: The Heater Core Job We Should Have Been Worried About
Part Five: New Wheels, Wiring Fixes, Fuel Pump Troubleshooting, First Dragstrip Pass
Part Six: MSD Distributor, Coil, and Solid-State Relay, RetroBright Headlights, And More
Part Seven: Brake Repair, Winter Projects, Subframe Bushing Replacement, Firm Feel Upper A-Arms
The Charger’s 2023 Trip To The Carlisle Chrysler Nationals
Part Eight: Fixing The Gauges Once And For All With Classic Instruments
Part Nine: The Charger Goes On Power Tour 2024
Part Ten: The Death Of The 360 And The Hemi That’s Replacing It