

Like many P2 owners out there, finding decent replacement seats can be a challenge. Even aftermarket replacement leather can be pricey. So, enter P3 seats. Available with low miles and compatible with P2 frames, with a little bit of work!
So, as one of the first to to do this, I thought I’d document the process. Just a quick disclaimer first. AFAIK, this has only been verified to work with the P2 05+ S60/V70/XC70 seats and the P3 S60/V60/V60CC/XC60 seats (Hollander lists these as interchangeable). Other seats may be different mechanically (width) or in the electronics. So, less sure about the P2 S80/XC90 seats and the P3 V70/XC70/S80 seats. So, if in those latter categories, proceed cautiously!
First, find some P3 seats. They generally come in 2 flavors, comfort and sport. There are R-Design seats, but harder to find and much more expensive. There’s also the even rarer P3 Polestar seats. The early P3 seats have manual lumbar, while the later seats have electric lumbar. Since the electronics are different, not sure if you could adapt the electronic lumbar or not.
Start by disconnecting the negative terminal from your battery. Make sure the from seat bolts are accessible before doing so.
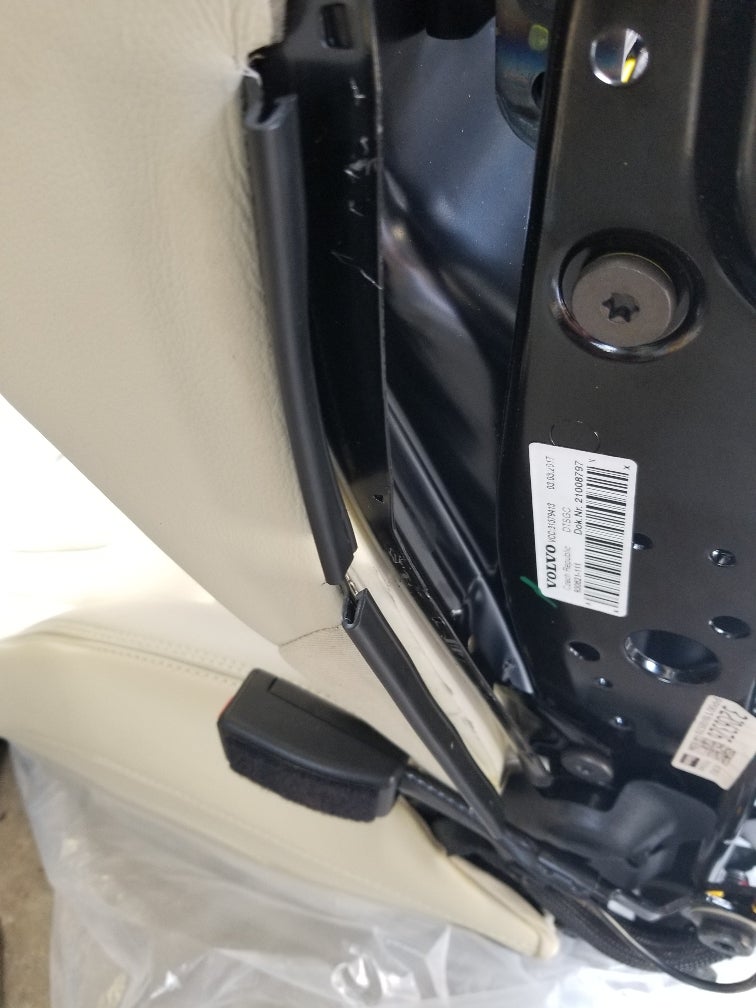
Remove the old seat from your car. Remove the front and rear track covers to expose the 13mm bolts. Once the bolts are out, tip the seat back and remove the body harness from the seat connector by loosening the small bolt. Disconnect the seat belt from the seat by pressing the small metal tab with a screwdriver while pulling up on the belt. Now, wrestle the seat from the car. This takes 2 people. If you have a V70, drop the back seats and slide it out the back. Watch the seat tracks as they are sharp and will damage trim and upholstery.
Continue by stripping your old seats. Better to start there and learn before working on your new seats. I started with the passenger seat. That way I could still drive the car if I got stuck on something!
Remove the side panel and disconnect the harness from the power seat module. A small screw holds the panel to the seat frame. You’ll need to cut a couple of clips and remove the harness. The panel lifts straight up.
Remove the plastic clips around the perimeter of the seat base. A small screwdriver may help pry off the side clips. Release the rear clip underneath the seat base. Along the front, the clips are tucked up under the seam frame. Pull down to release. On the P2 seat, disconnect the seat heater harness (green connector on back of the seat heater module). Cut or disconnect the clips and feed the connector out from underneath the seat. The cushion should be free now. On the P3 seat, cut the cushion harness near where it joins together with the main harness and remove from the seat base.

Rear clip.
Side clips.

Front clips.
Next, release the clip along the bottom of the seat back.


Next, untuck the cloth around the hinge area. There’s a plastic clip tucked up underneath there that just folds down.


Now, the fun begins! Slowly roll the skin up along the seat back, inside out to expose the first 2 hog rings.

Cut the hog rings as you work your way up slowly, turning the skin inside out. To remove the lumbar knob, pop the center cap with a small screwdriver and remove the knob and trim ring. About halfway up on the back are 2 elastic clips along the sides that have to be removed. The top of the back is held on with 3 hog rings. Once you reach the top, release the headrest by pressing the two tabs on the back of the seat. Extra hands help here. Finish removing the skin.

Release the seat back foam by cutting the 4 hog rings on the back, 2 towards the top, 2 lower on the sides.
The sides of the rear crash bar are shaped differently from P3 to P2. P3 is angled towards the front. I don’t know if it’s totally necessary, but I cut mine to match.
I tried to put the P3 crash bar on the P2 frame, but the bottom tabs were spaced differently. One could widen the holes in the P2 frame slightly. The P2 crash bar narrows slightly at the top, while the P3 doesn’t. So, the skin won’t fit perfectly in the back. But, it’s pretty close.


Now, insert the new foam and cut a hole in the foam for the manual lumbar support, if your P3 seat had electric lumbar.

Now, install the P3 skin. Start at the top front and work until about half way down. Be careful with the hog rings as you don’t want perforated leather seats! Then, attach the upper back hog rings. It might help have someone pull down on the bar while you attach the clips. Go slowly, unrolling the skin as you go. Connect the seat back side clips. The hog rings along the bolster are a pain. Having someone to pull while you crimp is recommended. Take your time and keep stretching the leather as you go. Getting around the bolsters is the hardest part. This was my first time doing this. It is a wrestling match as you maneuver the seat around to get the best angle to get the hog rings attached.

Attached the bottom clip. Start on one side and work your way across. Three hands are helpful. Finally, tuck the end fabric up around the hinge.
Now, locate the shaft for the lumbar knob, take a deep breath and cut a small incision (if your P3 skins were from a power lumbar seat). I have no idea if the manual lumbar P3 seats have the lumbar knob in the exact same position as the P2 frames.

Slowly cut a hole big enough the lumbar knob trim ring. It doesn’t need to be too precise. Align the lumbar trim ring with the shaft and push the lumbar knob in until it clicks. It takes a bit of force.

Now, splice the P2 seat heater connector to the P3 harness. On the P2, the two yellow wires are for the thermostat, while on the P3 it’s the blue and white wires. The two remaining wires provide power to the heating elements. The orders don’t matter as it’s not polarity sensitive. I just used crimp connectors and wrapped them up in electrical tape.

P3 seat heater wiring.

P2 seat heater wiring.

Feed the wiring harness under the seat and attach the seat skin clips, starting in the back and working your way around to the front. Be sure to push until they click. Along the front are several tabs along the back of the front edge.

Connect the harness to seat heater module and secure the harness with zip ties. Make sure there is a little slack in the harness towards the back and it’s away from moving parts.
Replace the side panel, feeding the harness along the front. Connect to the power seat module. Secure the harness with zip ties, keeping it away from moving parts.
Now, reinstall the seat. Reconnect the body harness to the seat. Tighten the connector bolt. It will click when tight. Install the seat track bolts and covers. Reconnect the seat belt.
Insert the ignition key and turn to position II and reconnect the battery.
Now, you’ll probably see an SRS warning that urgent service is needed and the passenger airbag is off. To fix this, the passenger seat occupant weight sensor (OWS) will need to calibrated. You’ll need VIDA for that. Diagnostics>Network Comms>SRS>Advanced. Calibrate the OWS. Then, clear the SRS DTC codes.
That should be it!
I’ll note that @ProlixArgon couldn’t get the seat heaters to work when he did this. He had to swap the heating element pads to make it work. My seat heaters appear to work correctly. We don’t know why his didn’t work and mine did. So, I would recommend testing in your car before putting the new skin on the seat back.